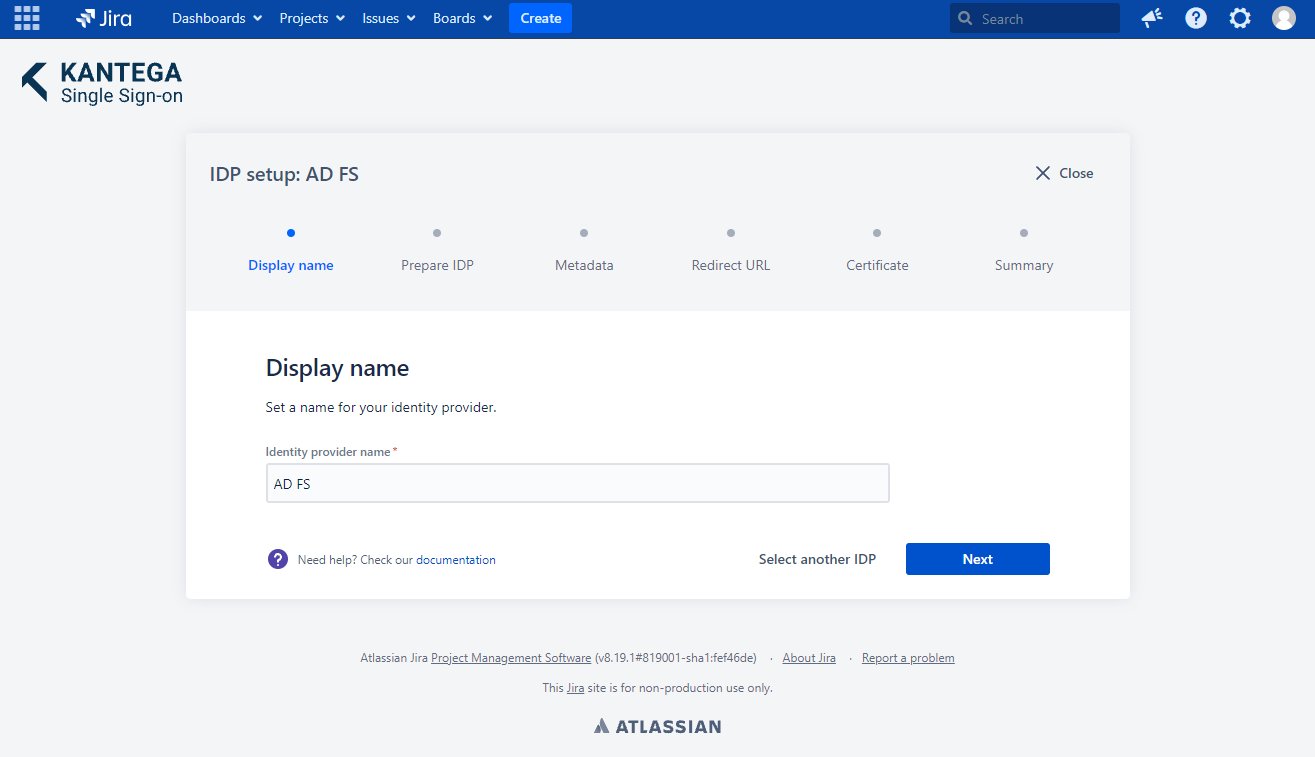
1. Display name
Choose a name for your identity provider. This is the user-facing name, so choose a name your users will recognize. This can be changed later.
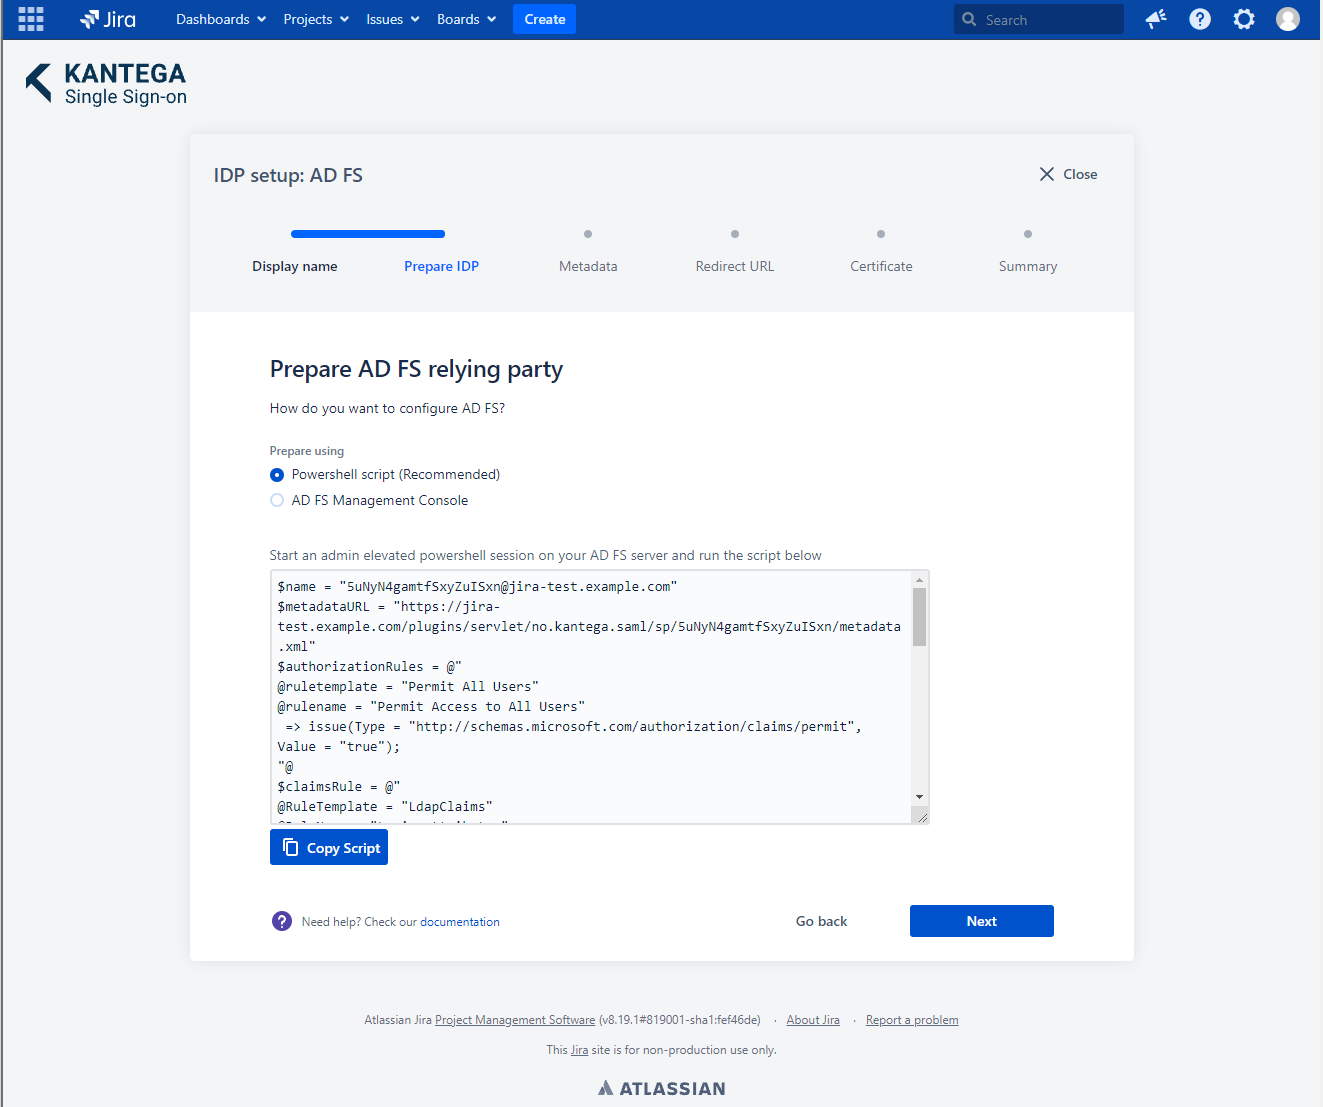
2. Prepare IDP
In this step, you will configure AD FS to work with Kantega SSO. The easiest way to prepare AD FS is by using PowerShell. Copy the script, and paste it into an elevated PowerShell window.
Make sure you are accessing the Atlassian application using https.
Configure AD FS
EXTERNAL
Login to your AD FS server and start a PowerShell terminal window as an administrator. Then paste the PowerShell script into the terminal window and run it.
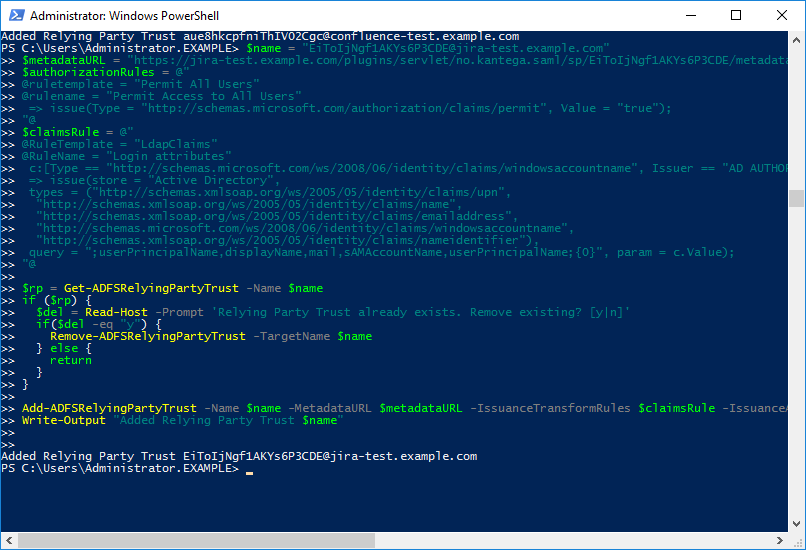
Your Atlassian application is now added as a relying party in AD FS.
Go back to the Kantega SSO setup wizard.
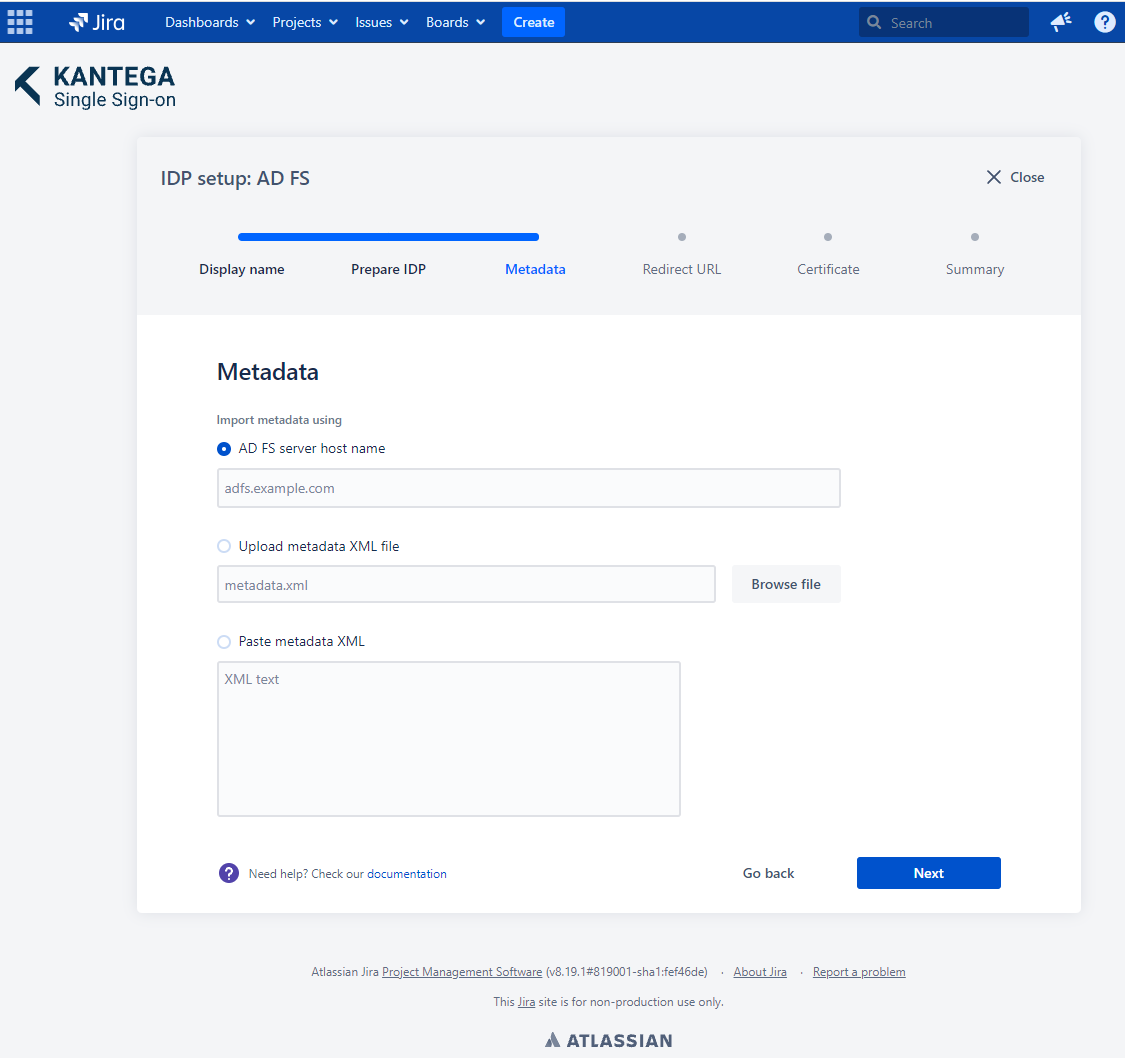
3. Metadata
Type the hostname of your AD FS server in the import Metadata step. Importing metadata using the AD FS hostname is recommended, as it allows for automatically updating certificates.
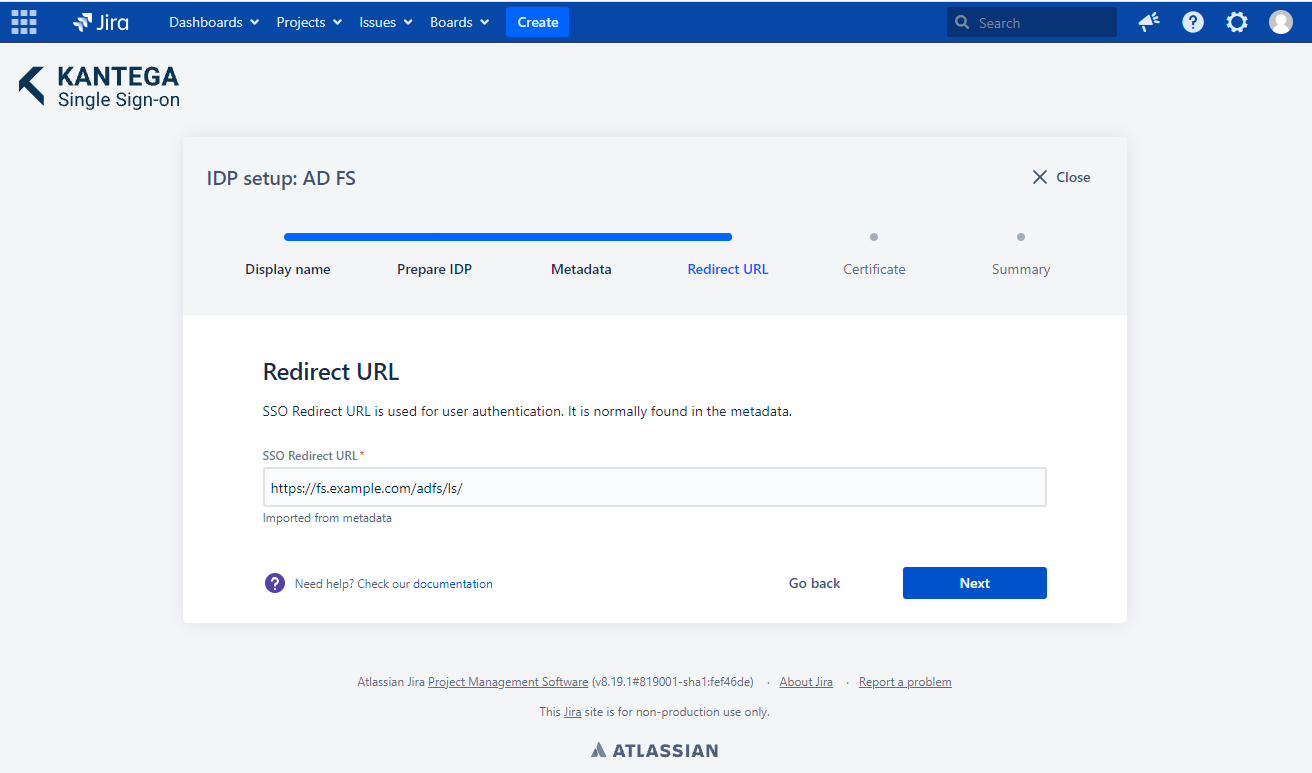
4. Redirect URL
No need to do anything. The Redirect URL is automatically fetched from the metadata you imported in the previous step.
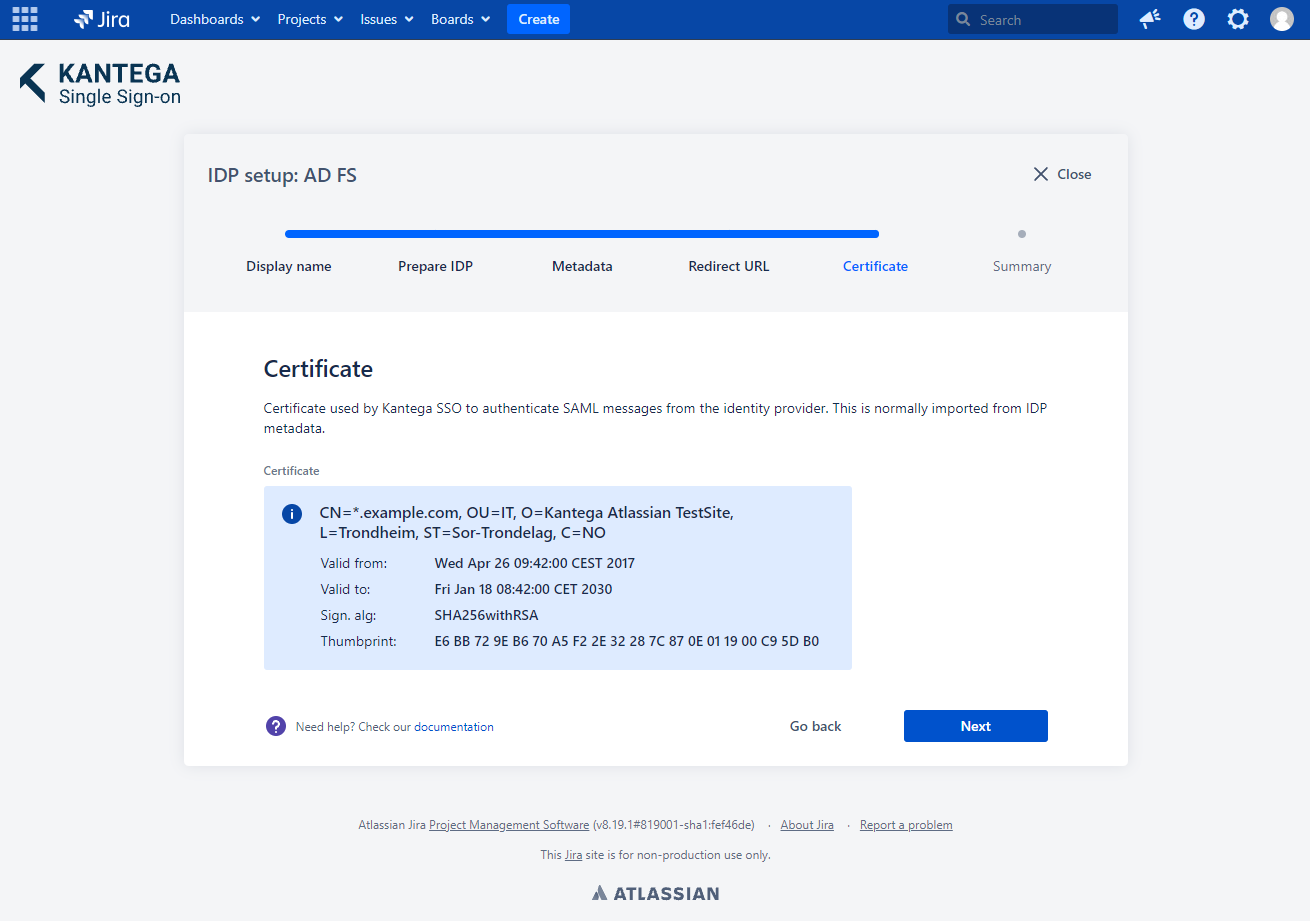
5. Certificate
This step shows the certificate used to validate the SAML messages.
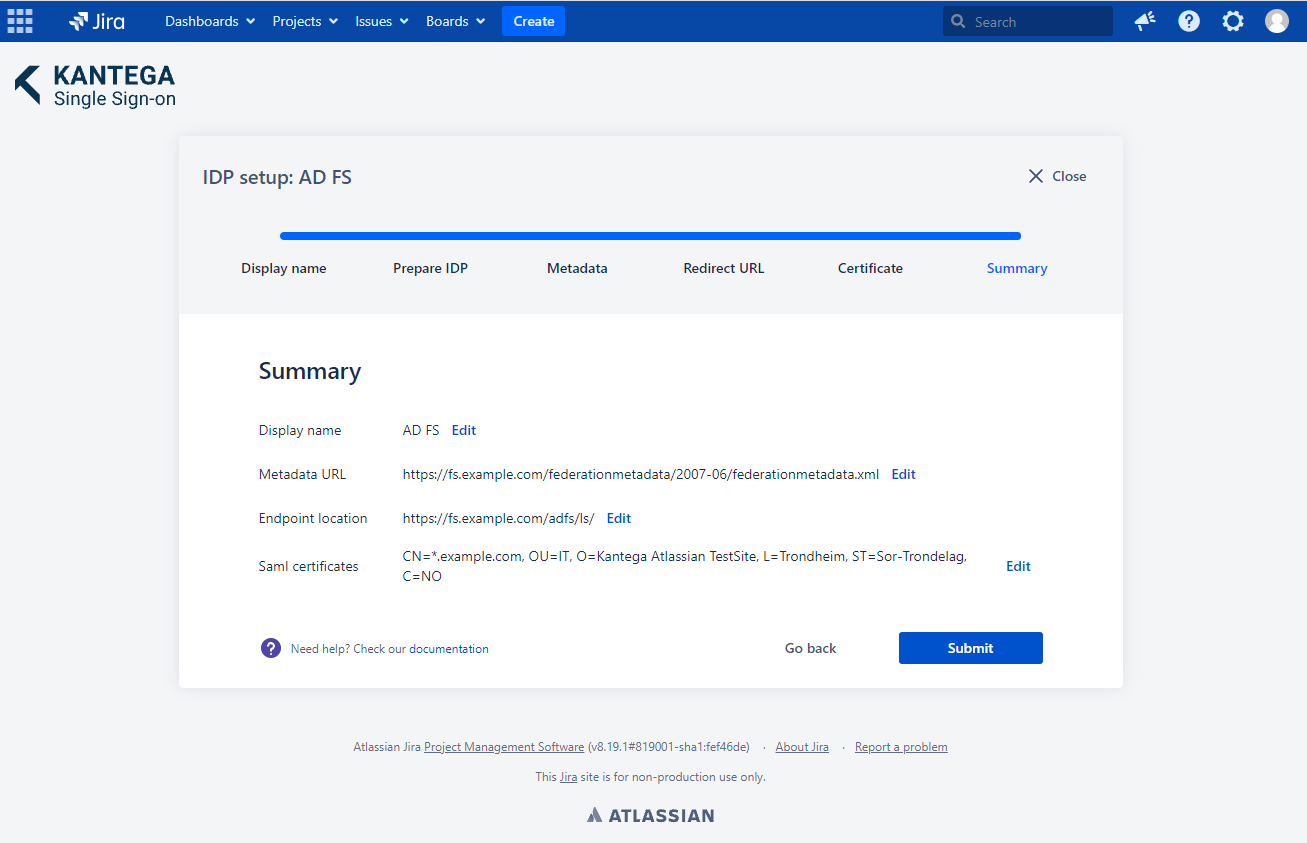
6. Summary
Check that everything looks good and submit your setup ![]()
Test
Test that the log in with AD FS works as expected. This will help identify if there are any issues with the configuration. Follow the steps to perform the login test.
