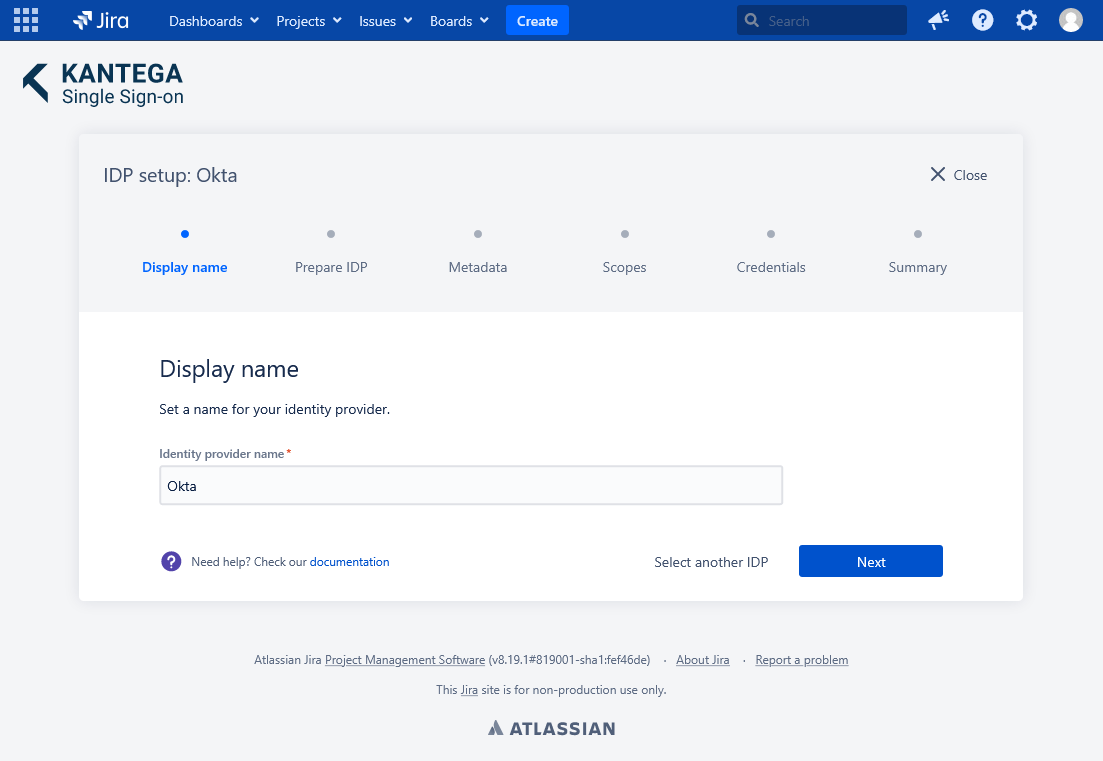
1. Display name
Choose a name for your identity provider. This is the user-facing name, so choose a name your users will recognize. This value can be changed later.
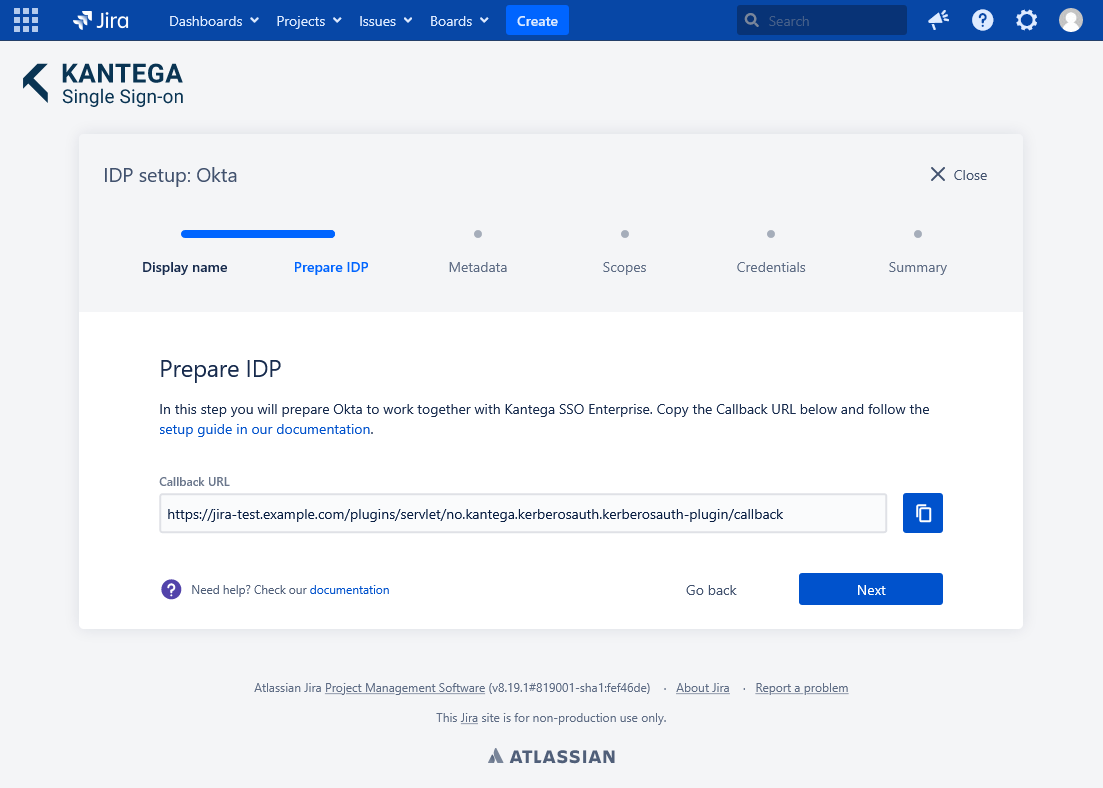
2. Prepare IDP
Copy and save the Callback URL for later. You will need this when configuring Okta
Configure Okta
AD FS
Login to Okta as an admin user.
Go to Applications → Applications in the menu and choose Create App Integration.
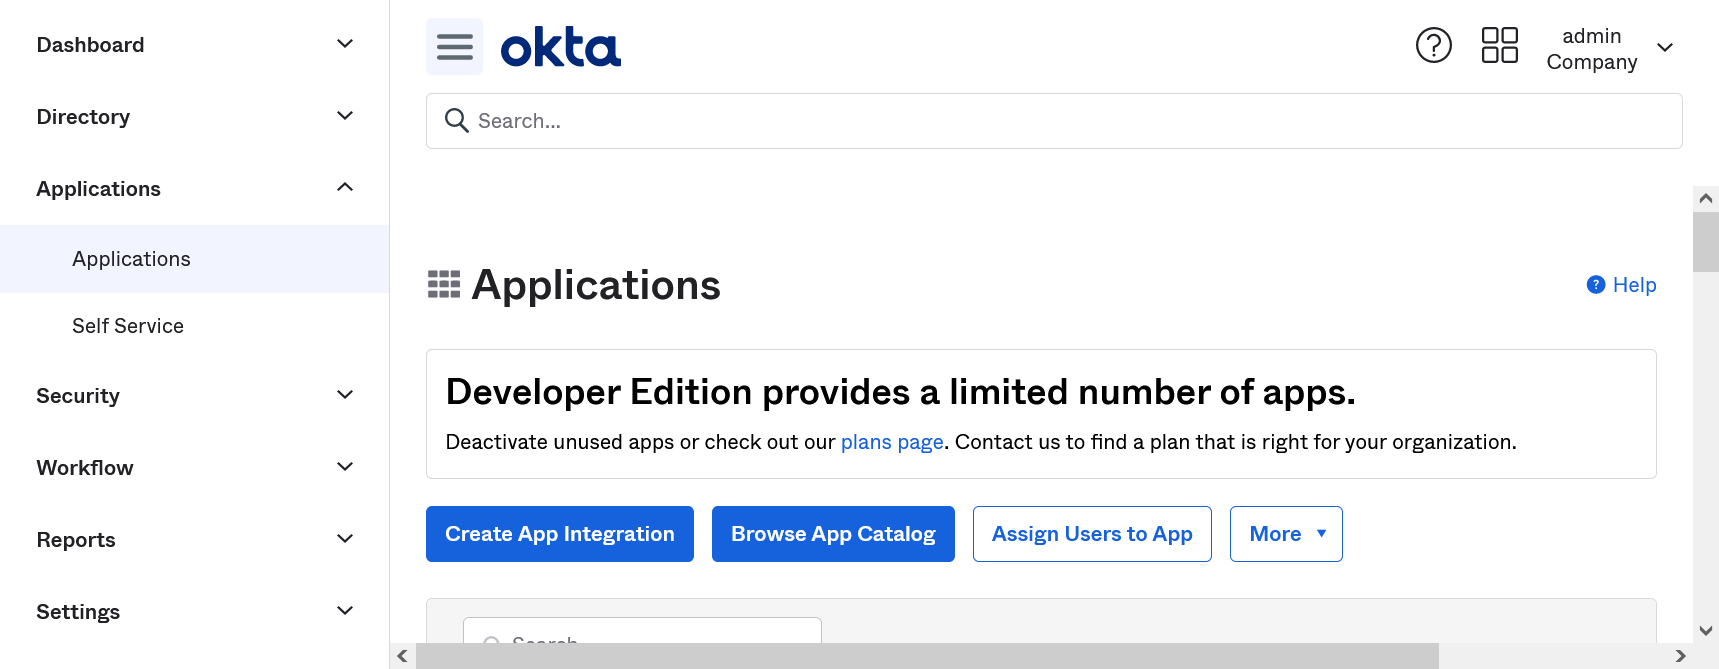
Choose OIDC as Sign-in method and Web application as Application type.
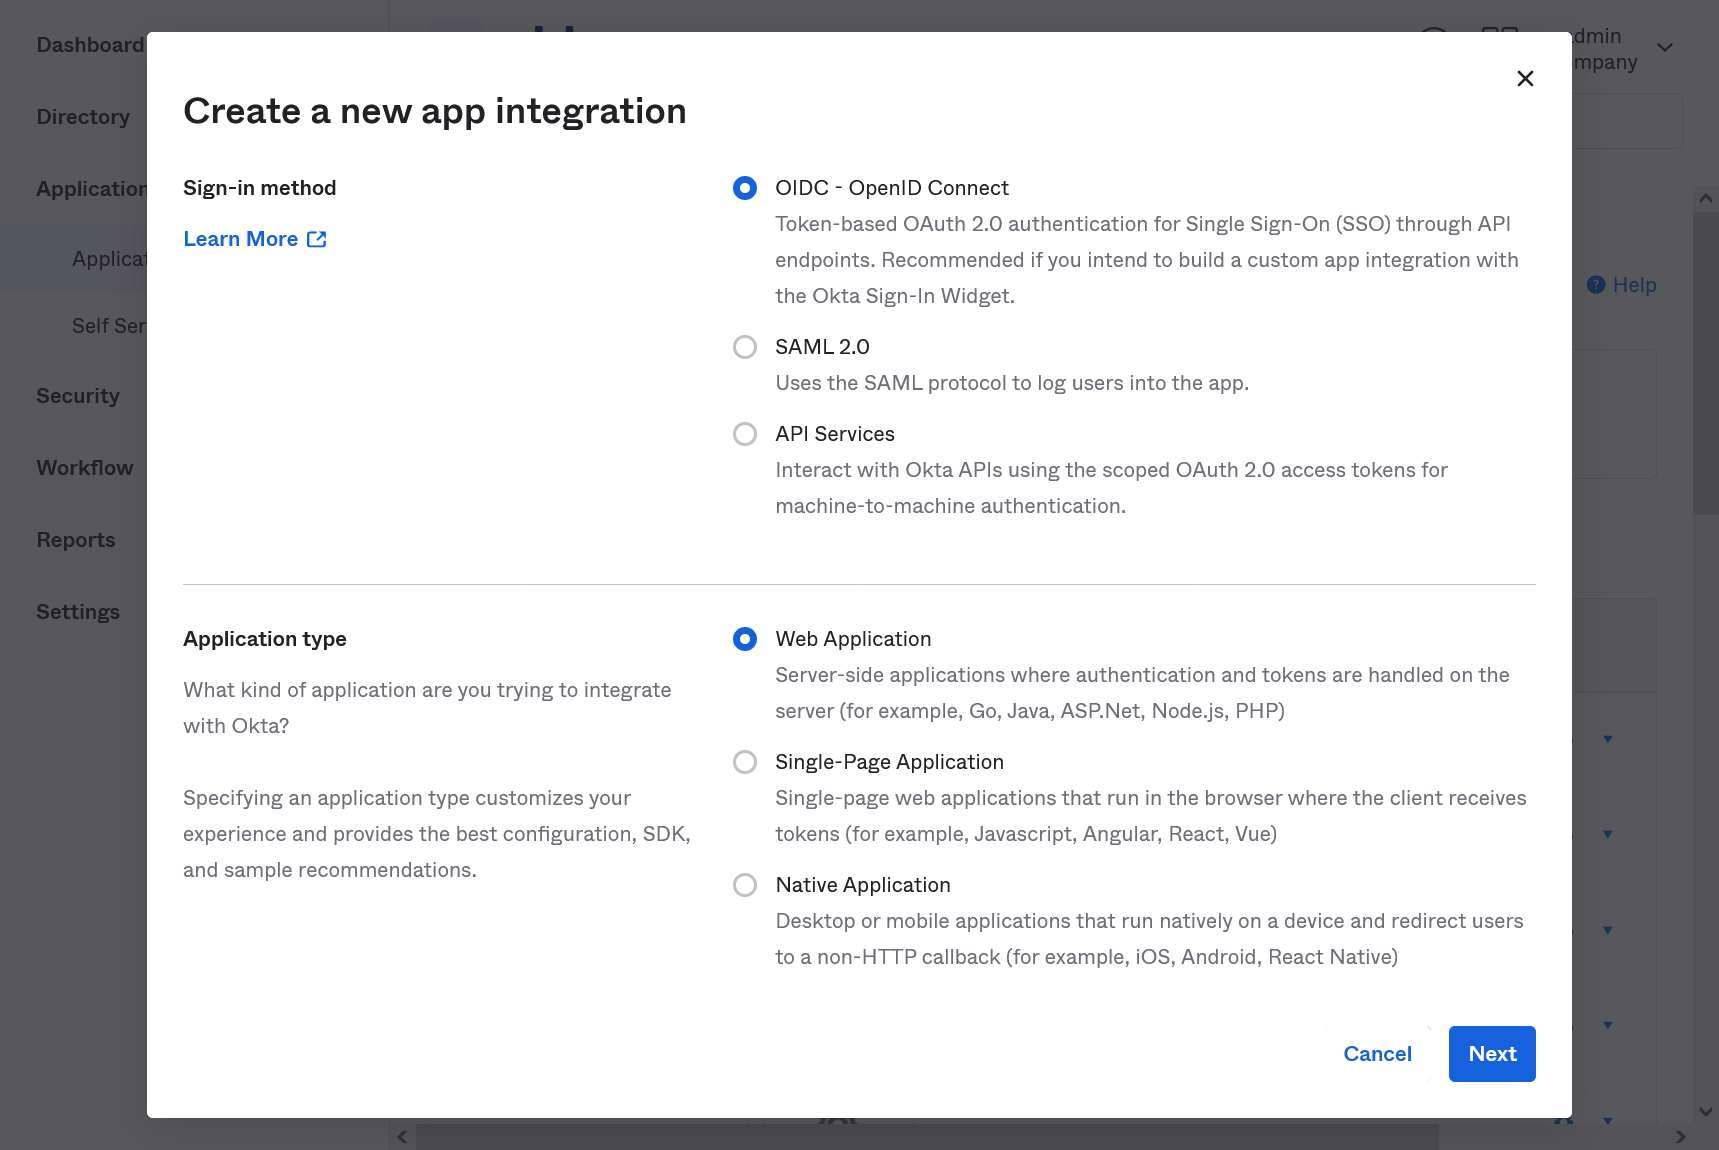
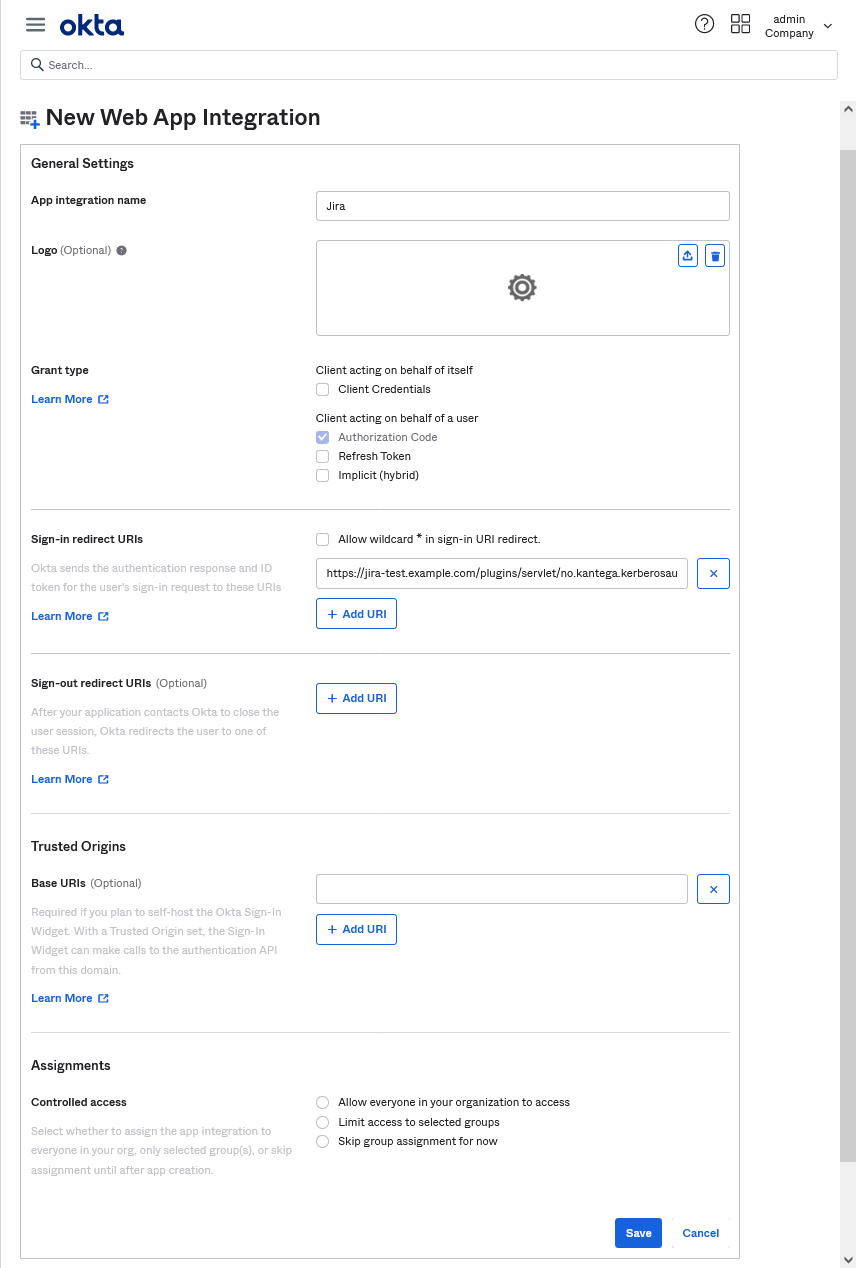
Choose an appropriate name for your App integration.
Remove any default values from the Sign-out- and Sign-in redirect URIs field and paste the Callback URL from the KSSO setup wizard in the Sign-in redirect URIs field.
Under Assignment, choose an assignment method for assigning users and groups to the App integration. You can also choose the skip option to do this at a later time.
Save your changes.
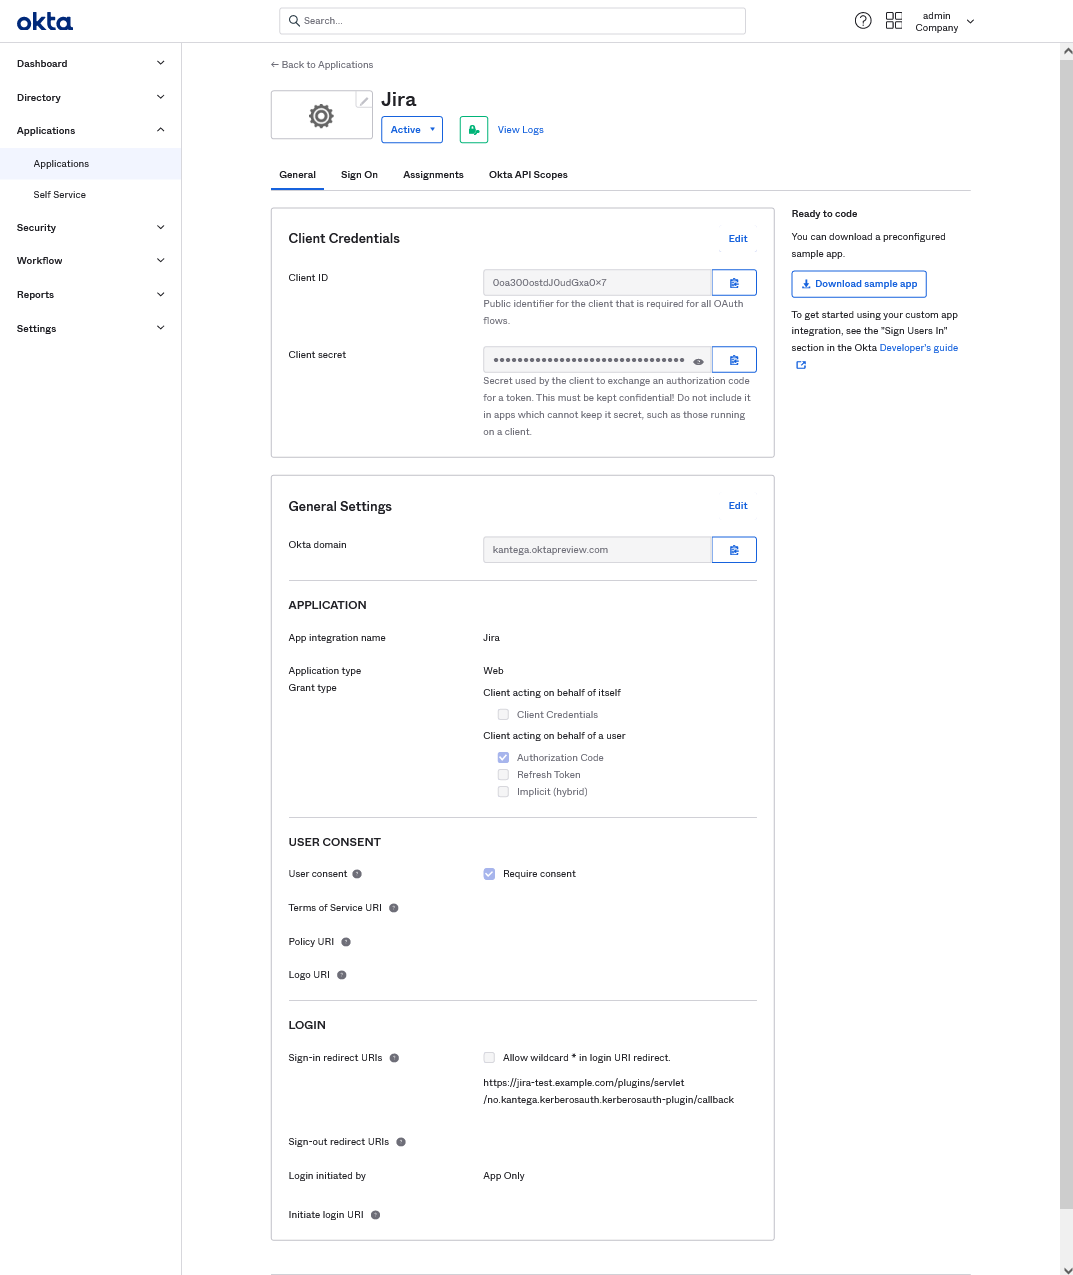
On the next page, copy and keep the Client ID and Client secret for later use. You will need these for a later step in the KSSO setup guide.
Go back to the KSSO setup wizard
3. Metadata
I the Metadata step replace the {idp_url} placeholder with your Okta host to complete the Discovery URL.

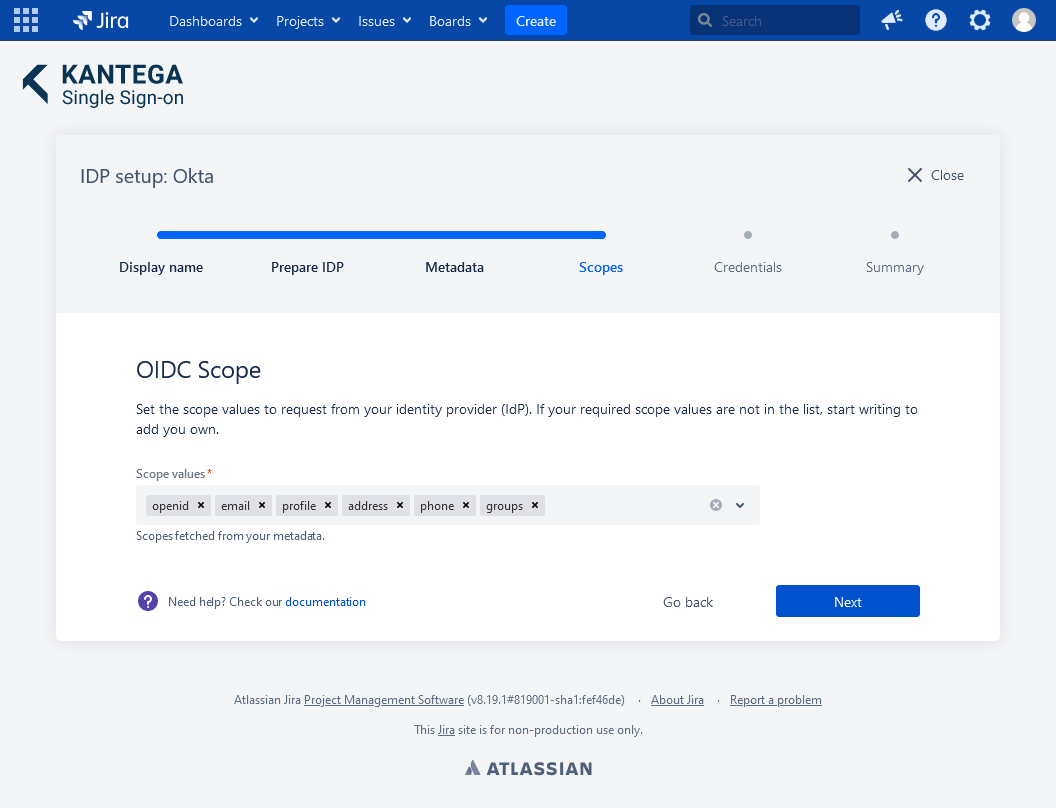
4. Scopes
These are the scopes we were able to fetch from the metadata. You can add scope values from a list, start typing to add your own or unselect them. A minimum of one scope value is required.
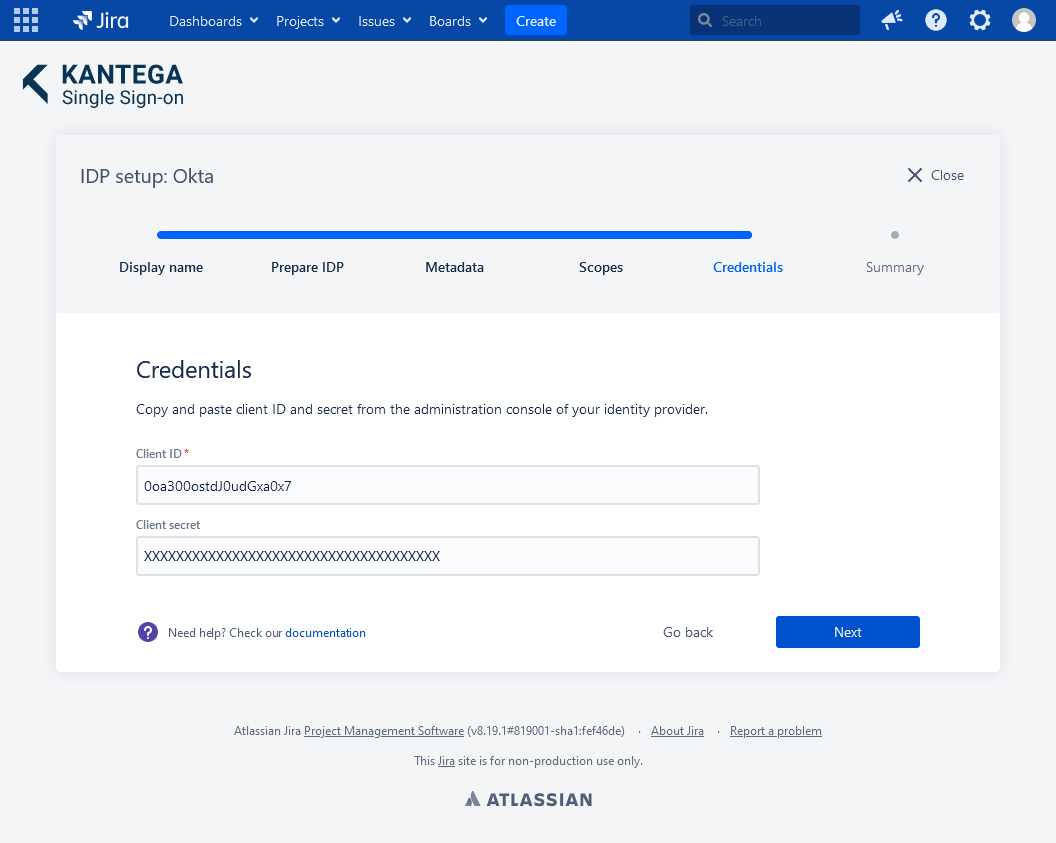
5. Credentials
Paste the Client Identifier and Client Secret you copied from the Okta App integration settings earlier and clik Next.
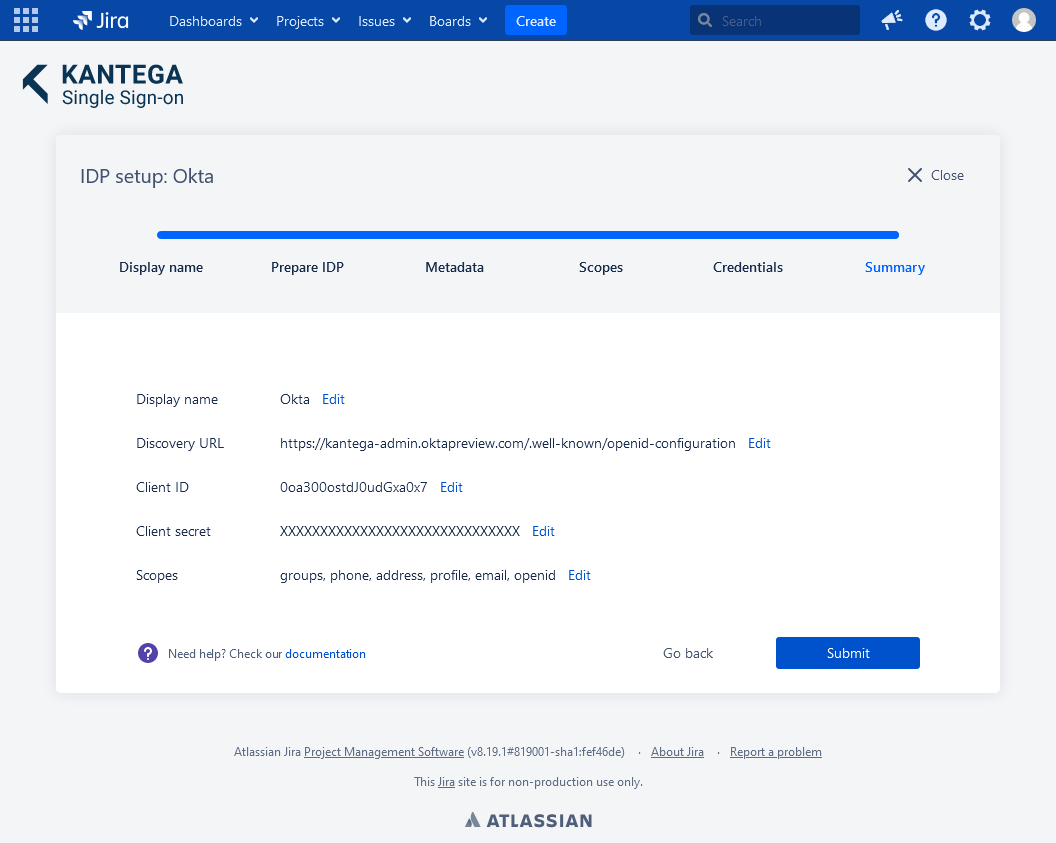
6. Summary
Confirm that everything looks good.
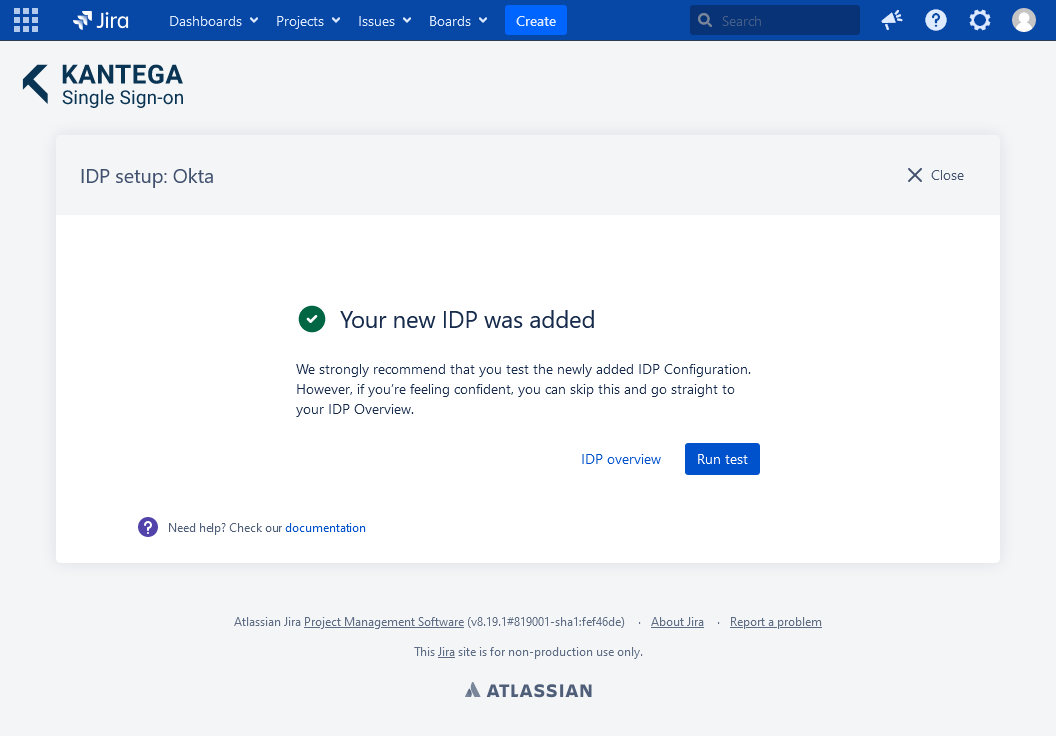
Test
Test that logging in with Okta works as expected. This will help identify if there are any issues with the configuration. Follow the steps to perform the login test.