SAML SSO can work fine together with Azure Application Proxy.
Using application proxy, you can get remote access to an on-premises Atlassian application.
Set up an Application Proxy in Azure AD
Under Application Proxy in Azure, click Configure an app.
Enter the URL of your Atlassian Application (in this example, Jira) as the Internal Url and click Add
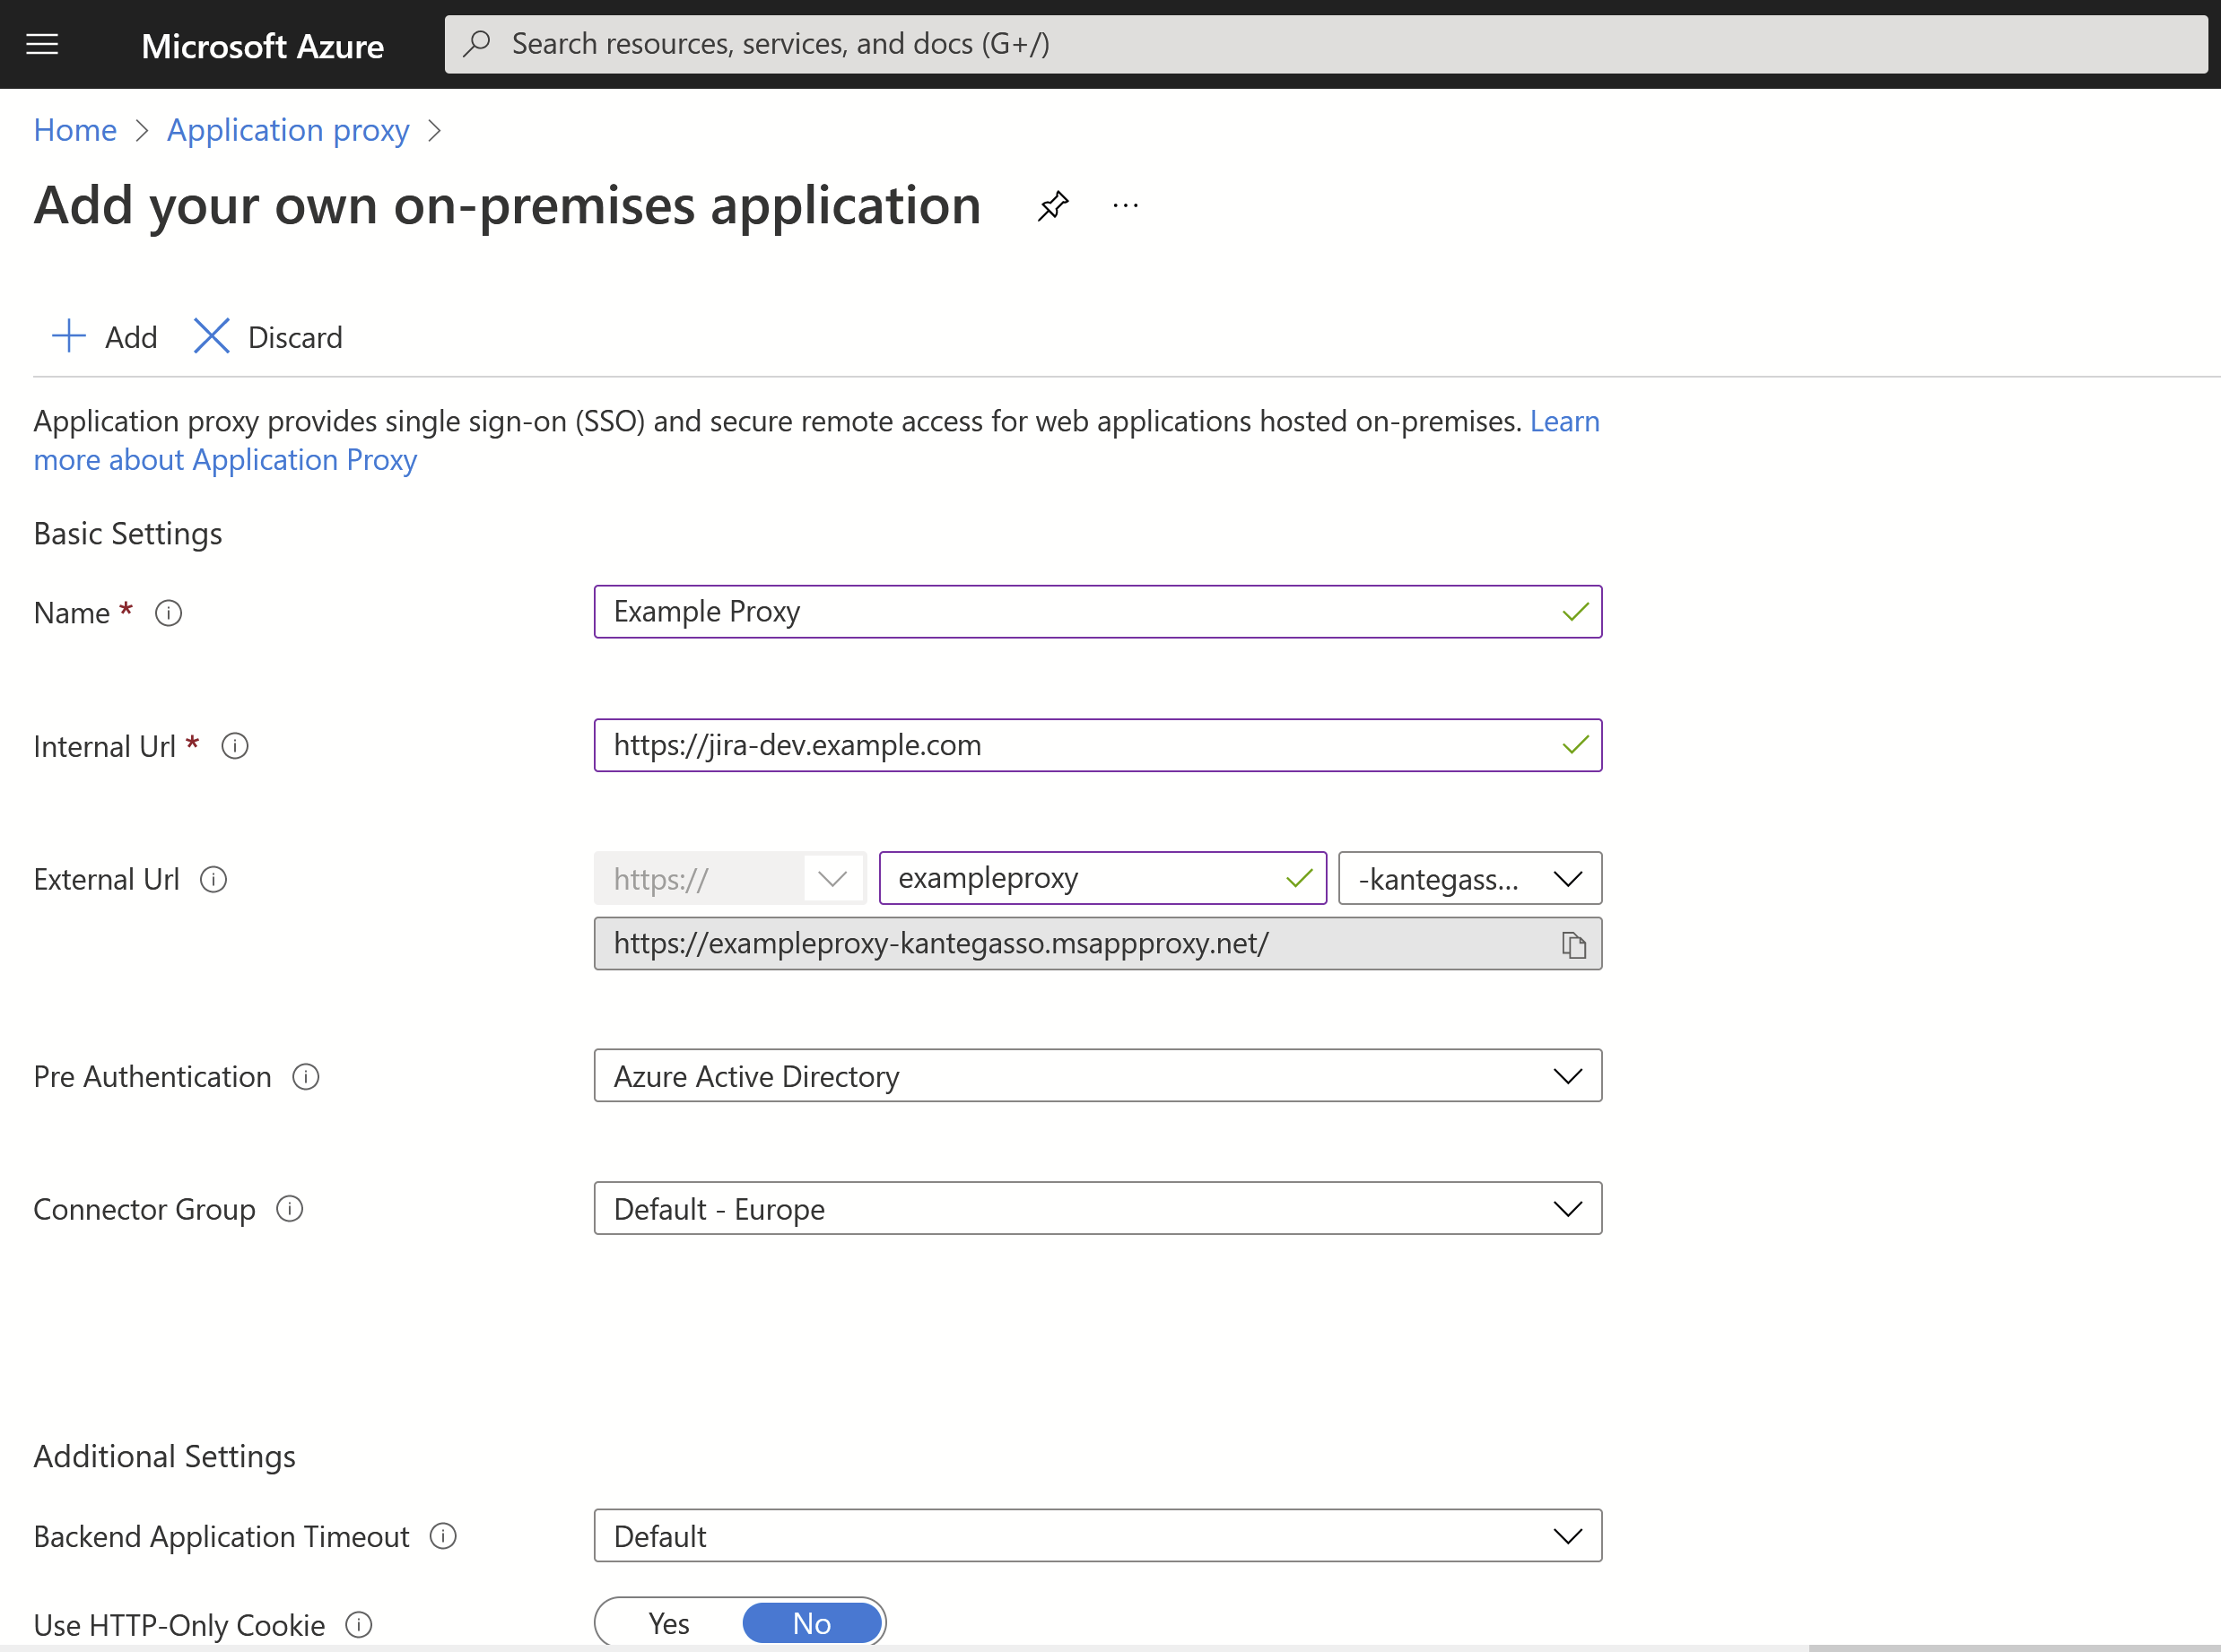
You will then get an external url, in this case https://exampleproxy-kantegasso.msappproxy.net/
Here, the users access your Atlassian application through the Internal URL from inside your private network. In ths example above, it's the base URL of Jira. The External URL on the other hand, is the URL for users to access the app from outside your network, having to do pre-authentication on Azure AD before getting access. Note that users need to be specifically assigned to the proxy application to log in.
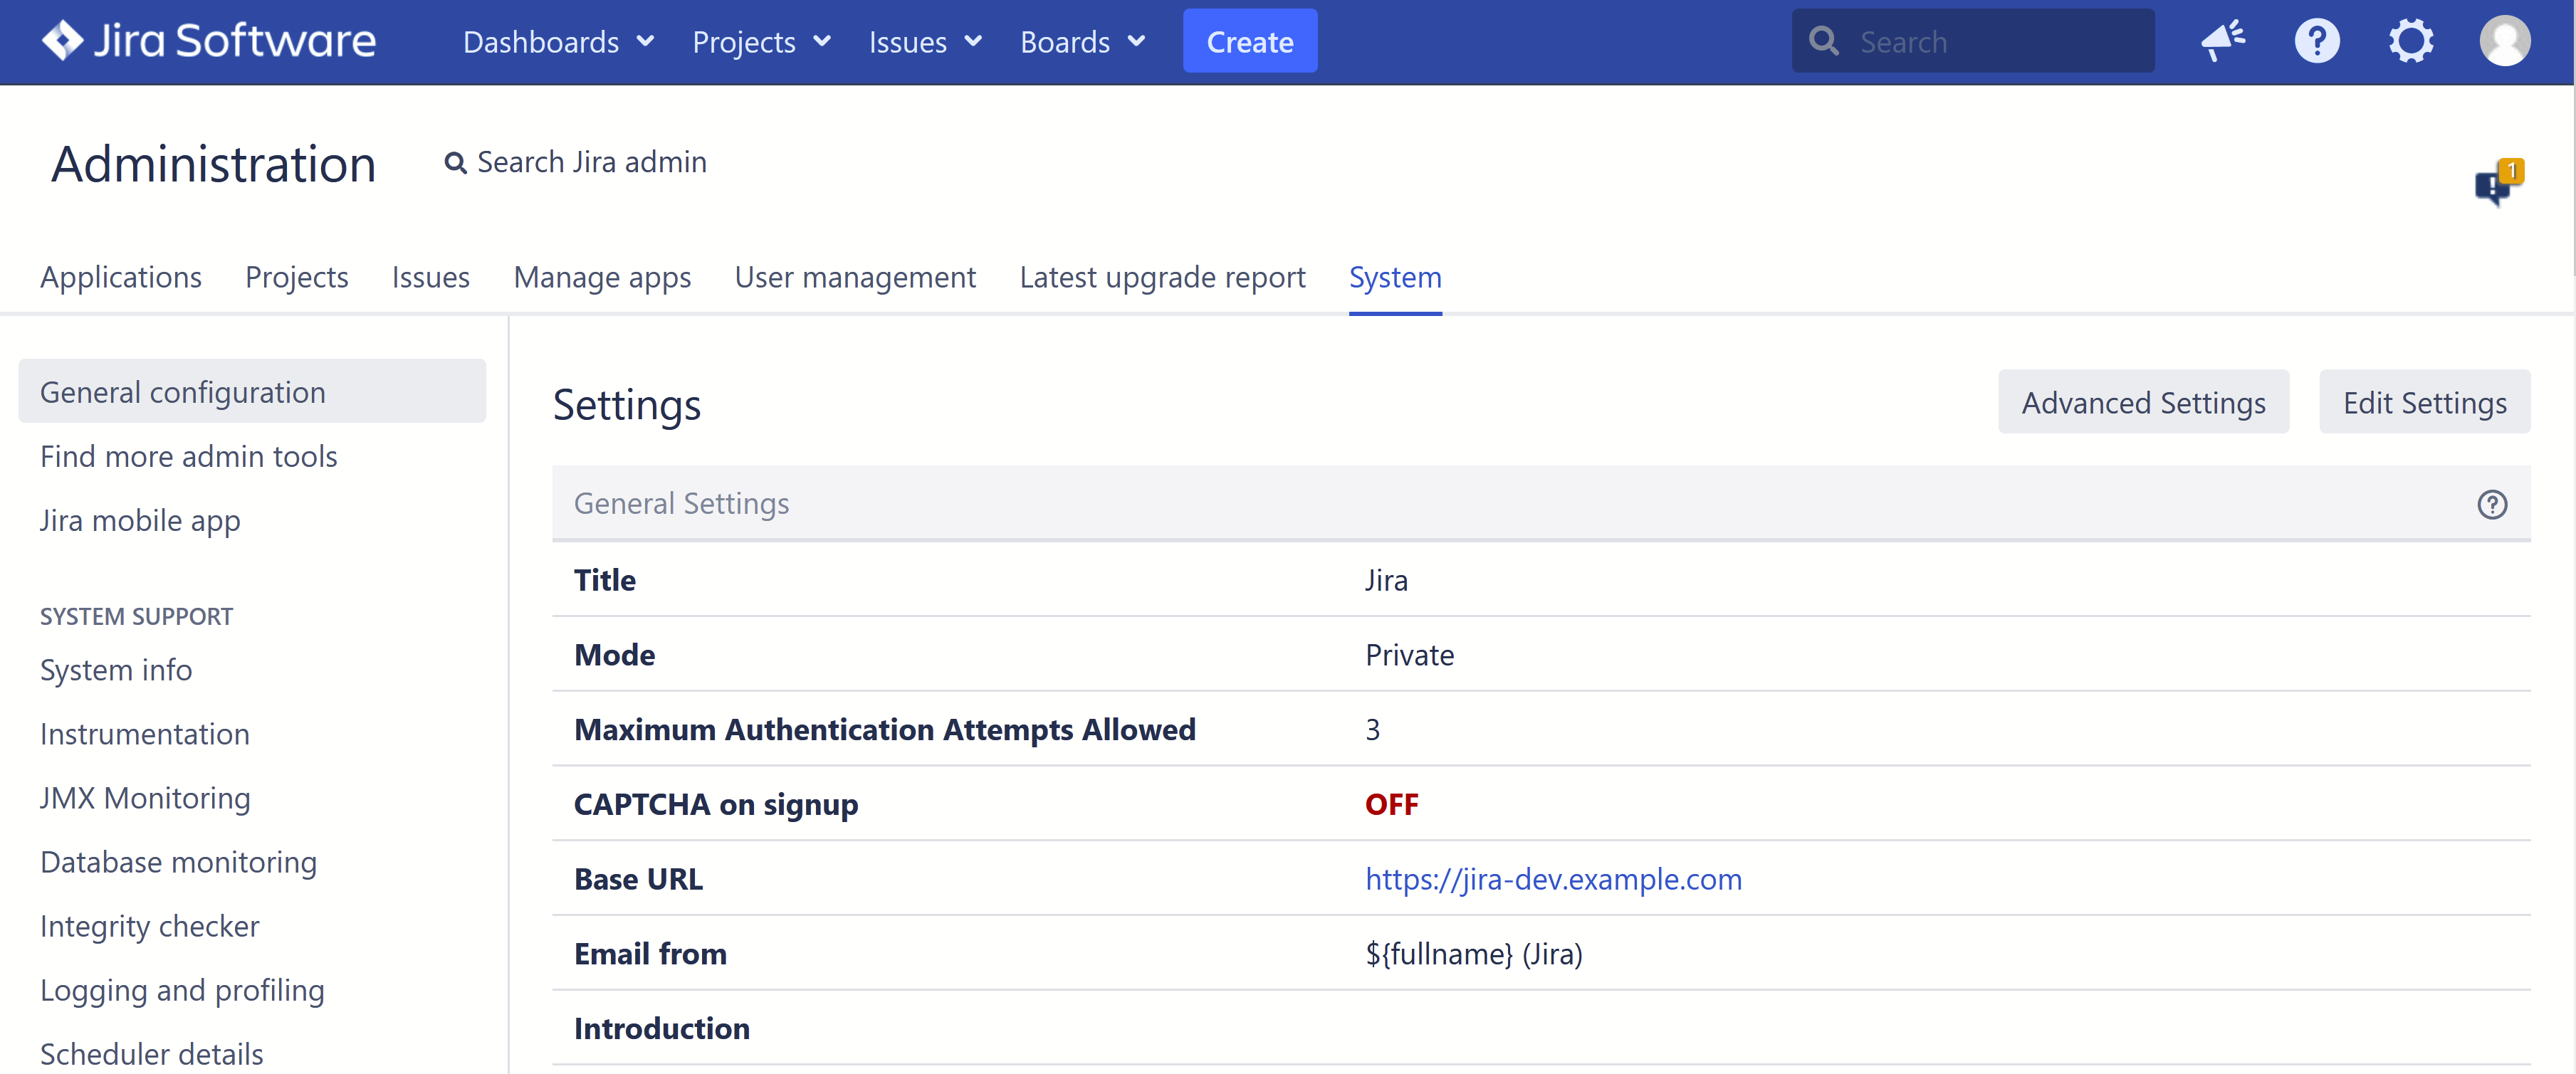
Configure the proxy for your Atlassian instance
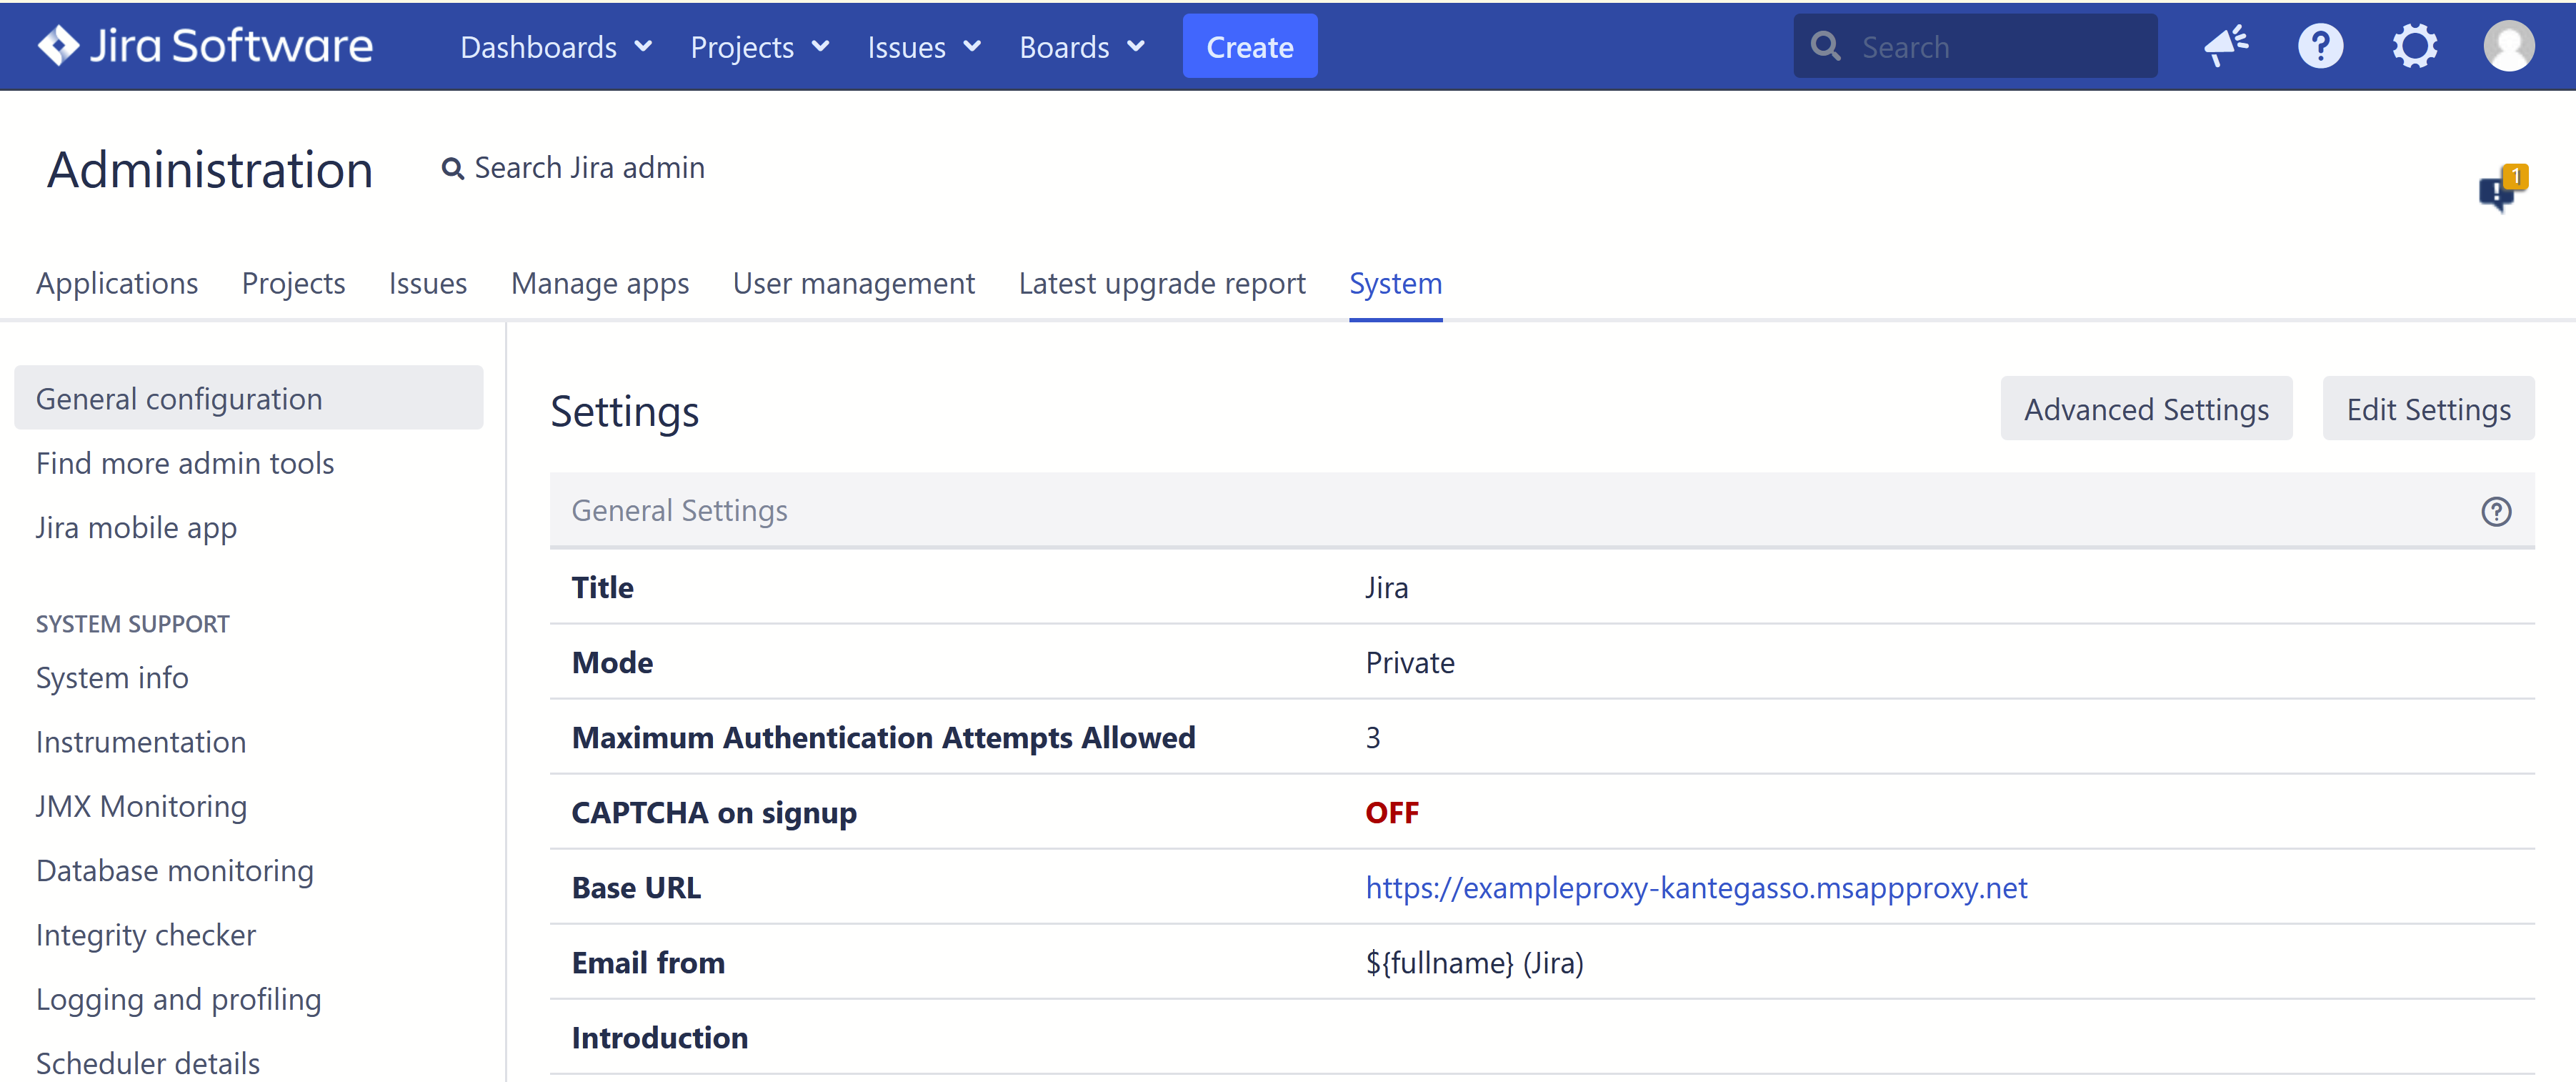
Under General configuration in your Atlassian application, change the base URL from the internal to the new external URL:
Stop the service for the Atlassian application
Go to the installation folder of the Atlassian service and navigate to the Tomcat
server.xmlfile. This is usually under <Installation_folder>/conf/. Find the Connector setting, and set proxyName to the domain name of the external URL you generated in Azure AD:<Connector port="8080" relaxedPathChars="[]|" relaxedQueryChars="[]|{}^\`"<>" proxyName="exampleproxy-kantegasso.msappproxy.net" scheme="https" secure="true" proxyPort="443" maxThreads="150" minSpareThreads="25" connectionTimeout="20000" enableLookups="false" maxHttpHeaderSize="32168" protocol="HTTP/1.1" useBodyEncodingForURI="true" redirectPort="8443" acceptCount="100" disableUploadTimeout="true" bindOnInit="false"/>Then also in server.xml, under <Engine> and <Host>, you can add an <Alias> tag with the external URL (this is nice if you encounter problems with the base URL mismatch):
<Engine name="Catalina" defaultHost="localhost"> <Host name="localhost" appBase="webapps" unpackWARs="true" autoDeploy="true"> <Alias>exampleproxy-kantegasso.msappproxy.net</Alias> <Context path="" docBase="${catalina.home}/atlassian-jira" reloadable="false" useHttpOnly="true"> <Resource name="UserTransaction" auth="Container" type="javax.transaction.UserTransaction" factory="org.objectweb.jotm.UserTransactionFactory" jotm.timeout="60"/> <Manager pathname=""/> <JarScanner scanManifest="false"/> <Valve className="org.apache.catalina.valves.StuckThreadDetectionValve" threshold="120" /> </Context> </Host> <Valve className="org.apache.catalina.valves.AccessLogValve" pattern="%a %{jira.request.id}r %{jira.request.username}r %t "%m %U%{sanitized.query}r %H" %s %b %D "%{sanitized.referer}r" "%{User-Agent}i" "%{j$ </Engine>
5. Restart the service for the Atlassian application. Now in our example, Jira should be accessible from https://exampleproxy-kantegasso.msappproxy.net/, and you will have to preauthenticate to access Jira from the external URL. Users need to be specifically assigned to the proxy application to log in.
Set up Kantega SSO
You are now ready to set up Kantega SSO, either SAML or OpenID Connect (OIDC): Azure AD.
If you have already configured an Enterprise Application or App registration in Azure AD, you may also switch out the base URL in an existing configuration.