...
To begin the SCIM configuration, select Cloud user provisioning, then select Entra ID under the SCIM header from the Add directory dropdown.
...
Introduction and network preparation
...
Tenant configuration
...
Configure SCIM in Microsoft Entra ID
...
Open the Azure admin portal at https://portal.azure.com
Go to Microsoft Entra ID
Open the Enterprise applications menu
Add a new application
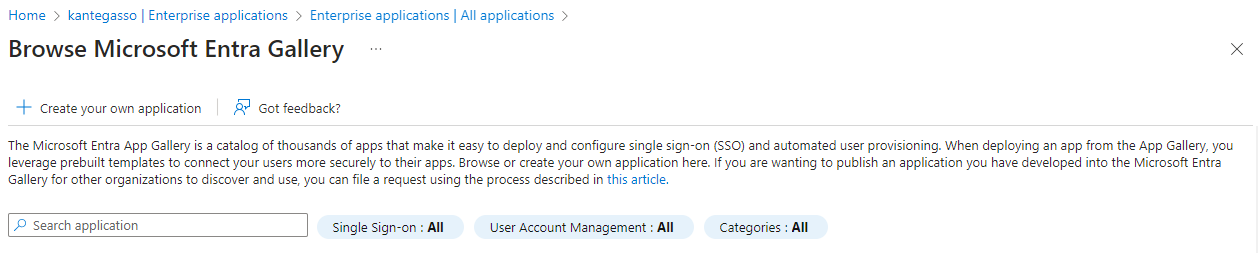
Click the new application button (plus button at the top)
Select Create your own application
Give the application a suitable name
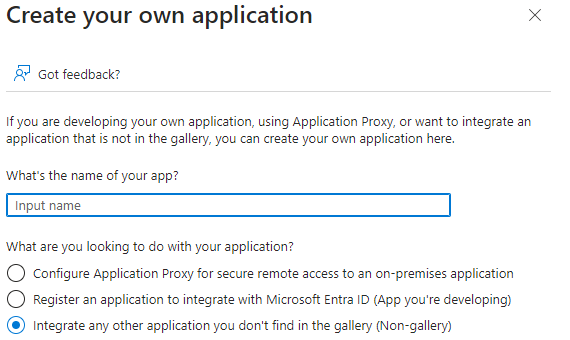
Click Create and wait a few seconds for the app to be created.
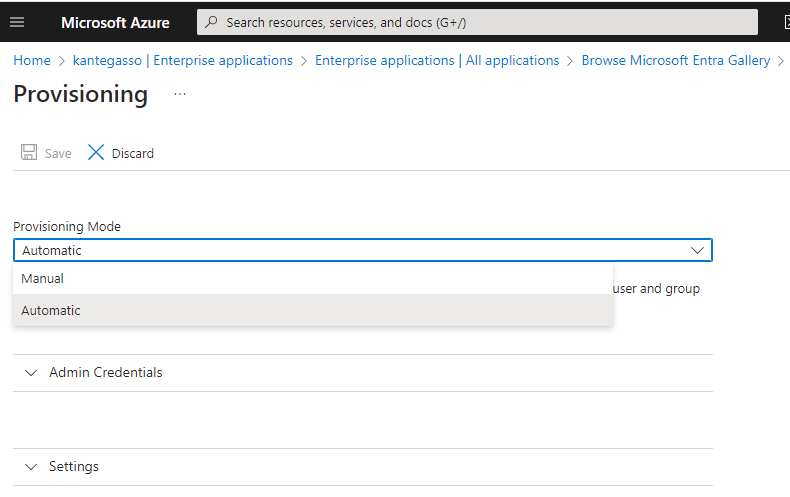
Enable automatic provisioning
Open the Provisioning menu, and change the provisioning option from Manual to Automatic. This will make several new options appear, but it won't be able to save yet.
Configure admin credentials
Expand the Admin credentials drawer if it isn't already open. Copy the tenant URL and application secret for Kantega SSO Enterprise into Microsoft Entra, as shown in the below screenshot.

After filling in the required fields, click the Test Connection button. If everything is working, you should get a notification, and the Save button should become available.

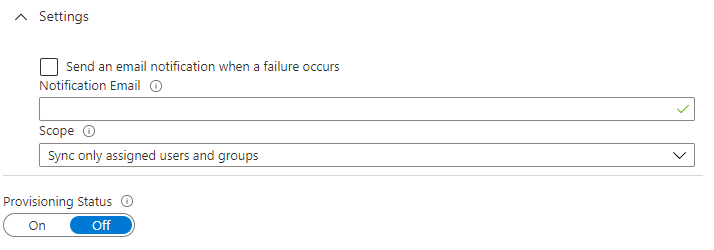
Set the provisioning scope
Set the provisioning scope to only assigned users and groups. Rarely would you want to provision the entire company. Leave provisioning status to OFF for now. Finally, click Save to persist the settings so far.
Configure attribute mappings
Mappings control the user account attributes that flow from Mirosoft Entra to Kantega SSO Enterprise. Under Provisioning settings, expand the Mappings drawer, then click Provision Azure Active Directory Users.
Some mappings needs to be changed and some mappings are unused and can be deleted.
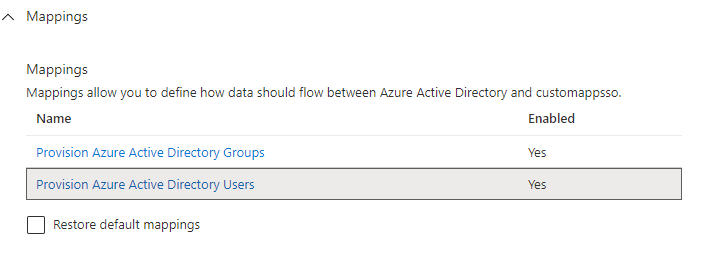
You should now see a list of default attribute mappings. Leave the following as they are by default:
userPrincipalName
active
givenName
surname
Change the Mapping type for the following mappings
emails[type eq "work"].value,displayNameandname.formattedfrom Direct to Expression, using the expressions from the table found below. Click a row to edit, modify according to the table, then save. The need for this change is since Atlassian accounts require a non-empty username, name, and email address, so you will need to provide a mapping that assures values for all of these, or provisioning of certain users may consistently fail.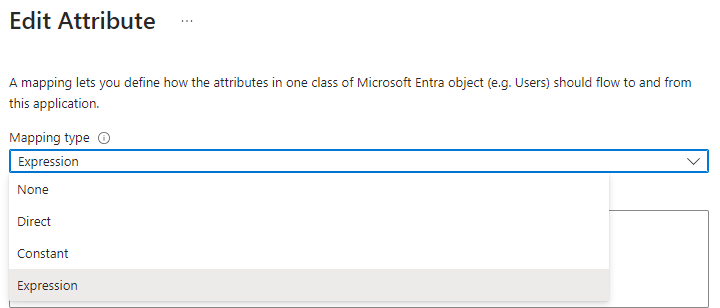
...