This page contains:
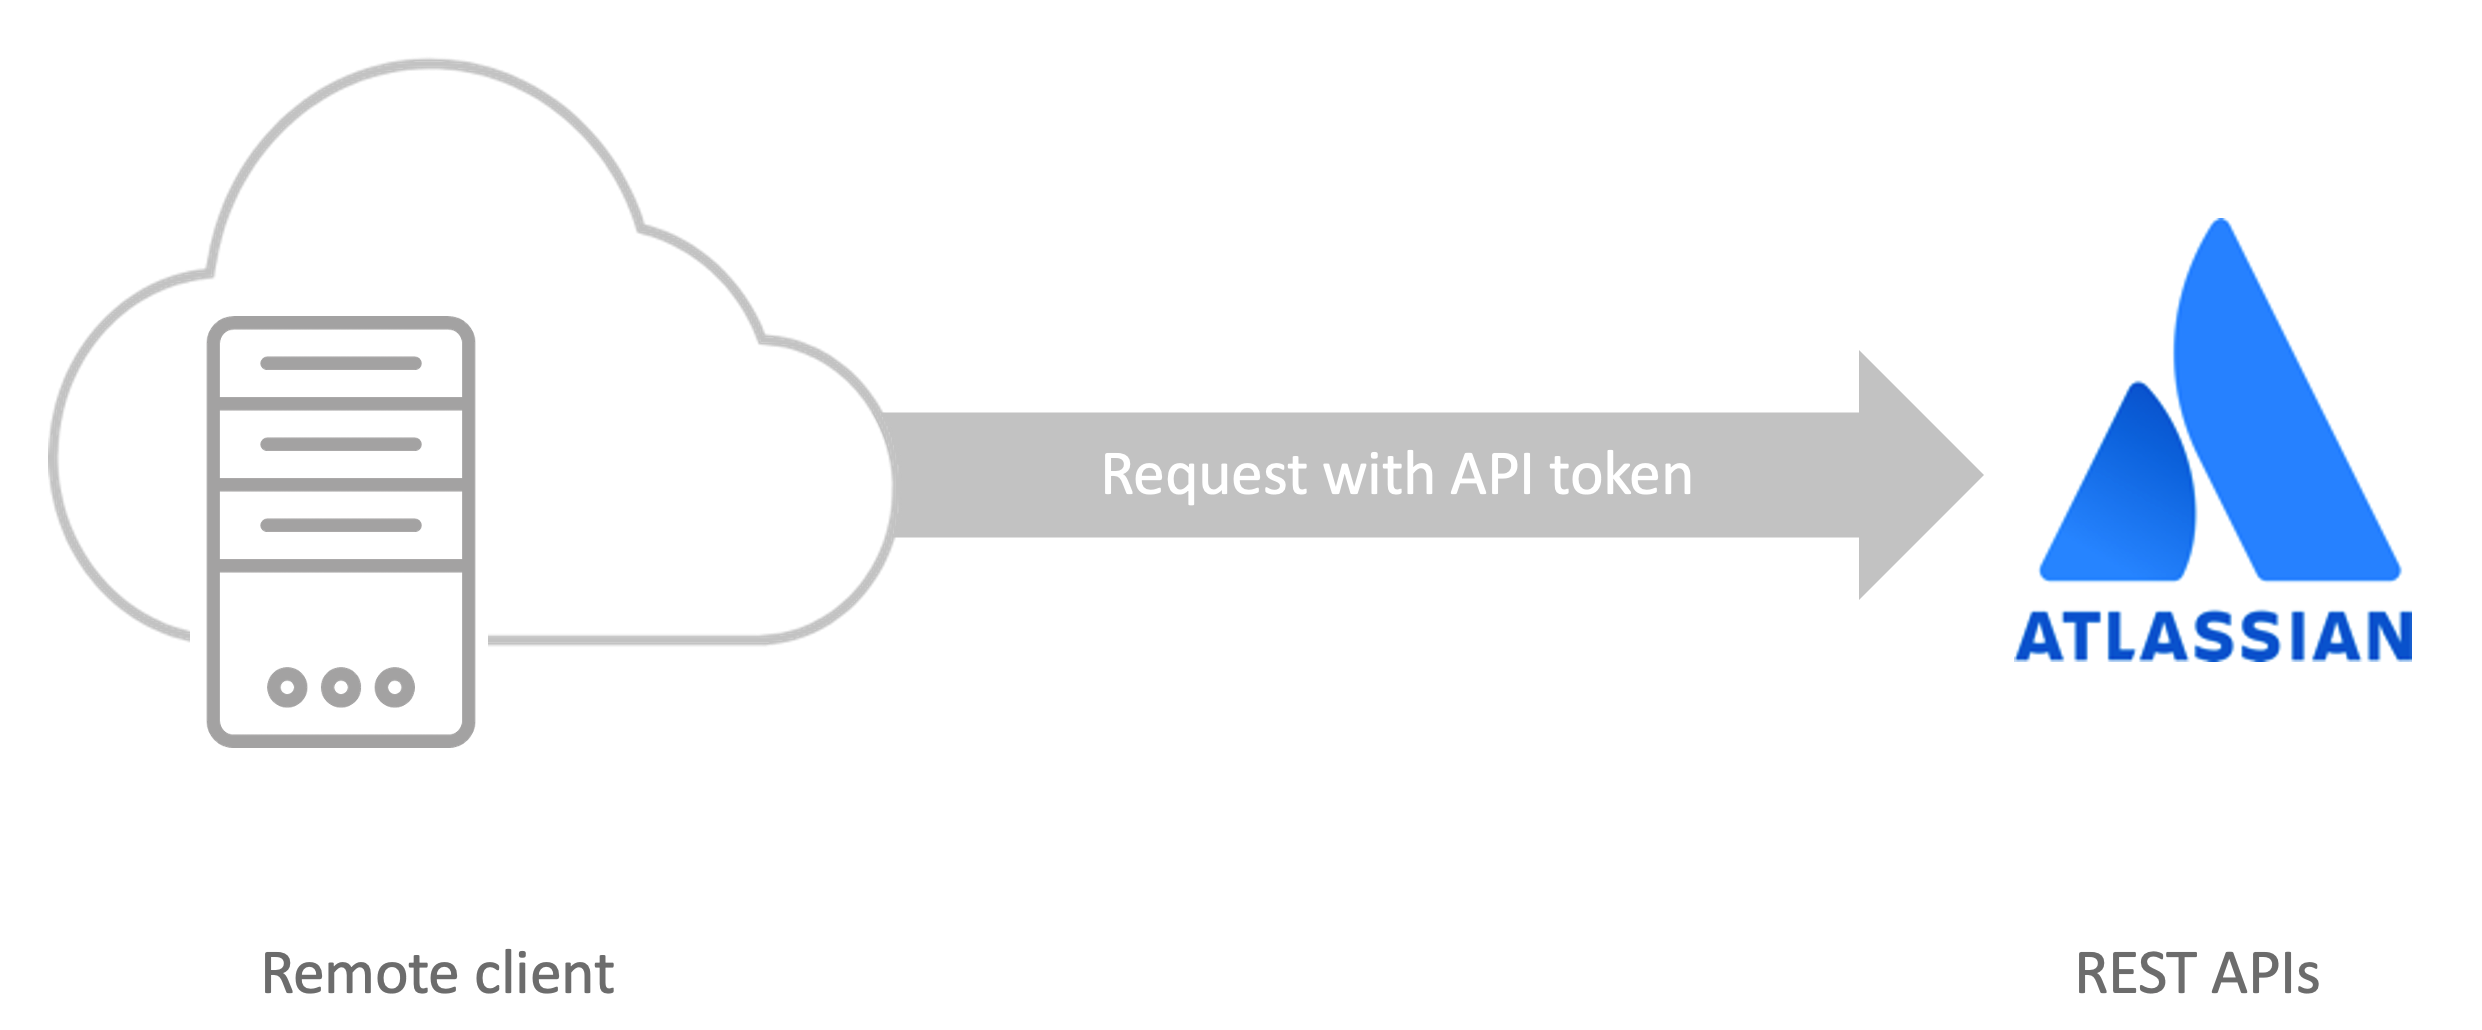
API tokens allow remote agents to establish personalized integrations with Atlassian applications and installed third-party apps.
More secure than HTTP Basic Auth
API Tokens have several benefits over traditional basic auth, including:
You can easily expire or regenerate unique tokens without affecting the user's account password.
Users can create multiple tokens targeting different integrations.
Suitable in SSO environments where users have no passwords in the Atlassian user directories.
Minimal changes are required if you want to replace existing basic auth integrations with API tokens, as you only need to replace the passwords with a token value. Kantega SSO Enterprise also allows you to disable HTTP basic auth integrations altogether.
Remember that the API tokens grant access to make requests on behalf of a user, and these values should be considered as sensitive as passwords. They should not be shared or distributed to untrusted parties. All requests should also use HTTPS endpoints.
Manage API tokens
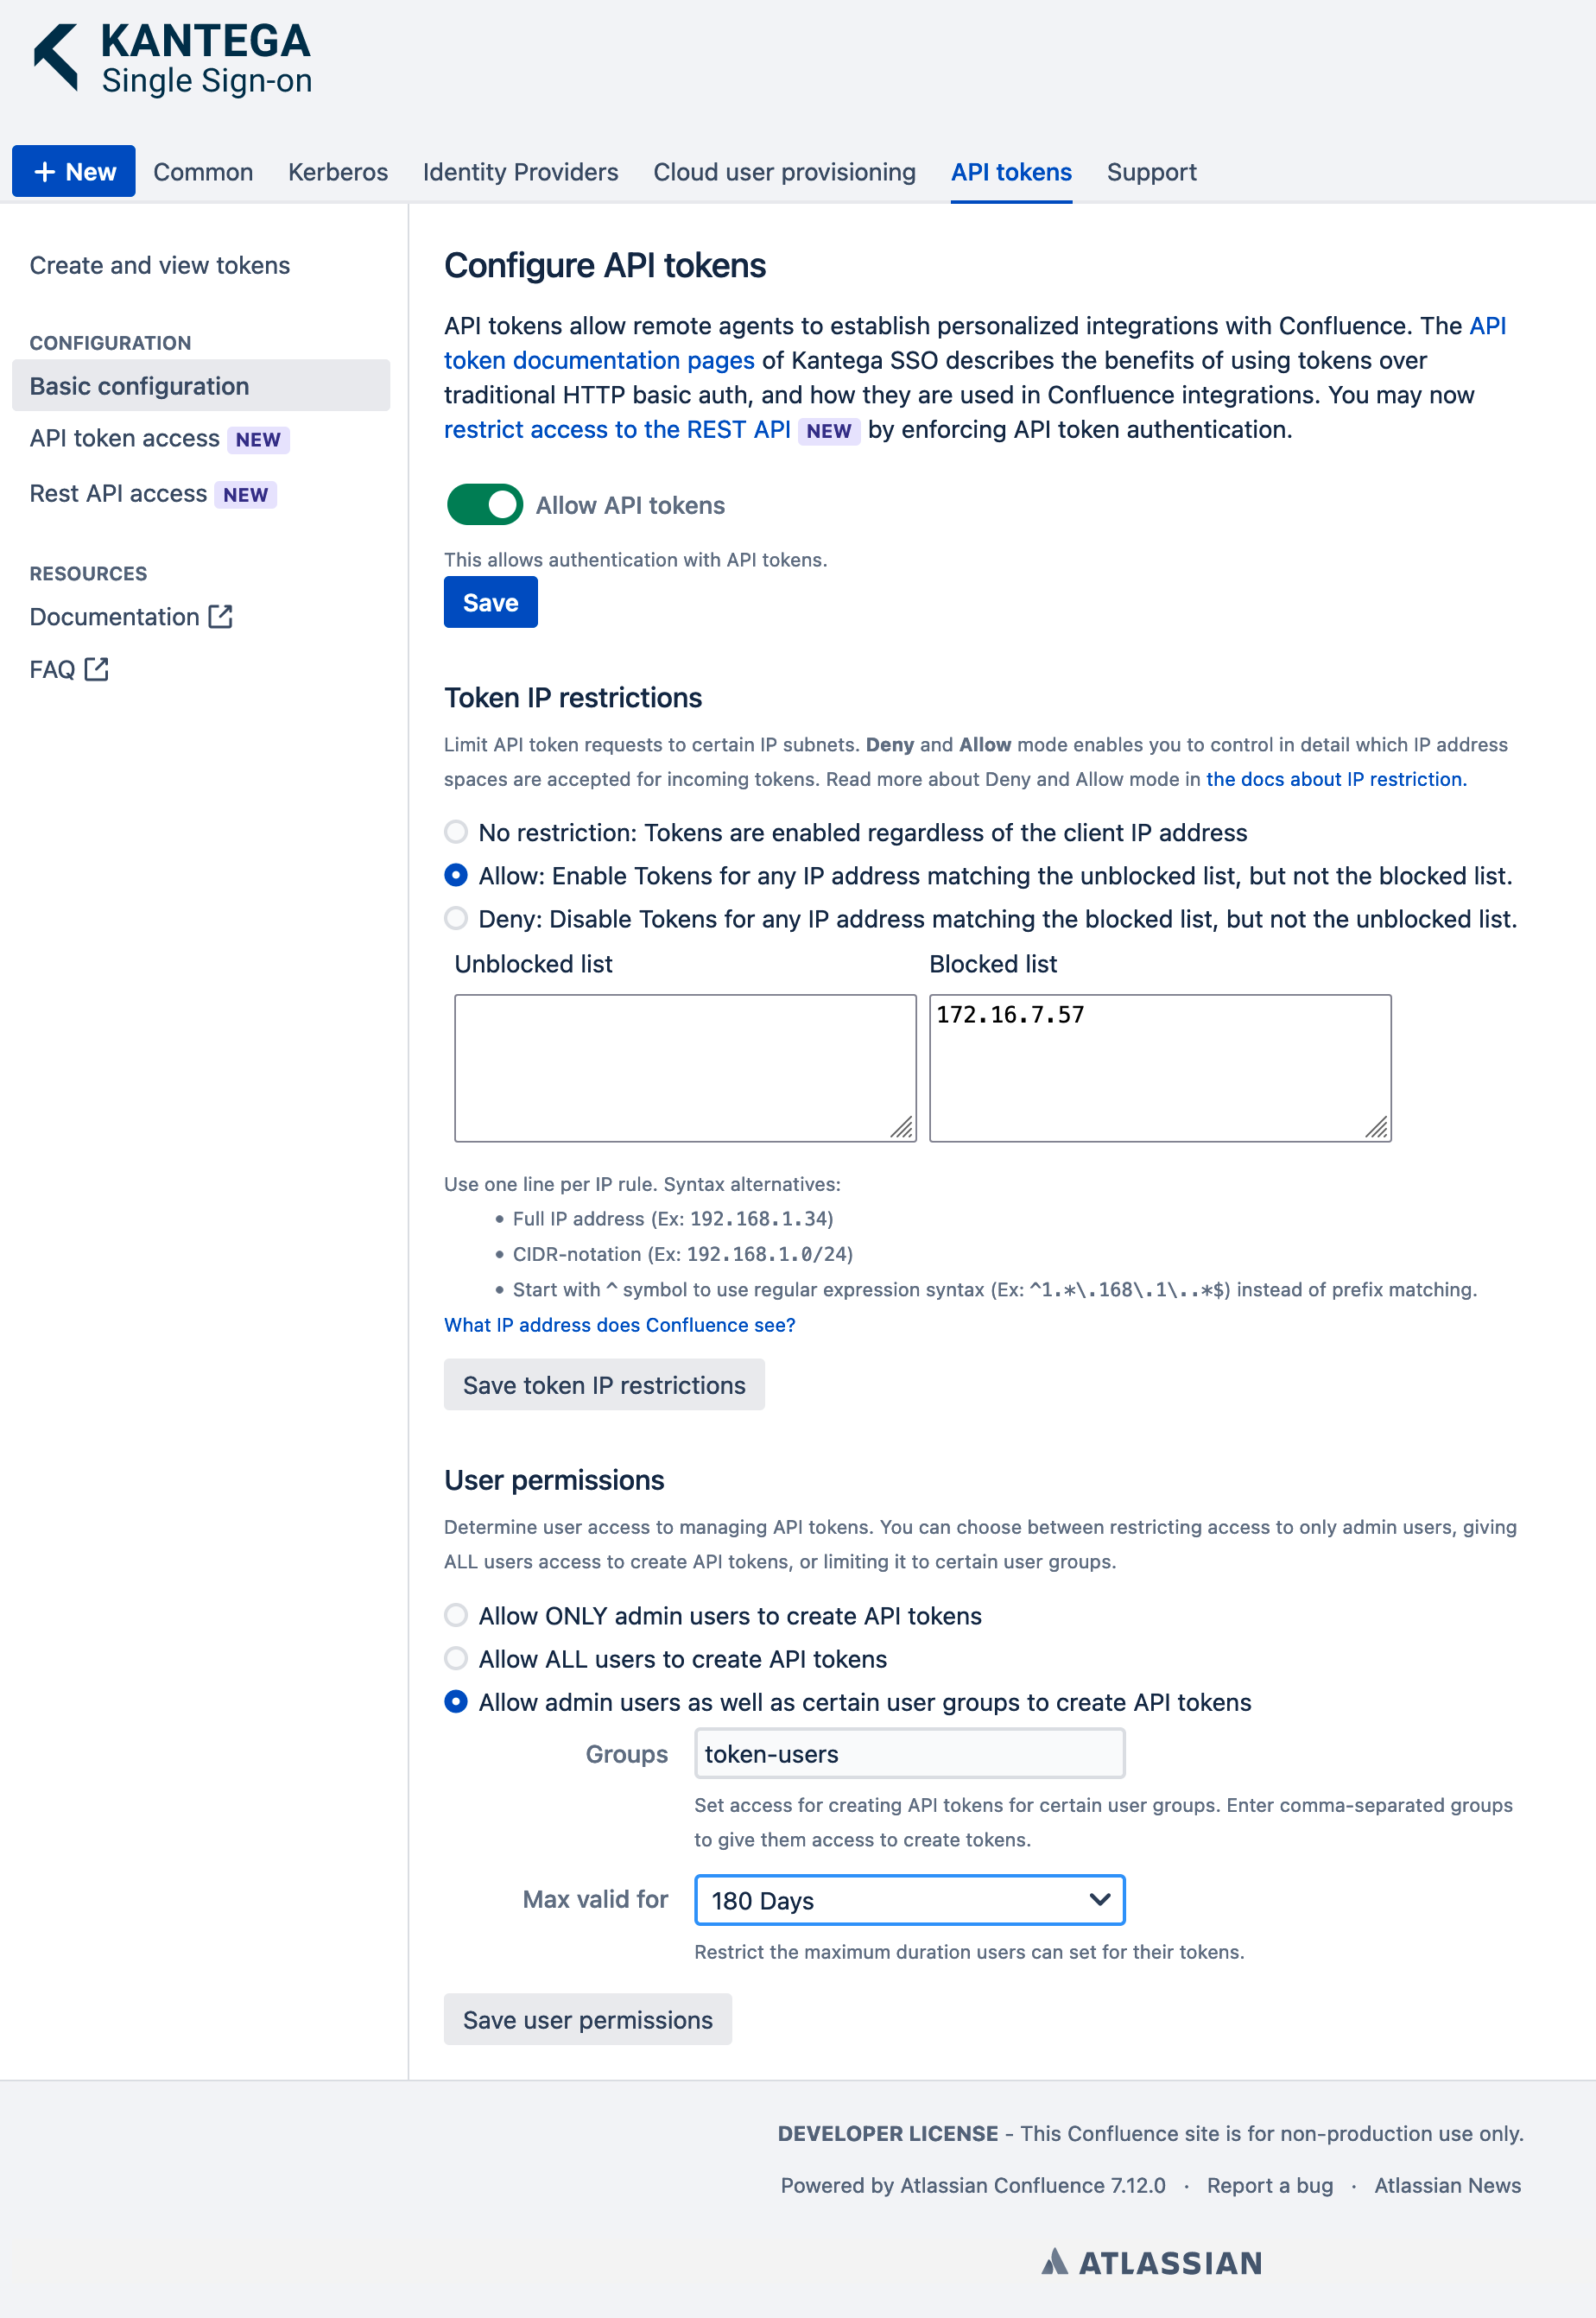
Admin users can manage tokens by opening the Kantega SSO configurations, select the API tokens tab and click Basic configuration. You can also manage API tokens programatically using the REST API.
Security control
Admins can restrict and control the usage of API tokens in terms of:
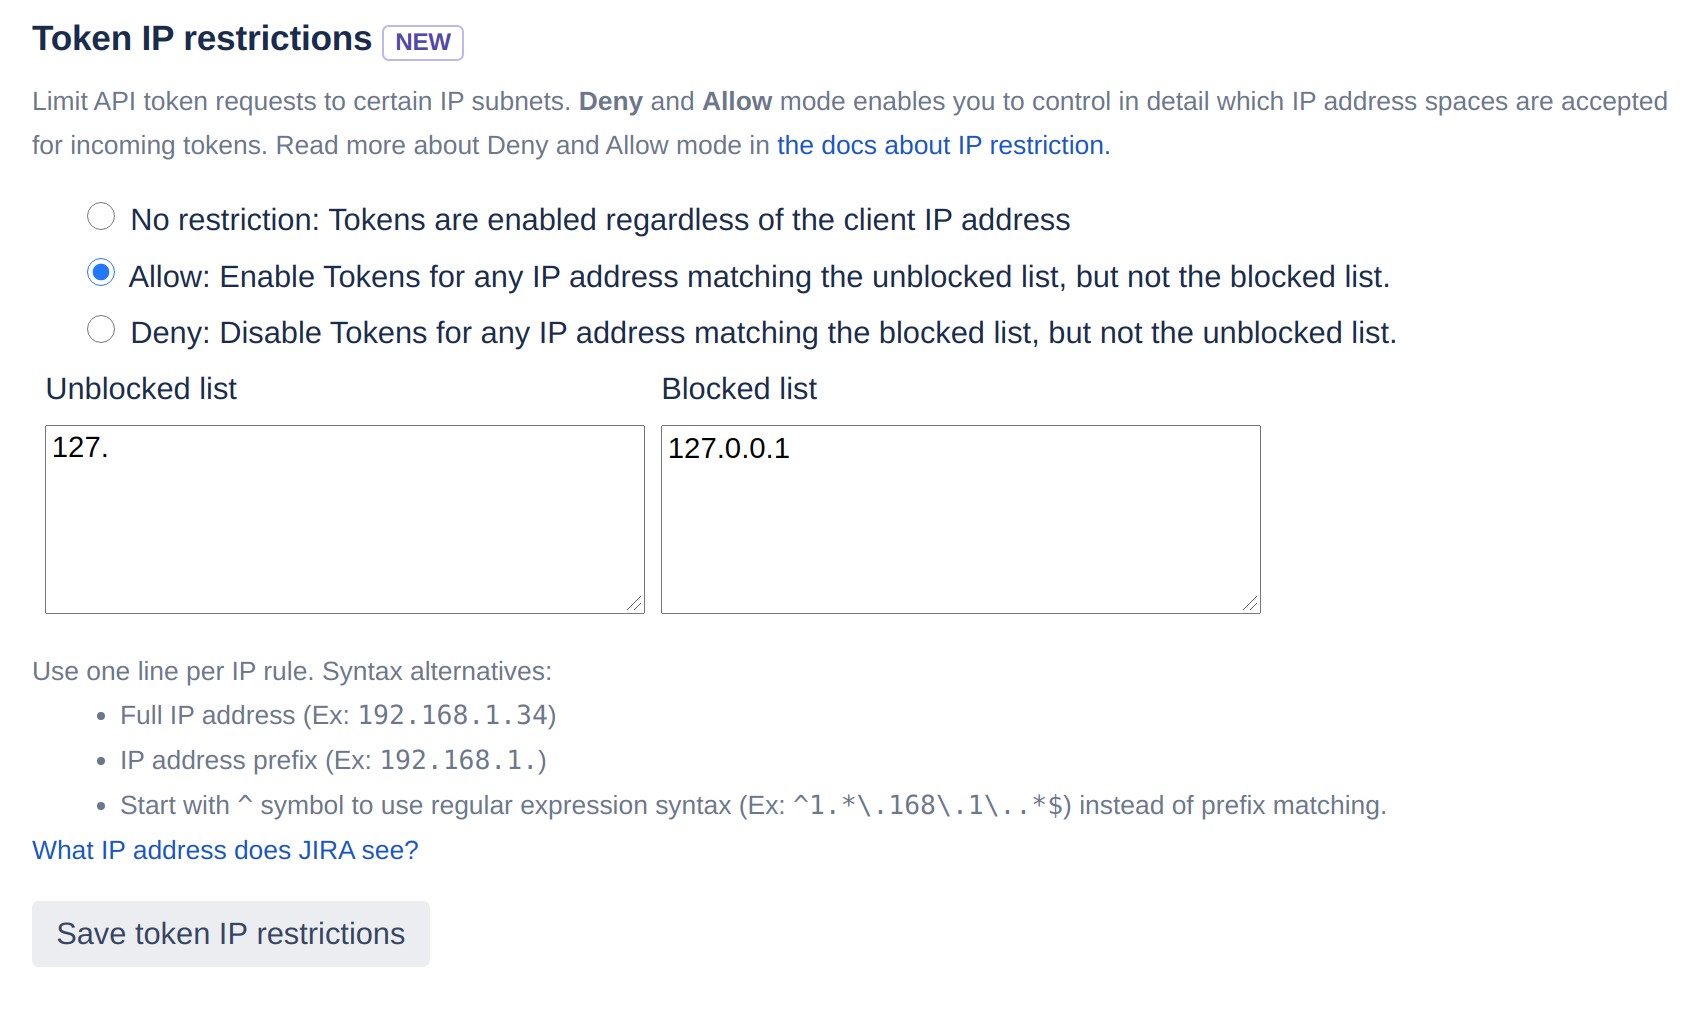
IP restriction: Manage IP ranges for clients that are allowed to authenticate with API tokens. You can both enable and disable tokens for specific IP ranges. Read more about IP restrictions.
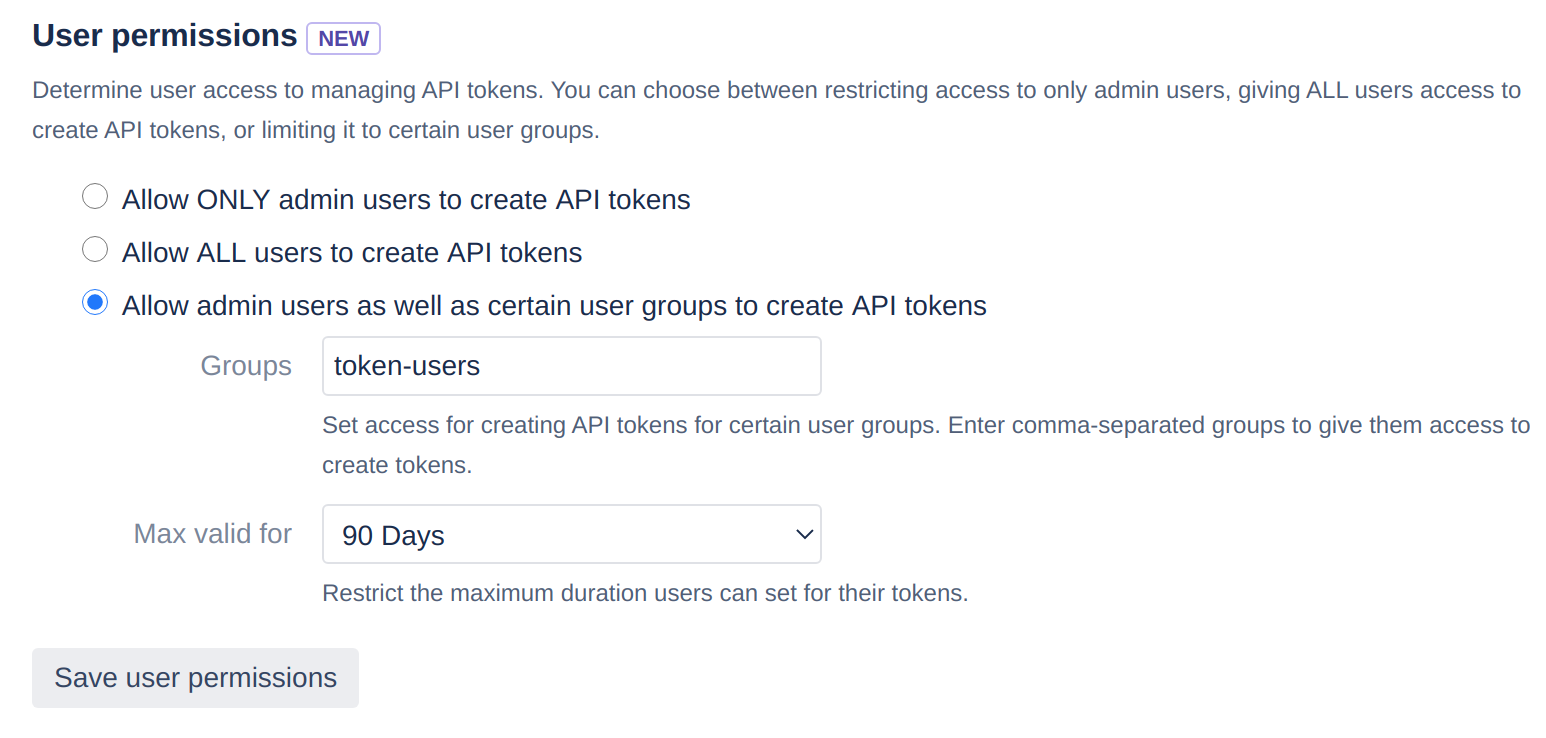
User permissions: Manage whether non-admin users should be allowed to create API tokens. You can even assign such permissions to specific groups and specify the maximum lifetime of tokens.
As an admin, you will be able to see all API tokens, also those created by other users.
Given the restrictions in the image above, only certain users that are members of token-users are allowed to create tokens, and the maximum duration they can set is 90 days.
Create tokens
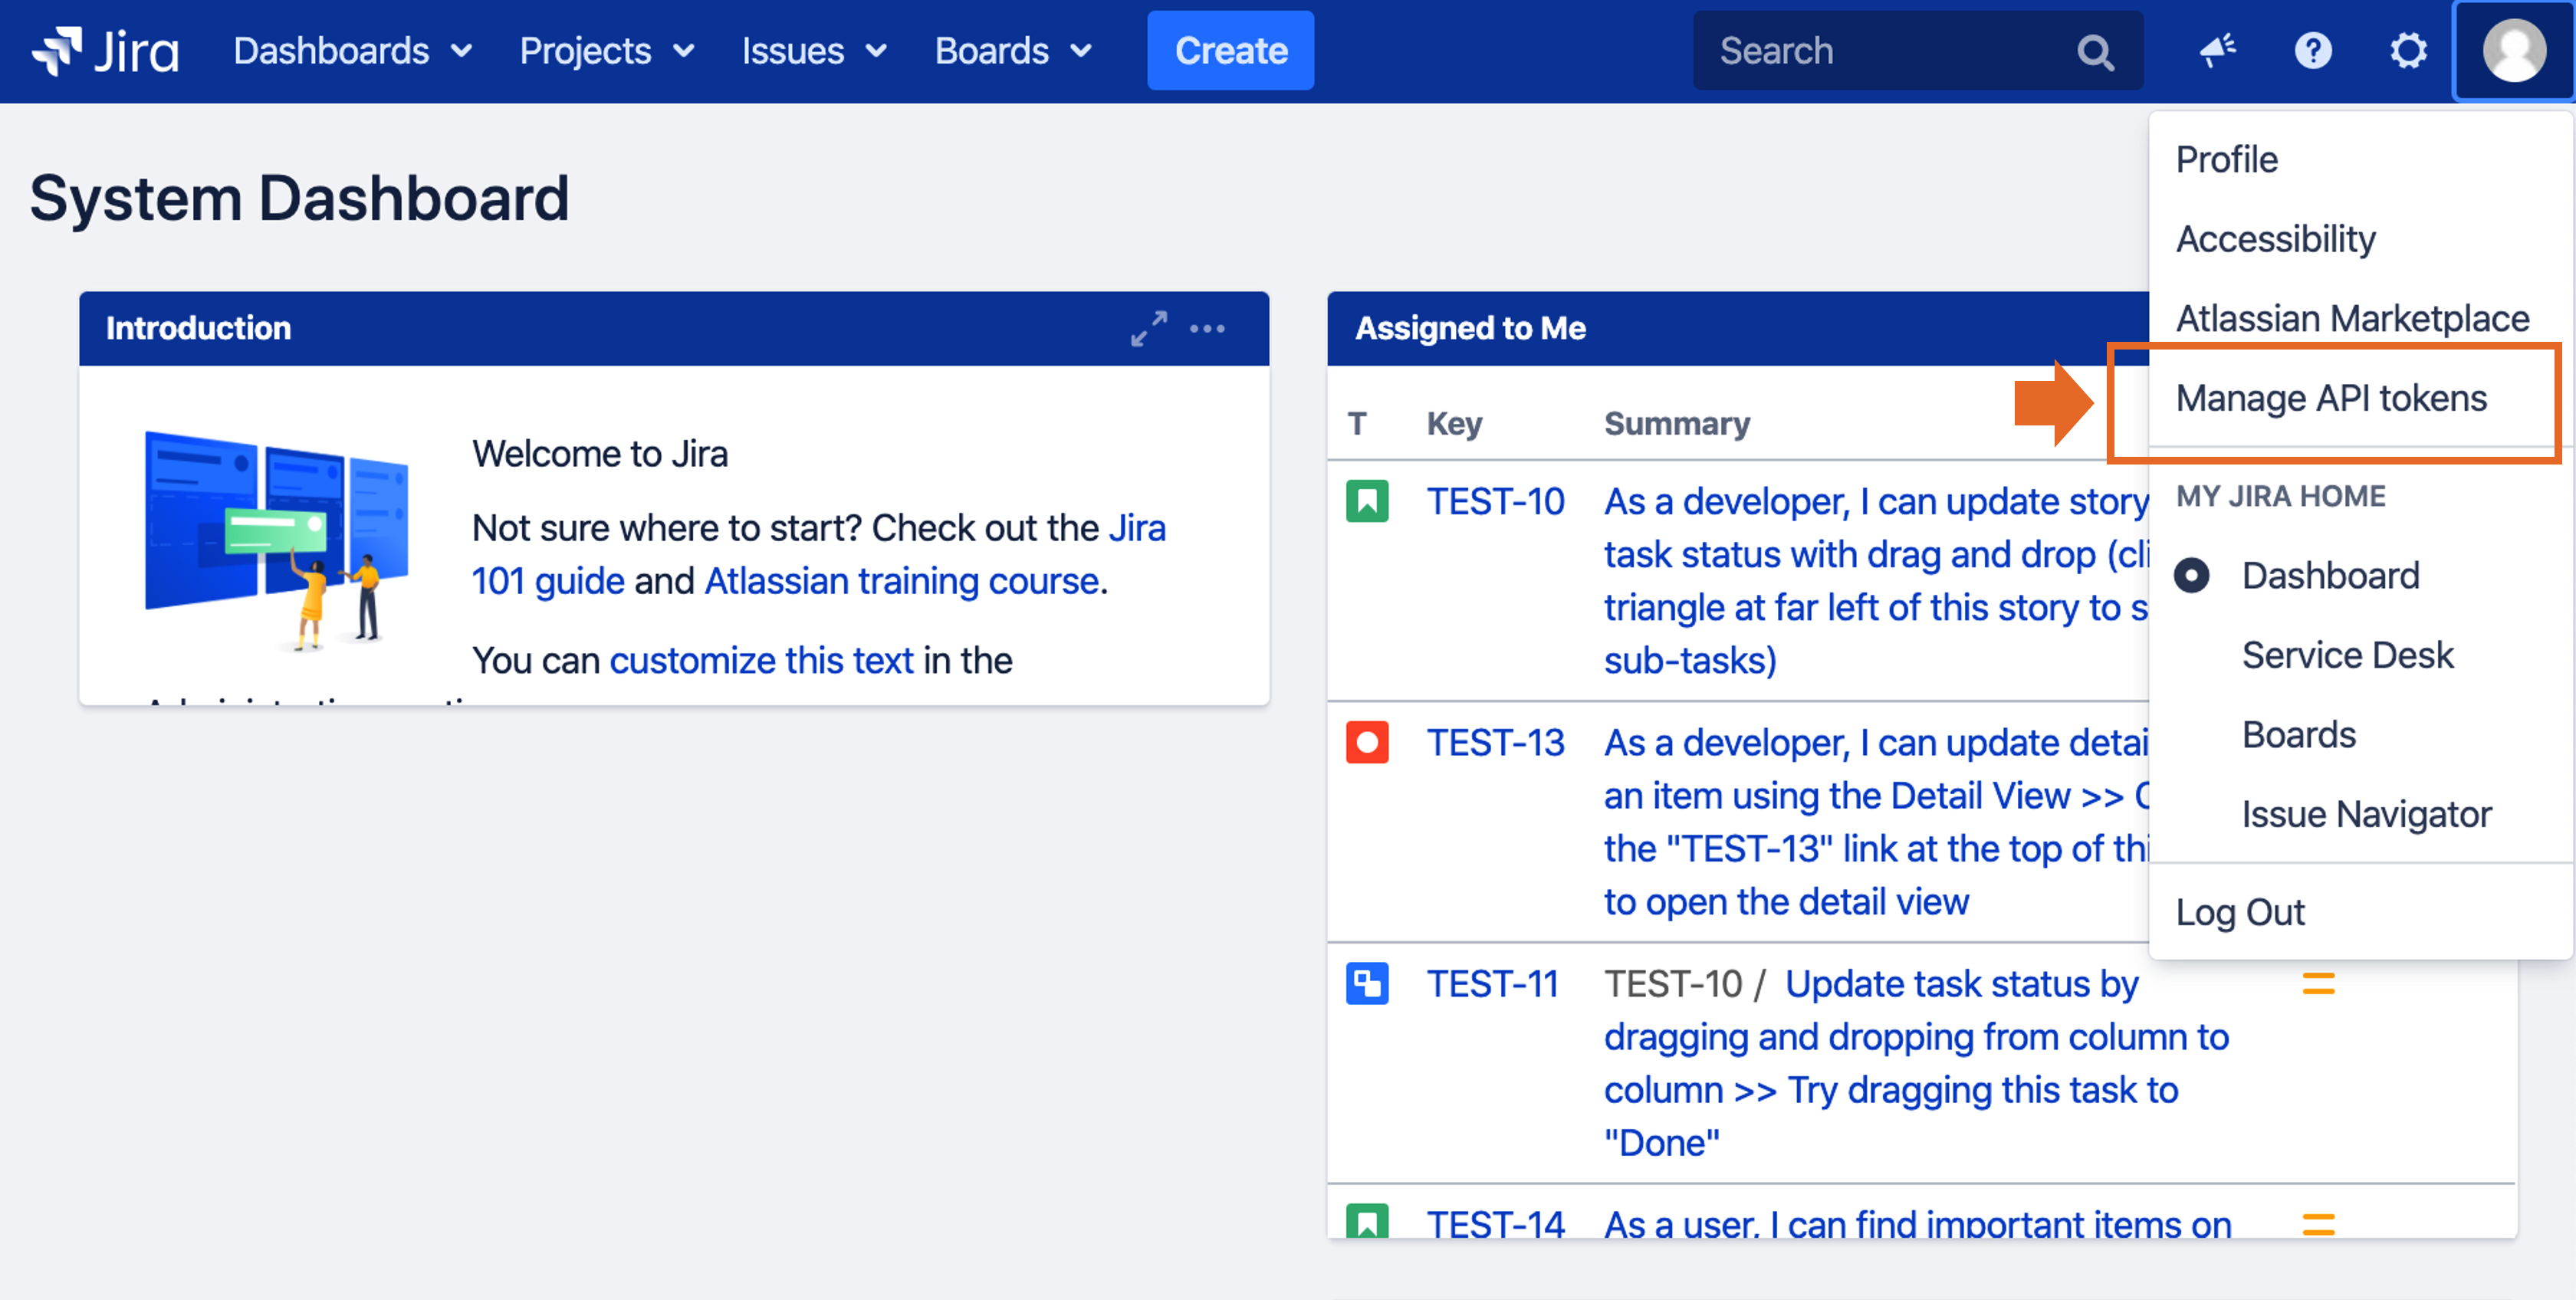
When non-admin users are allowed to create API tokens, they will find a Manage API tokens link in their top-right user menu (as shown below)
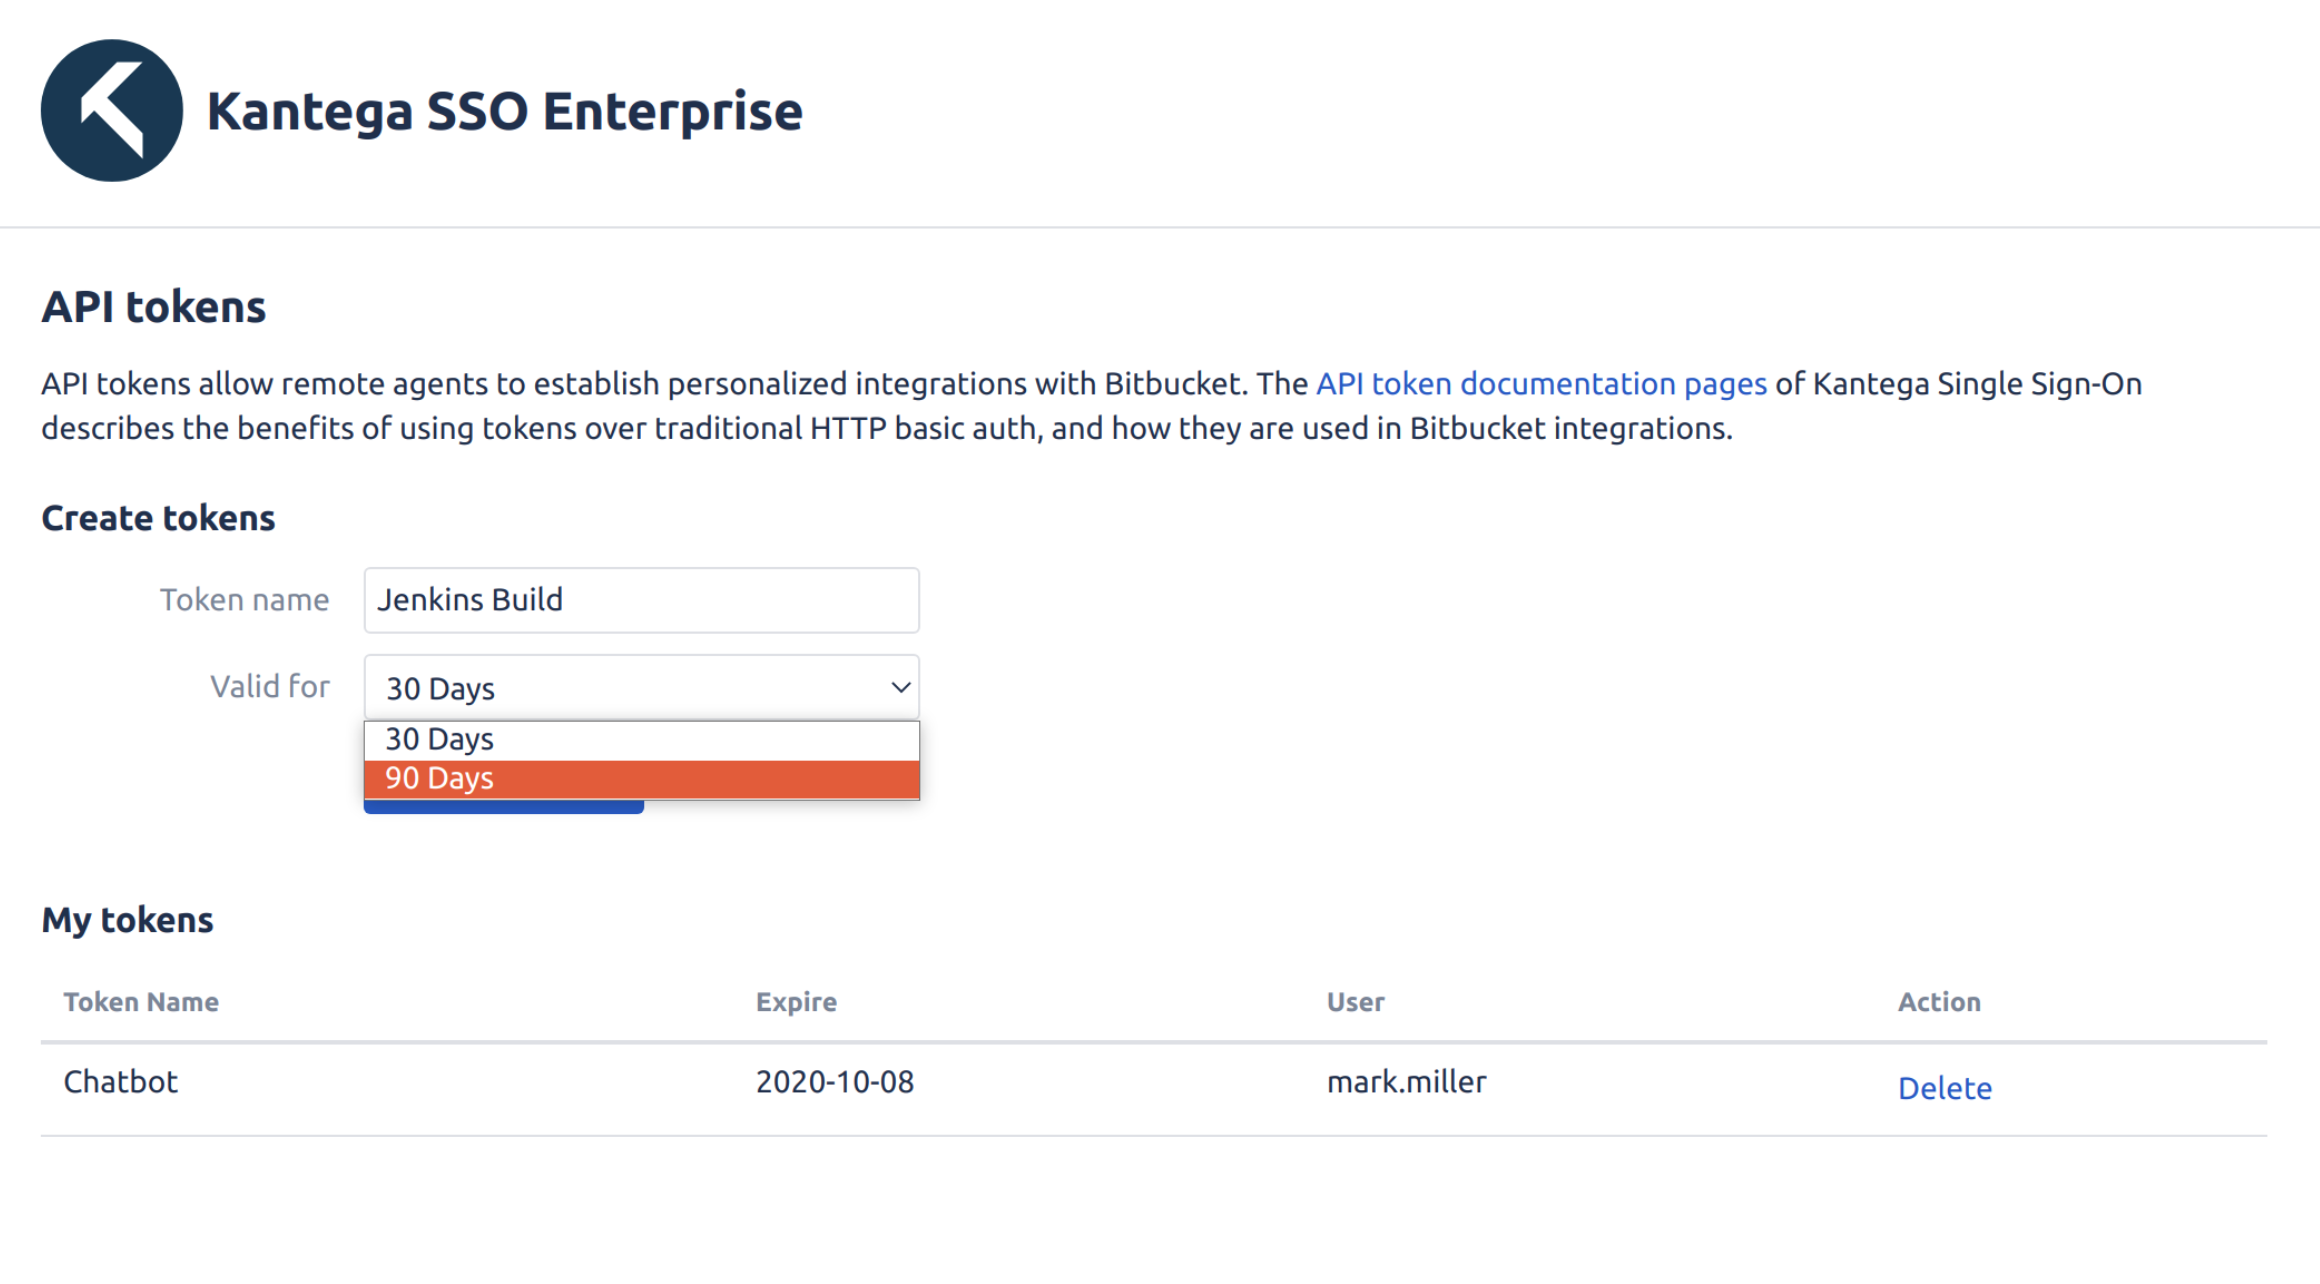
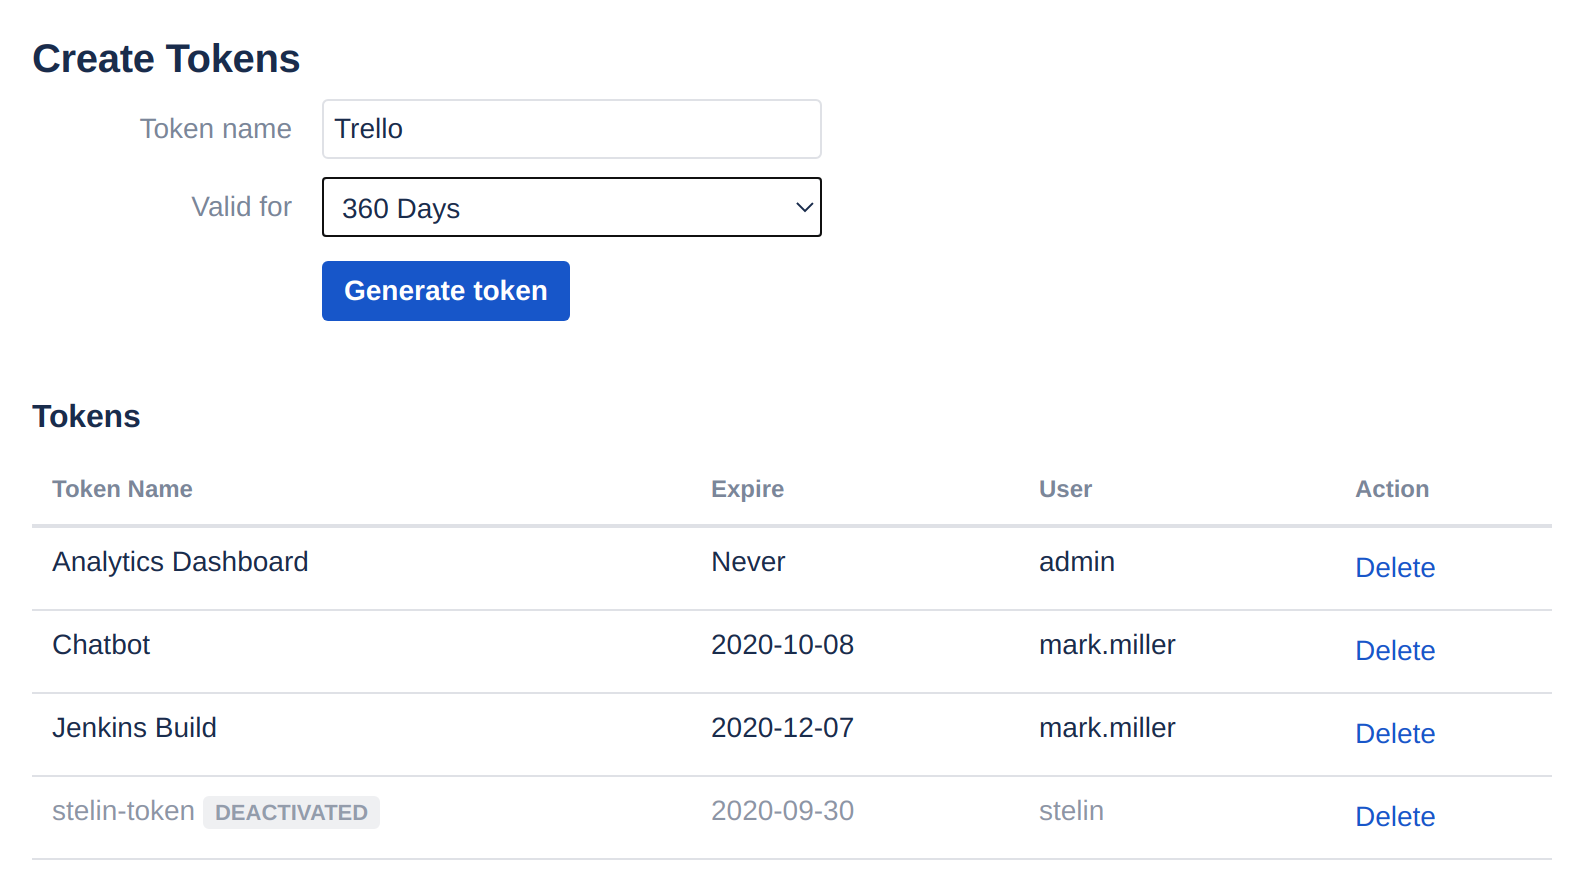
To create a token, you specify a token name (alias), select how long the token should exist, and click Generate token. As admin, you can create tokens and view all existing tokens like shown in the image below. Also notice in the below table that the token created by the user stelin is deactivated, because this user is not a member of the token-users group.
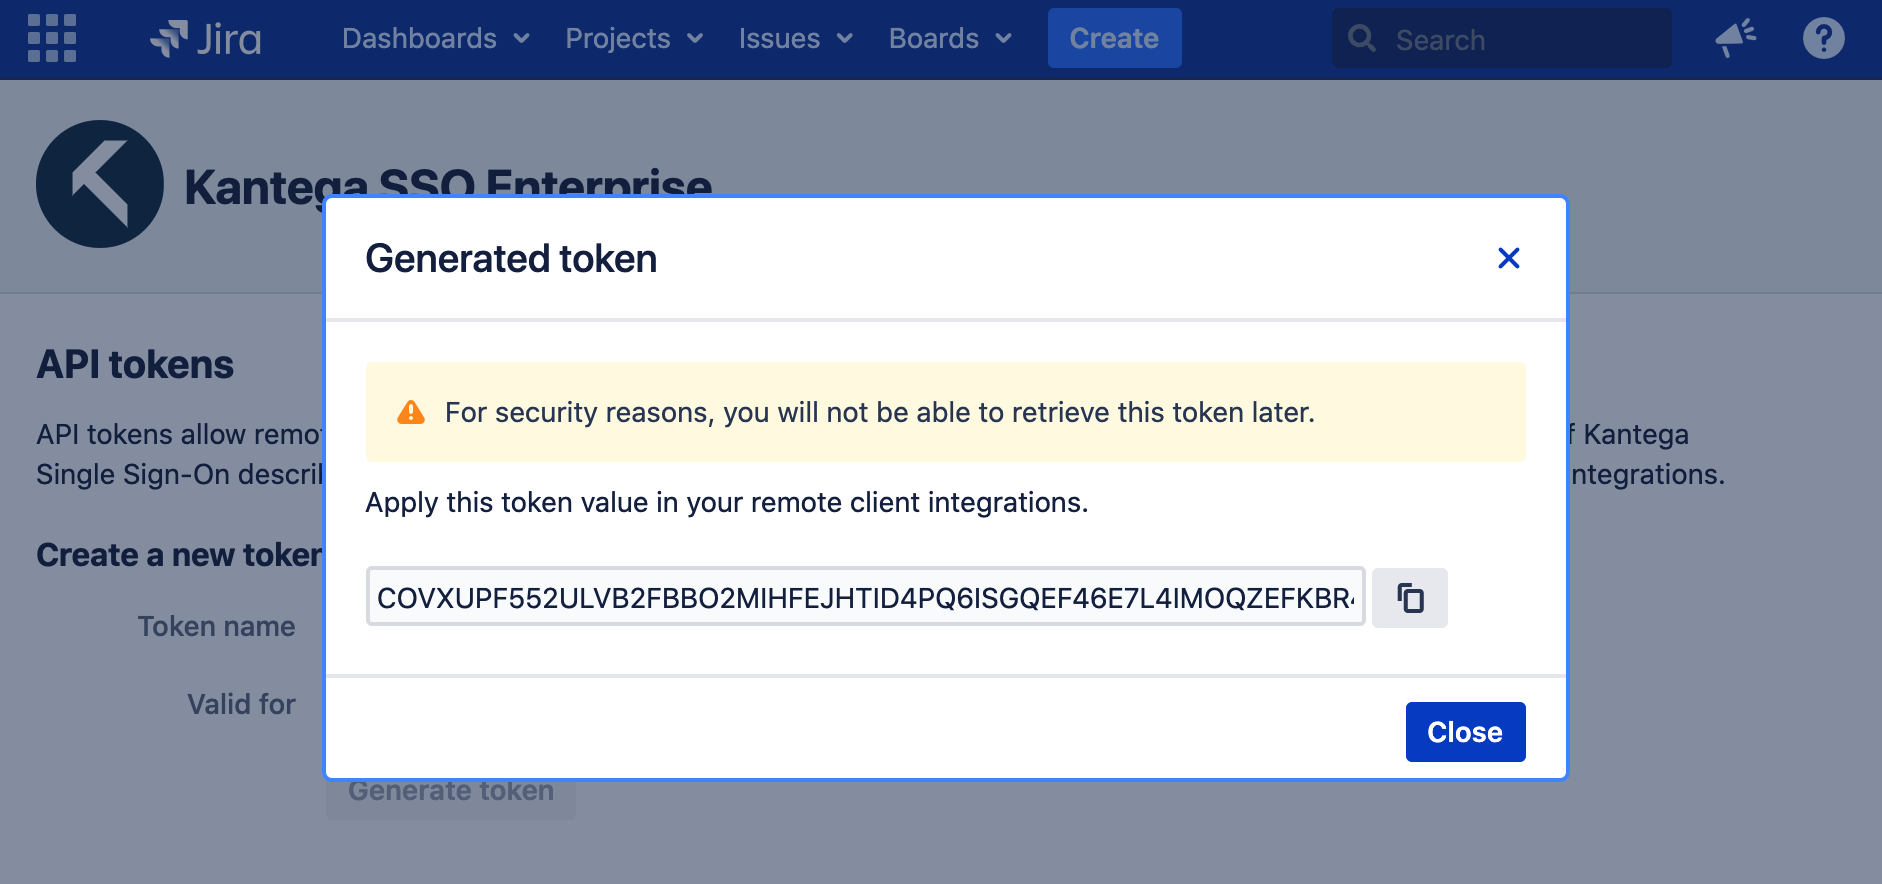
You will then see a dialog window where the actual token value is exposed. Copy this value and apply it in your remote client integration setup.
You are only allowed to create tokens related to your user account. To create tokens for other user accounts (for example a function user / technical user), you must log in with the relevant user and then create tokens.
Use API tokens on non-rest URLs
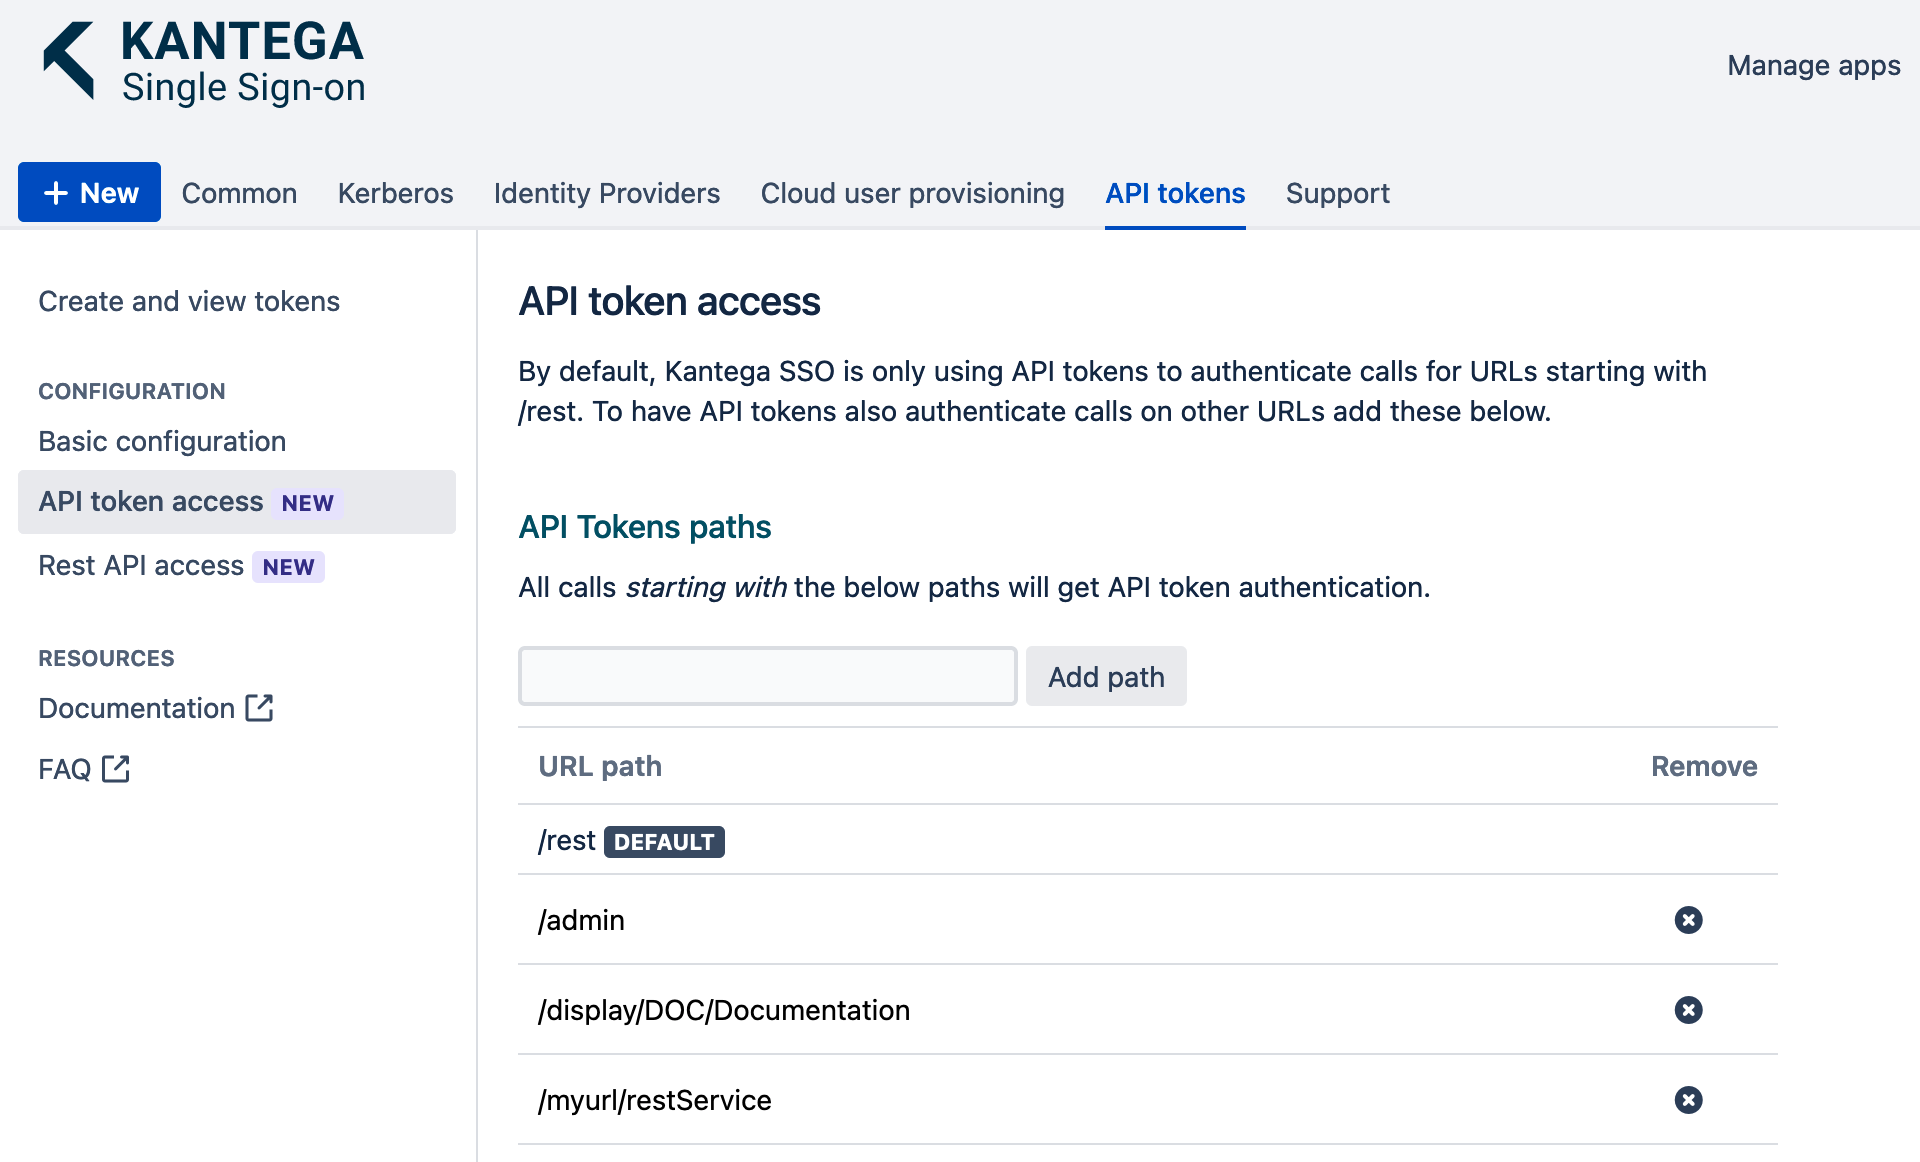
In some situations, you may want to access other URLs than in the /rest area. Then you can add the relevant patch to use API tokens for this as shown in the image below.
Use an API token
Below follows several examples for how to construct HTTP request with API tokens in various programming languages:
Curl
curl -u username:my-api-token https://jira.example.com/rest/
Javascript
const response = await fetch('https://jira.example.com/rest/', {
  headers: {
    'Authorization': `Basic ${btoa(`${username}:${my-api-token}`)}`
  }
});
const result = await res.json();
const http = new XMLHttpRequest();
const url = 'https://jira.example.com/rest/';
http.open("GET", url, true, username, my-api-token);
http.withCredentials = true;
http.send();
jQuery
$.get('https://jira.example.com/rest/',
   {
      'auth': {
         'user': 'username',
         'pass': 'my-api-token'
      }
   }
);
Python
r = requests.get('https://jira.example.com/rest/', auth=(username, my-api-token))
Java
HttpClient client = HttpClientBuilder.create().build();
HttpPost post = new HttpPost("https://jira.example.com/rest/");
String encoding = Base64.getEncoder().encodeToString((username.concat(":").concat(my-api-token)).getBytes("UTF-8"));
post.setHeader(HttpHeaders.AUTHORIZATION, "Basic " + encoding);
HttpResponse response = client.execute(post);
