| Info |
|---|
Follow the instructions below to set up the provisioning of users from OktaOneLogin. Read more in OktaOneLOgin's official SCIM documentation. |
...
Configure SCIM in OneLogin
Open the OneLogin admin portal.
Click the Applications menu tab, then select Applications
Click the Add app button in the top right corner
Find and select the SCIM Provisioner with SAML (SCIM v2 Core) template
In the search box, enter SCIM Provisioner
Click the search result

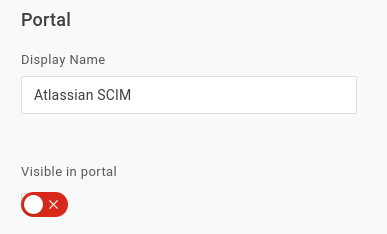
Add a name for the app, then click Save
Configuration tab: Configure provisioning
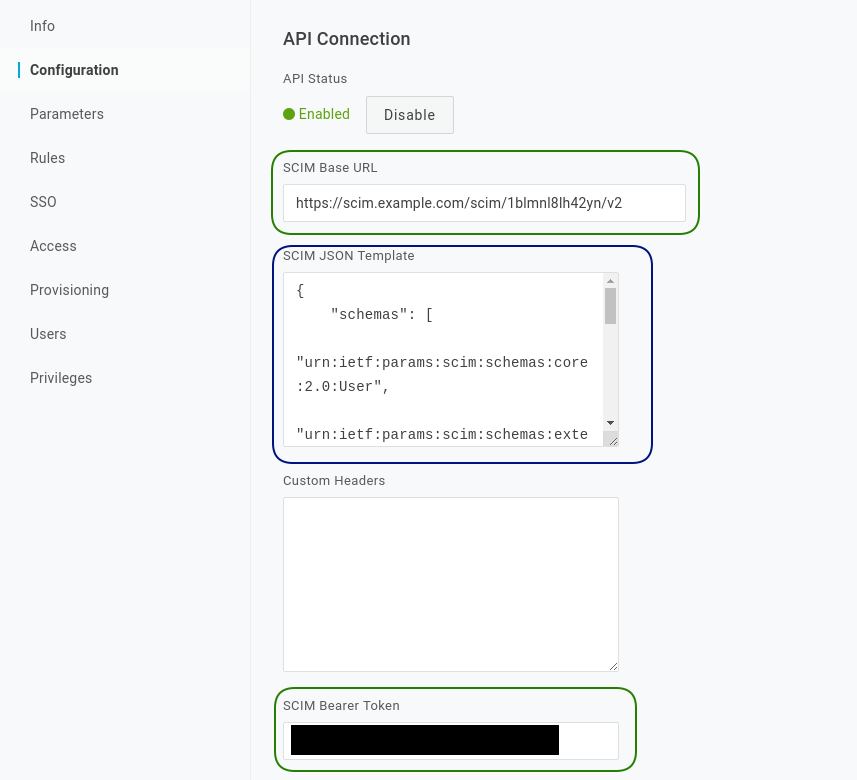
Move to the Configuration tab. Make a note of the SAML configuration fields at the top. You will need these when configuring SAML SSO later. For now, we'll focus on provisioning.
Copy the SCIM tenant URL and application secret into OneLogin:
Copy the Base URL into the SCIM Base URL field
Copy the App secret into the SCIM Bearer Token field
Copy the below SCIM JSON template into OneLogin
Code Block language json { "schemas": [ "urn:ietf:params:scim:schemas:core:2.0:User", "urn:ietf:params:scim:schemas:extension:enterprise:2.0:User" ], "userName": "{$parameters.scimusername}", "name": { "givenName": "{$user.firstname}", "familyName": "{$user.lastname}", "formatted": "{$user.display_name}" }, "emails": [{ "value": "{$user.email}", "type": "work", "primary": true }] }Verify settings
Your OneLogin configuration tab should now look something like this. When done, click save, then enable
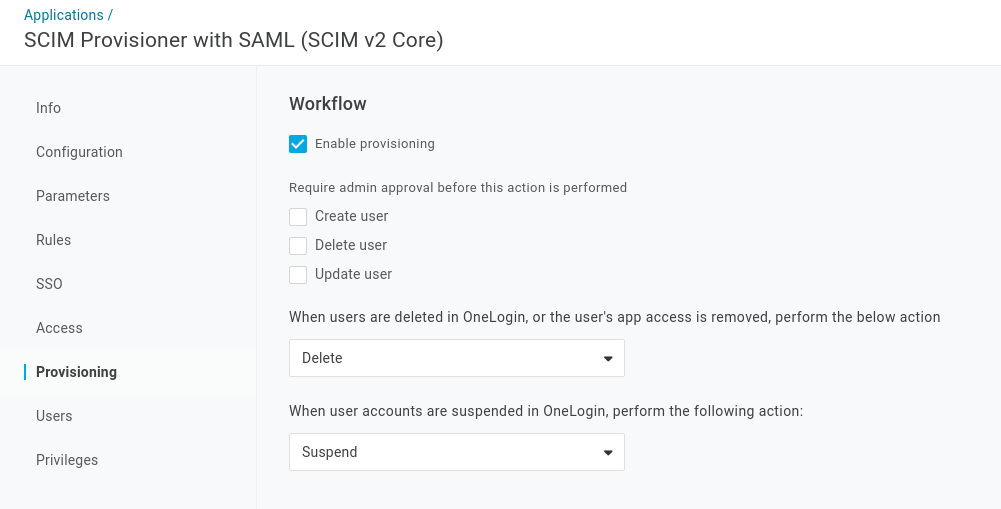
Enable provisioning
Go to the Provisioning tab and select Enable provisioning. Optionally deselect all admin approval requirements and change the user deletion action to delete instead of suspend, as shown in the below screenshot. Click Save
Configure group provisioning
Roles in OneLogin can be provisioned as Atlassian/SCIM groups using rules. You can skip this step if you only need to provision user accounts and intend to manage groups in the Atlassian application.
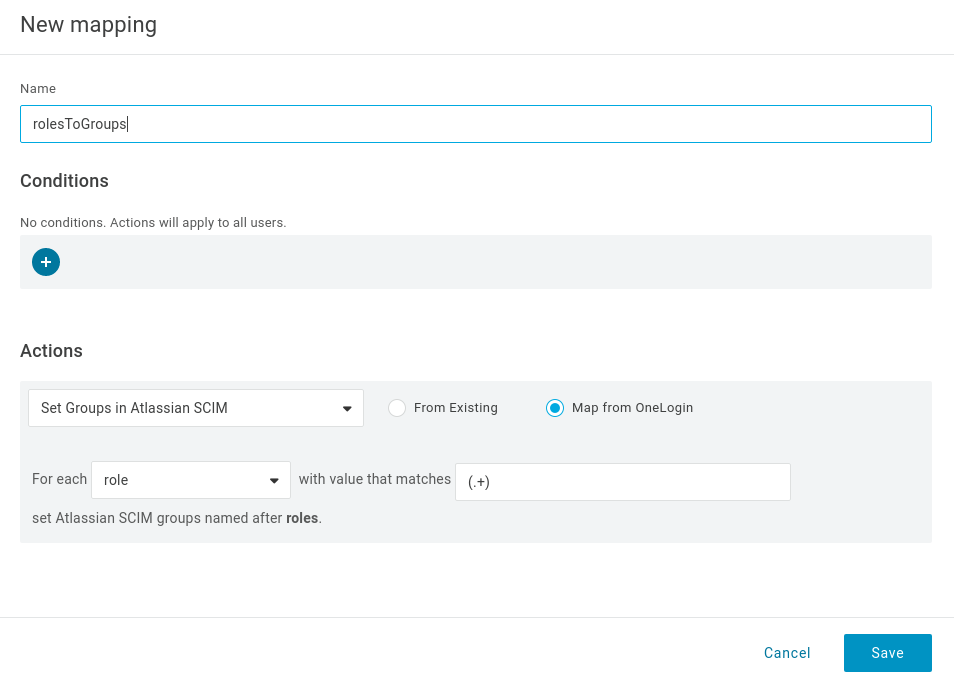
Add a role-to-groups rule.
Go to the Rules tab. Click Add Rule
Enter a name for the rule
Select Map from OneLogin (note, the option only becomes available once you enable provisioning)
Select
roleas the source and enter the pattern(.+)to provision every role assigned to the application as a group
Finally, click Save
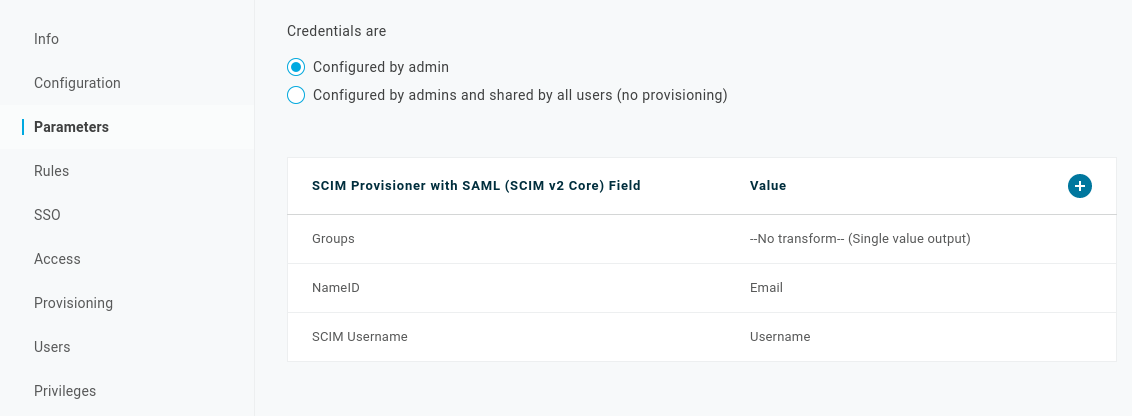
Enable group attribute provisioning
Go to the Parameters tab. Click on Groups in the parameter list, then select Include in user provisioning. Then click Save

Assign users/roles to the application
Click the Access tab and assign roles to the application. This controls the set of users that will have access to the application and be provisioned.
Forcing resync in OneLogin
...