We generally advice advise against encrypted assertions. It substantially increases the complexity of your setup , and makes troubleshooting more difficult. The types of SAML Responses used for Atlassian authentication generally don't contain any sensitive information (username, name, email, groups), making HTTPS more than adequate for confidentiality.
Assertion encryption (on top of HTTPS) is appropriate when SAML Responses contain actual sensitive contain sensitive information like social security numbers, bank- or credit card numbers, or any information that should not be exposed to the user (or user's browser) directly.
...
Note that many IDPs don't support assertion encryption at the time of writing, again a testament to HTTPS being considered sufficient. This includes prominent players like GSuite and Azure. Below are setup-guides for a short list shortlist of hand-picked IDPs (if your IDP is not on the list, it may still support encryption).
...
Enabling assertion encryption in ADFS is fairly easy, provided AD FS was configured using service provider metadata import (the default as per the Kantega SSO setup wizard).
First, enable "Require encrypted assertions" in Kantega SSO for your AD FS IDP under Advanced SAML settings, as seen in the screenshot above.
Log into your AD FS server and open the administration app.
Navigate to AD FS > Trust Relationships > Relying Party Trusts, and locate your service provider/relying party in the list.
Right click the relying party and select "Update from Federation Metadata". FS” Then click Update again on the dialog that pops up.
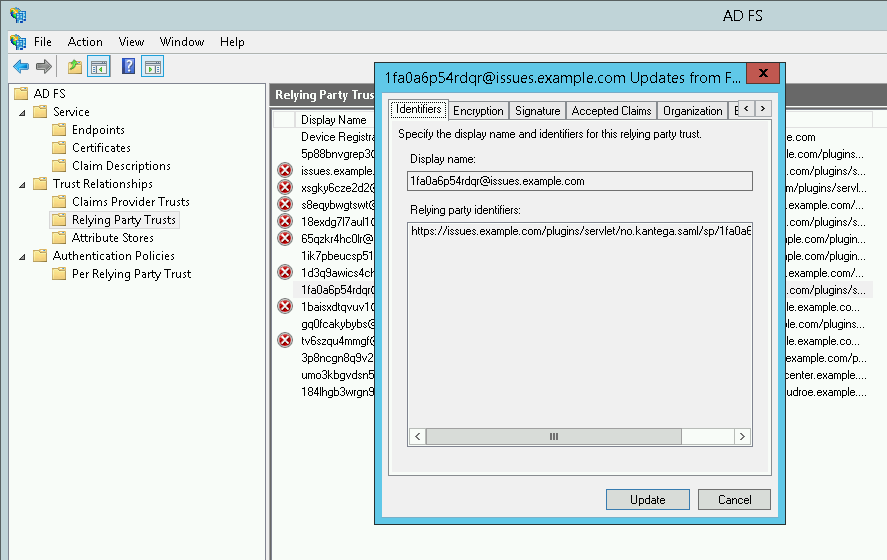
Verify the encryption certificate was imported by opening the properties of the service provider you just updated. Navigate to the "Encryption" tab and check that the "Encryption certificate" box is non-empty/has certificate info.

AD FS should now send encrypted assertions. Run a SAML test from the add-on to check that everything is working as expected.
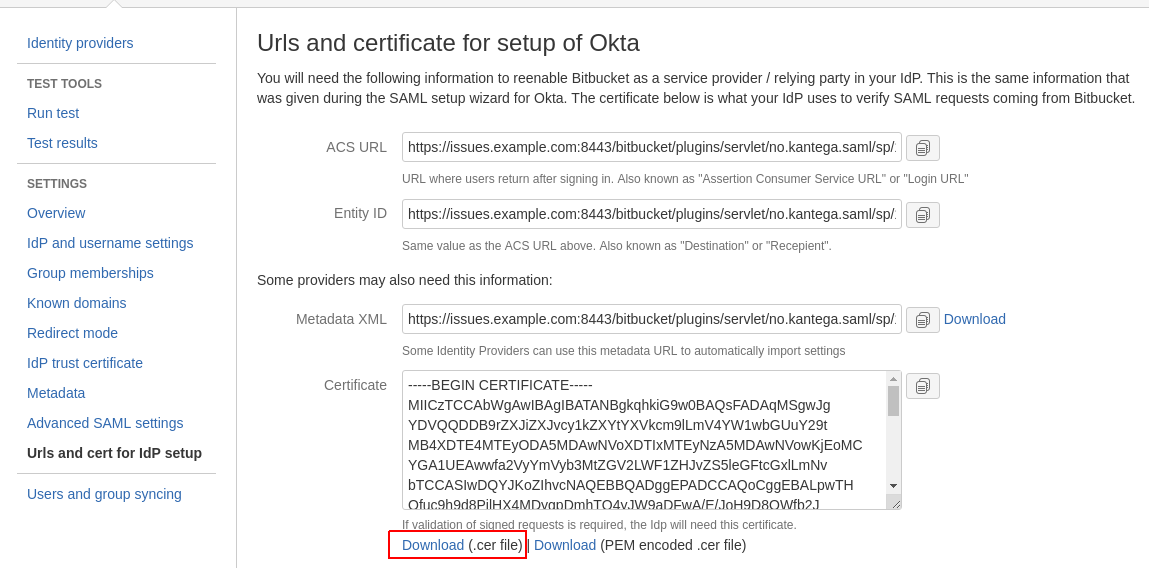
If you have configured the relying party trust in AD FS manually, you can instead download the certificate file from Kantega SSO under the "Urls URLs and certificate for setup of <idp>" menu. Then upload that certificate manually in the aforementioned Encryption dialog in AD FS.
...
First enable "Require encrypted assertions" in Kantega SSO for your Okta IDP under Advanced SAML settings, as seen in the screenshot above.
Go to Urls URLs and cert for IdP setup in Kantega SSO, and save the service provider certificate to disk:
Log into Okta as an administrator and click "Admin" to enter the admin section.
From the top menu, click Applications, then find your service provider in the list and open it.
Open the General tab for the Okta application, then locate the SAML Settings heading and click Edit.
Skip the General settings page (step 1) by clicking Next.
Now, under SAML Settings, click Show Advanced Settings to reveal the settings we're looking for.
Click browse and find the service provider certificate file you saved in step 2 and upload it to Okta:

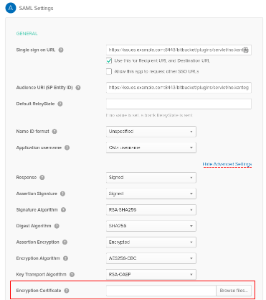
Set remaining encryption options as shown in the screenshot. When done, click Next, and then Finish on the last page.
Going back to General > SAML Settings, the overview should now show that an encryption certificate has been configured.

Okta should now send encrypted assertions. Run a SAML test from the add-on to check that everything is working as expected.
...
If the SAML test page or login is giving gives you the following error message, it means the IDP is not sending encrypted assertions. Check your IDP configuration and documentation.
...
There's currently no support for using separate certificates for encryption and signing. That is, assertion encryption and signing must use the same certificate/public key.
...