1. Display name
Choose a name for your identity provider. This is the user-facing name, so choose a name your users will recognize. This value can be changed later.
...
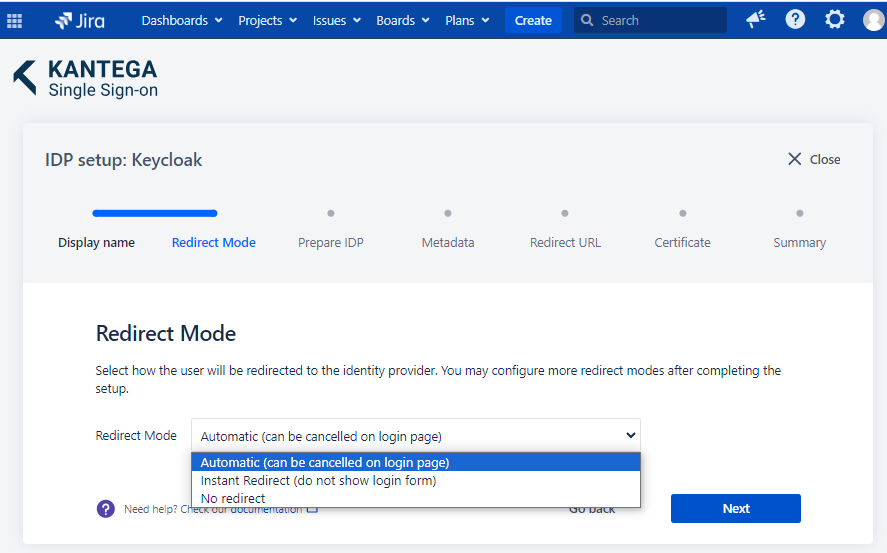
2. Redirect mode
3. Prepare IDP
In this step, we will configure Keycloak to work with Kantega SSO. For this, you will need to copy the Reply URL provided. We will use this when setting up Keycloak.
...
Configure Keycloak
| Status | ||||
|---|---|---|---|---|
|
...
Select the correct realm (we are using http://the example.com domain ) and then Create client.
...
Go back to the Kantega SSO setup wizard, step 3 Metadata.
...
4. Metadata
Provide the metadata URL (recommended):
https://<keycloak server>/auth/realms/<realm>/protocol/saml/descriptor
Substitute <keycloak server> with the DNS of your Keycloak server.
Substitute the realm identifier <realm> with your realm.
Alternatively, you can download the metadata file to disk and upload it in the KSSO wizard.
...
...
5. Redirect URL
The Redirect URL is imported automatically from the metadata.
...
Check that everything looks good and submit your setup ![]()
...
Test
Test that logging in with Keycloak works as expected. This will help identify if there are any issues with the configuration. Follow the steps to perform the login test.
...