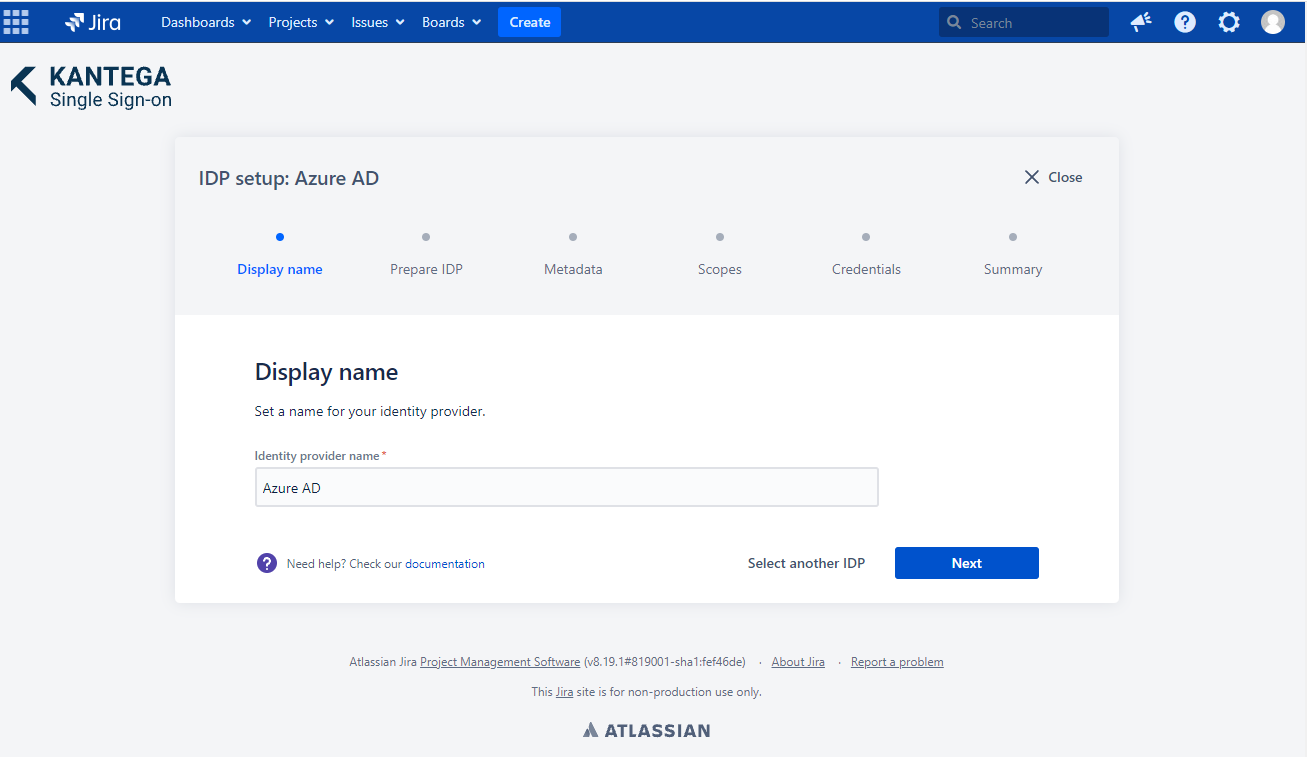
1. Display name
Choose a name for your identity provider. This is the user-facing name, so choose a name your users will recognize. This value can be changed later.
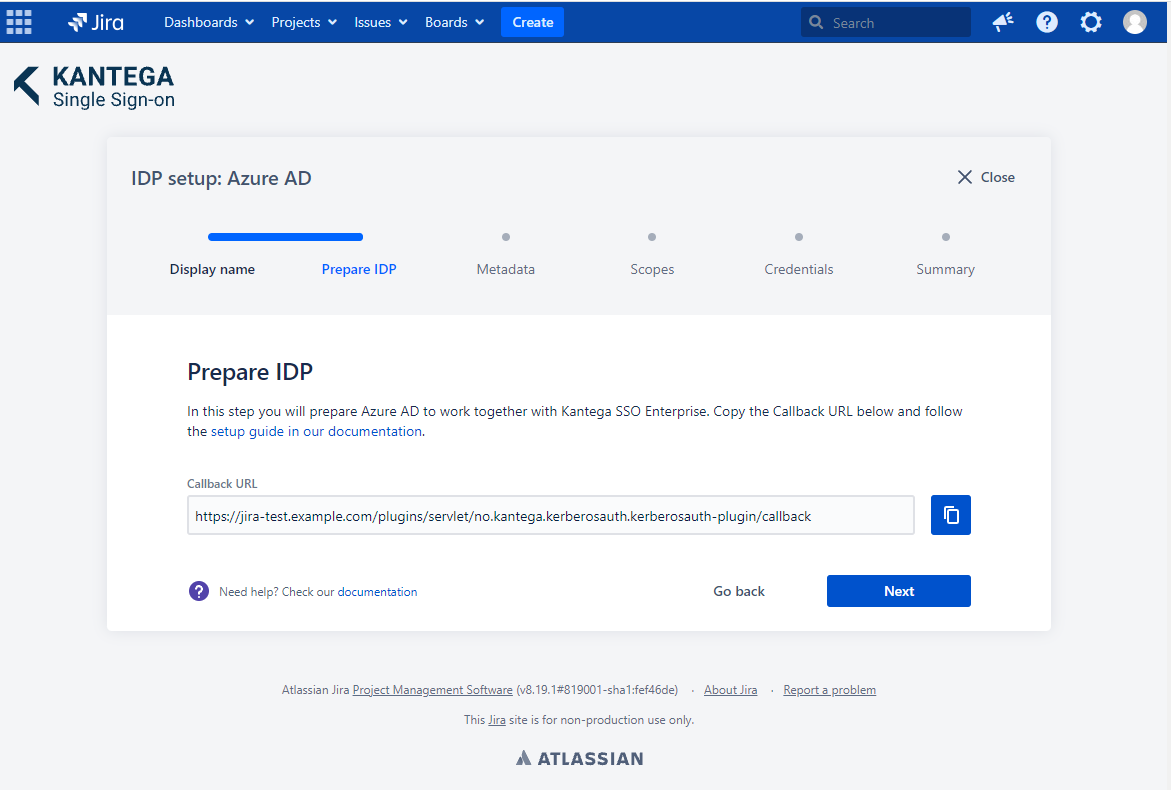
2. Prepare IDP
In this step, we will configure Azure AD to work with Kantega SSO. For this, you will need to copy the Callback URL provided. We will use this when setting up Azure AD.
Configure Azure AD
| Status | ||||
|---|---|---|---|---|
|
| Info |
|---|
If you are using SCIM with your provider, make sure to check out the documentation for configuring this before proceeding. It might be that you need to configure this first or at the same time as setting up OIDC. |
Sign in to the Azure Portal, navigate to Azure Active Directory > App registrations
Set up a new application. You can use our templates from the gallery by searching for “kantega” and follow the instructions.
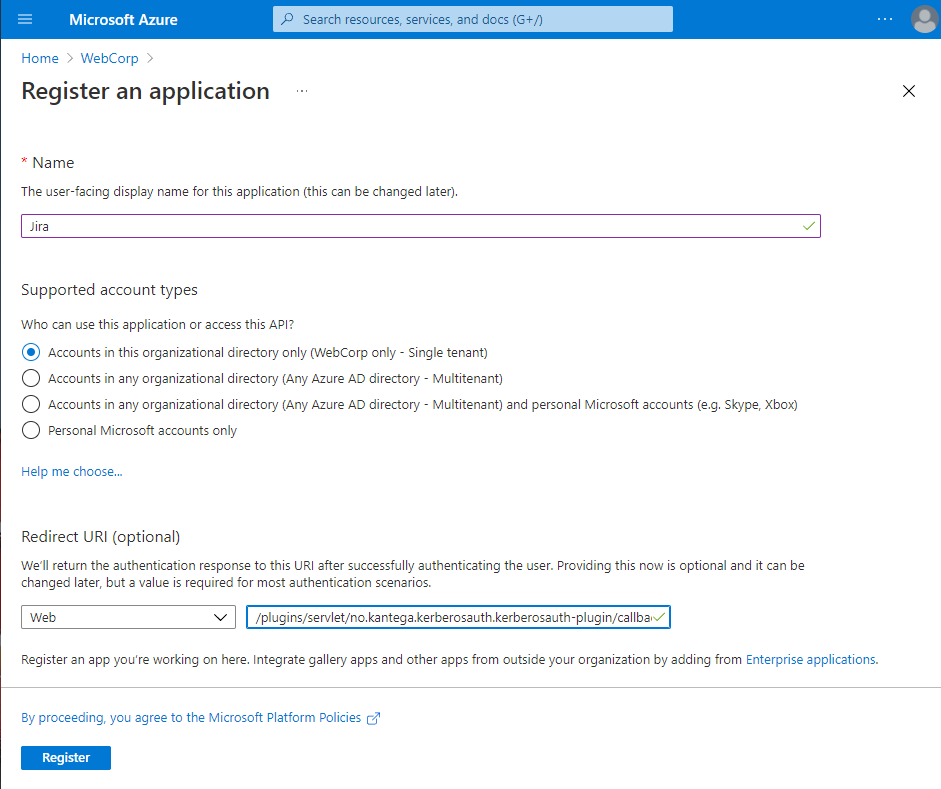
Fill out the Name field. Here you can specify any value, e.g., "Jira" or "Confluence."
The Redirect URL consists of two fields. Select "Web" in the left drop-down field and paste in the Callback URL from Kantega SSO in the right field.
Click the Register button in the bottom left of the page and wait a few seconds until the registration is finished.
Copy the Directory (tenant) ID and go back to the Kantega SSO setup wizard , step 3 Metadata.
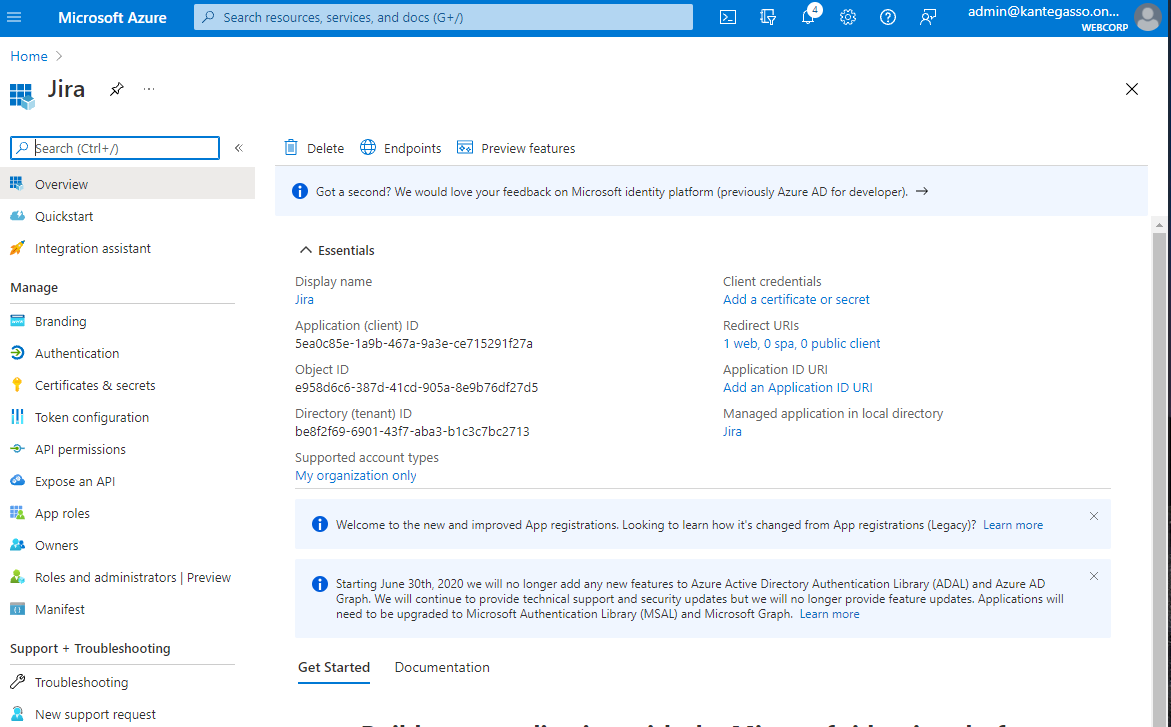
Copy the Application (client) id and create a New client secret.
Go back to the Kantega SSO setup wizard.
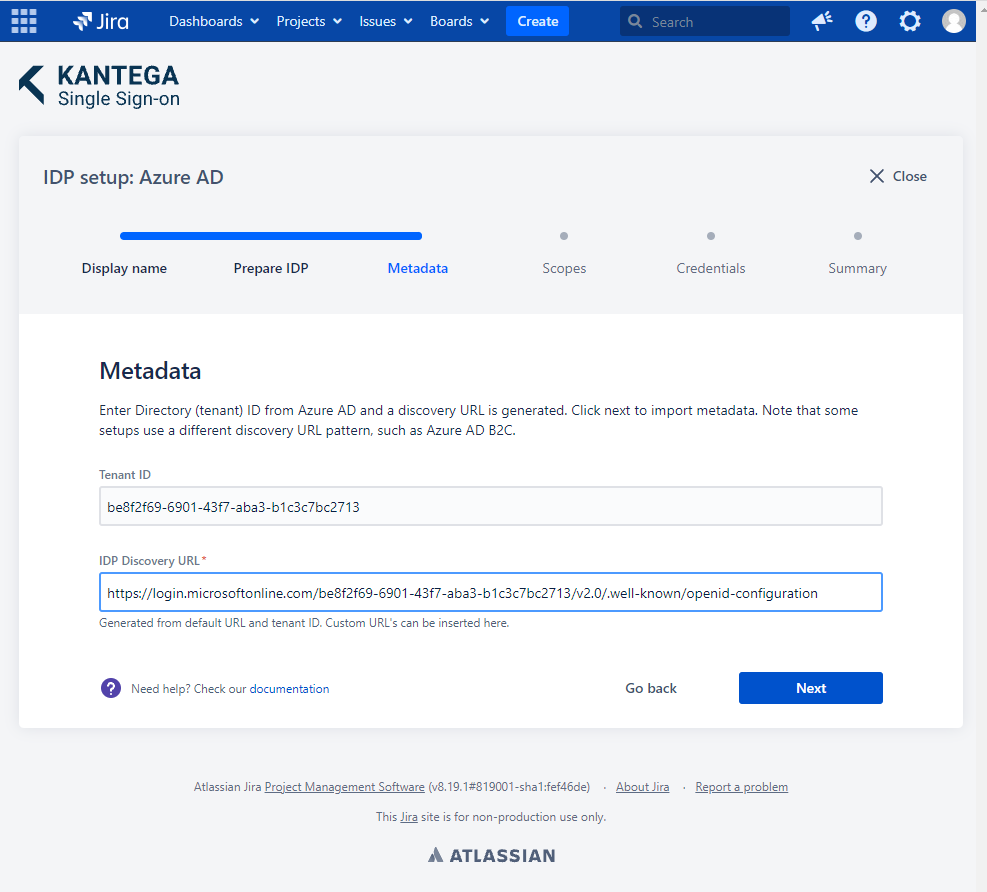
3. Metadata
In the Metadata step, paste the Directory (tenant) ID from clipboard into Tenant ID. The IDP Discovery URL is generated from default URL and tenant ID. Custom URL’s can also be inserted here.
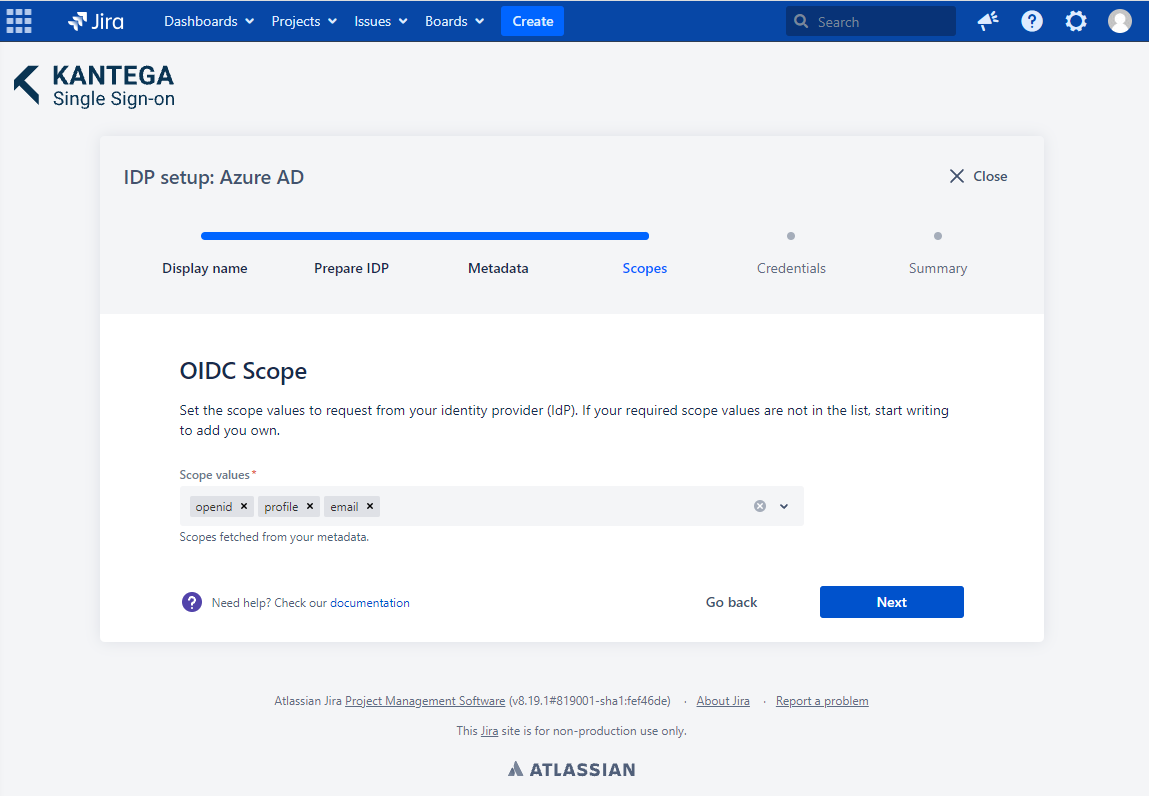
4. Scopes
These are the scopes we were able to fetch from the metadata. You can add scope values from a list, start typing to add your own or unselect them. A minimum of one scope value is required.
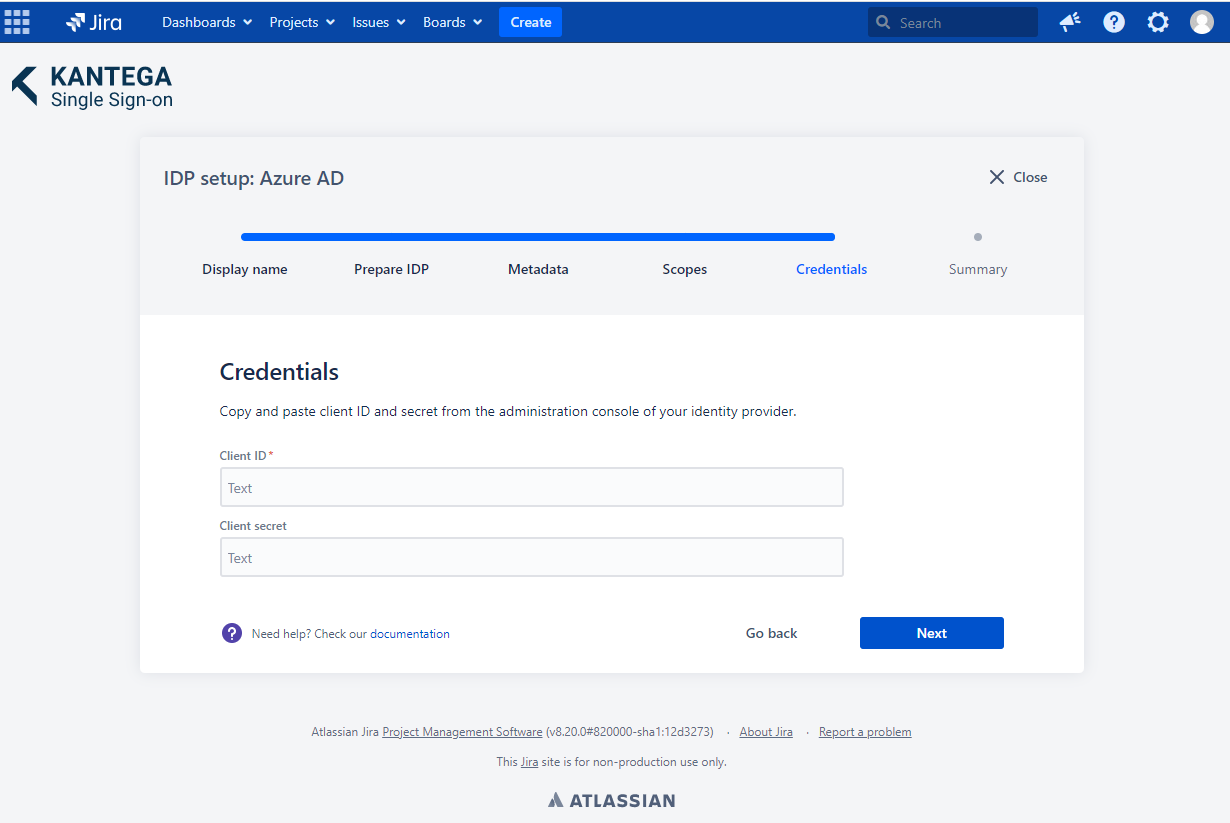
5. Credentials
In this step, you need to insert client credentials from Azure AD. Paste the Application (client) ID and the Client secret value you copied from Azure AD into the respective fields.


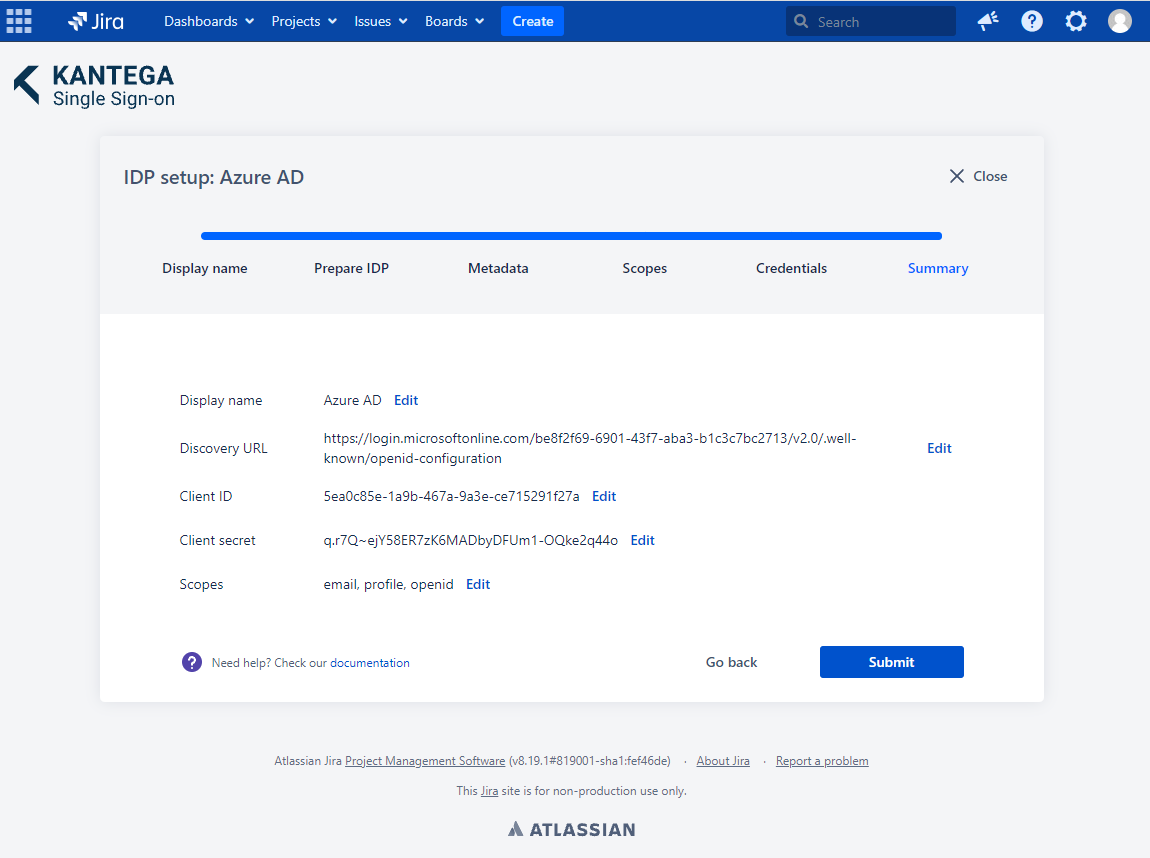
6. Summary
Check that everything looks good and submit your setup ![]()
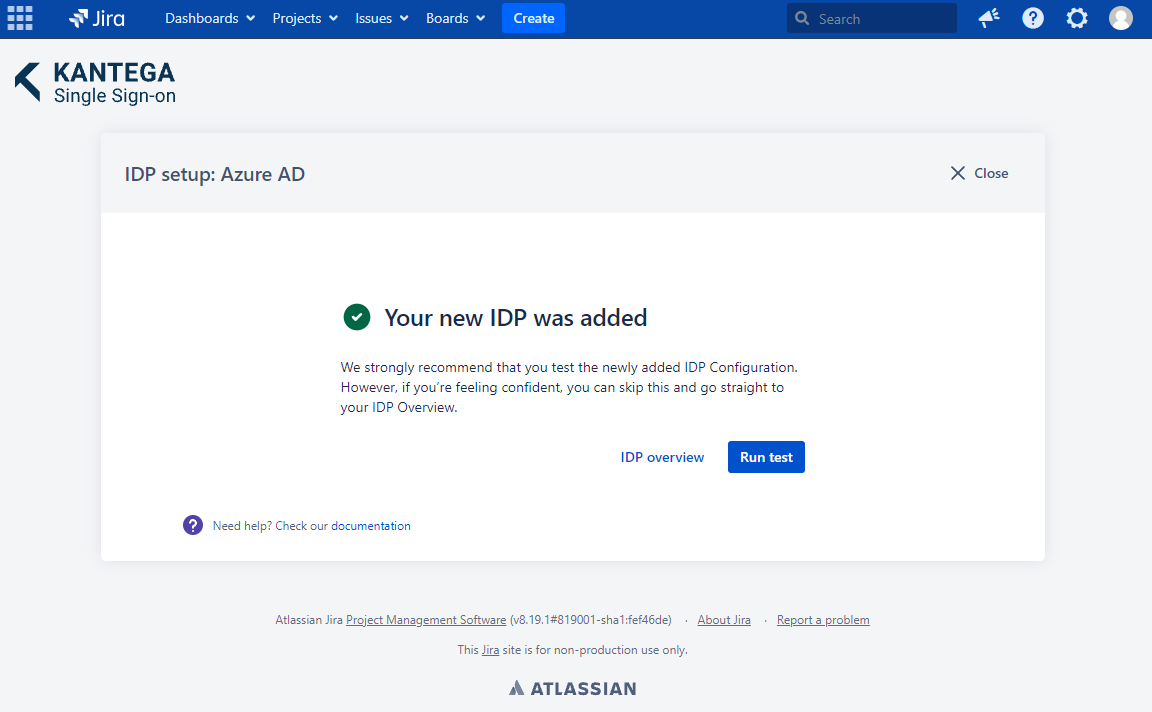
Test
Test that logging in with Azure AD works as expected. This will help identify if there are any issues with the configuration. Follow the steps to perform the login test.
During the first login on an App Registration, you will be prompted to give consent for the integrated Atlassian application to read user data. If your organization has activated that admin consent is required for logins, your Azure AD administrator will have to consent on behalf of the organization, under App Registrations > your app > API permissions: