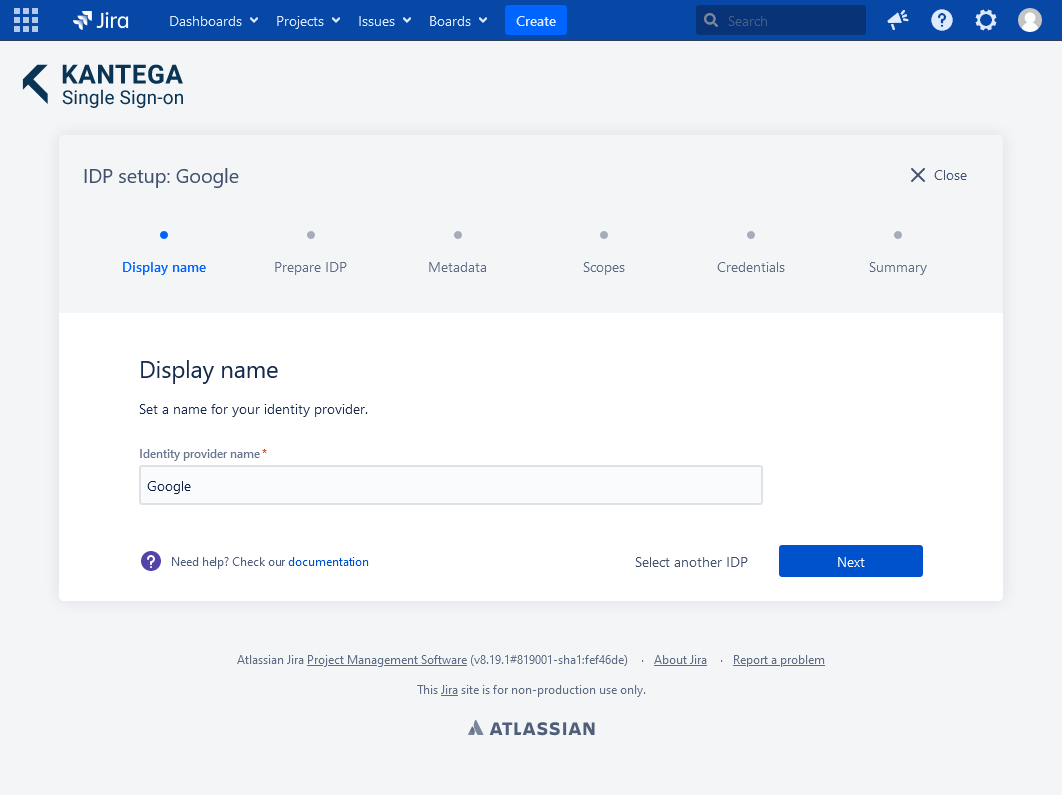
1. Display name
Choose a name for your identity provider. This is the user-facing name, so choose a name your users will recognize. This can be changed later.
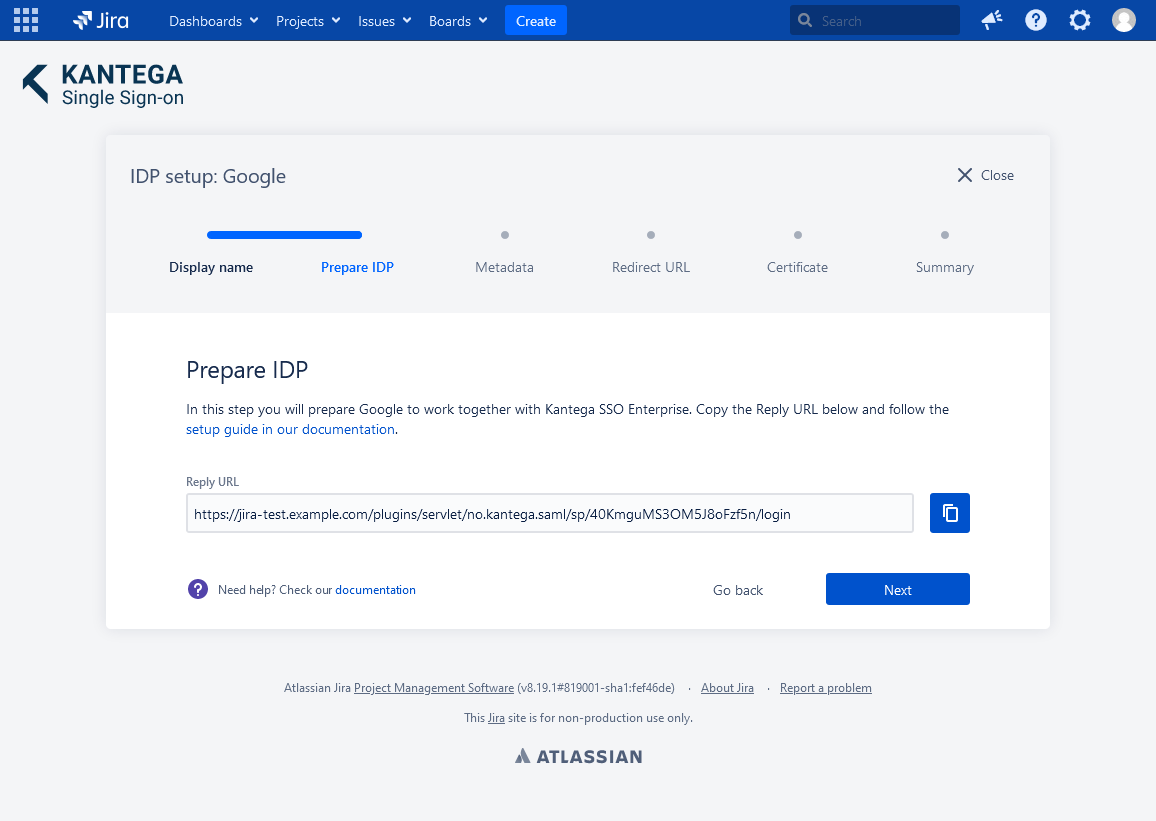
2. Prepare IDP
Copy and save the Reply URL for later. You will need this when configuring Google GSuite.
Configure Google
EXTERNAL
If you are using SCIM with your provider, make sure to check out the documentation for configuring this before proceeding. It might be that you need to configure this first or at the same time as setting up SAML.
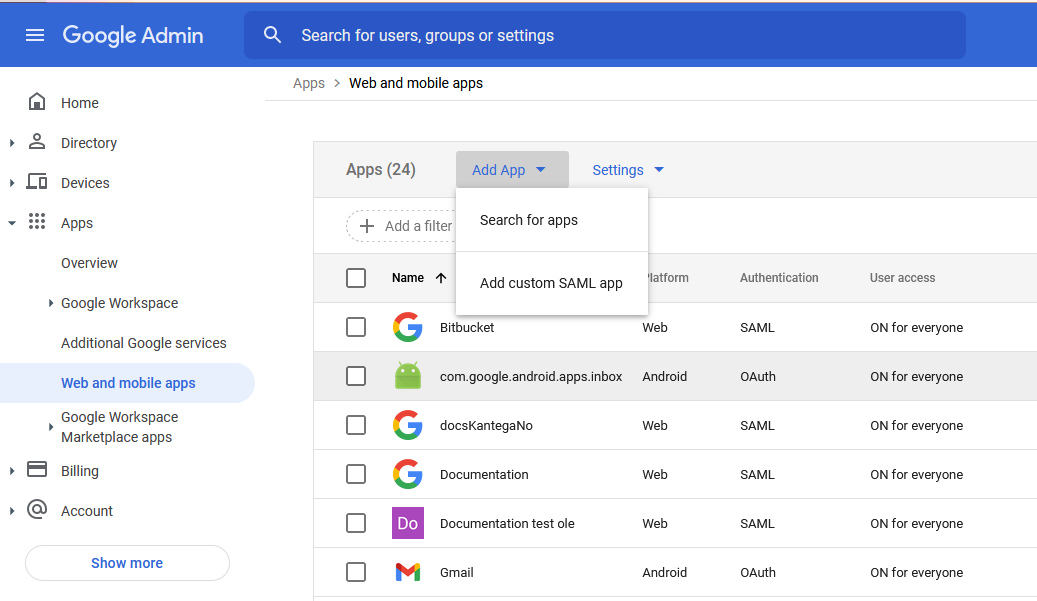
Login to https://admin.google.com
Go to Apps → Web and mobile apps. Click Add App and choose Add custom SAML app.
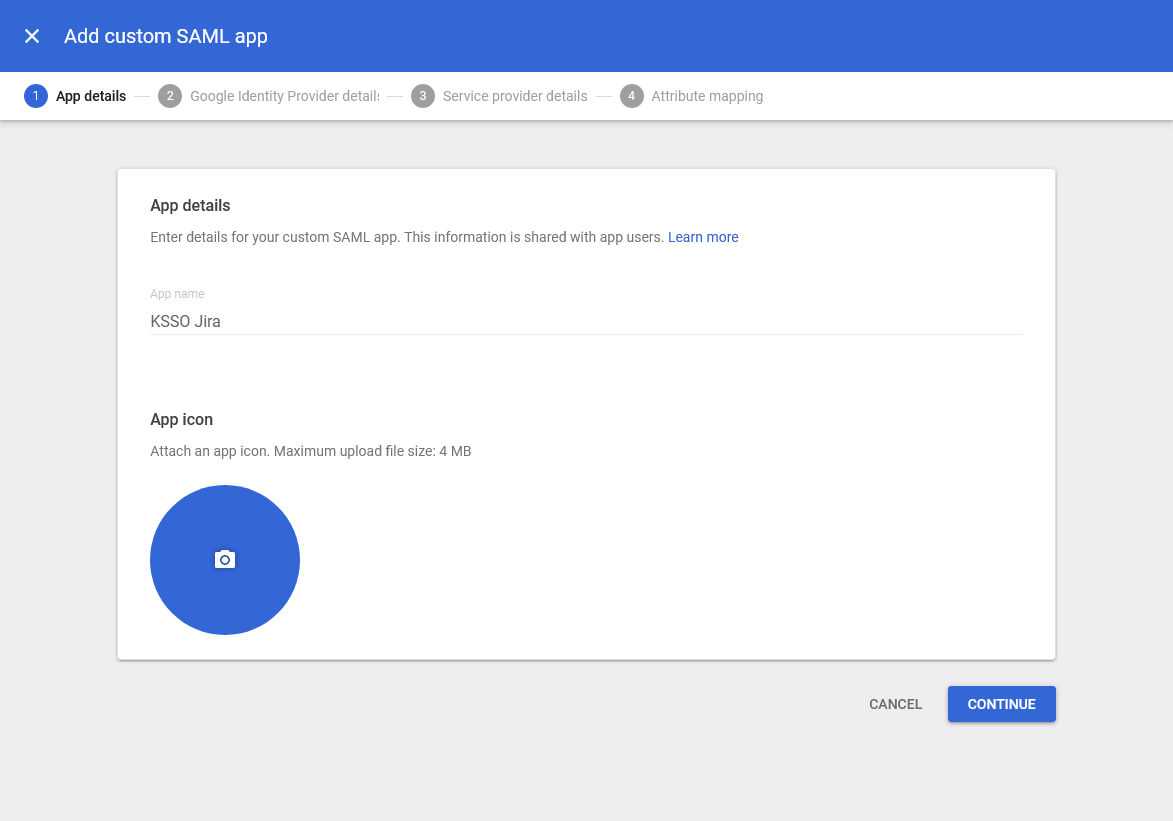
Choose a suitable App name and click Continue.
Click the Download metadata button to download an XML metadata file that you will need later in the KSSO Setup Wizard. Once you have downloaded the file, click Continue.

Paste the Reply URL that you kept from the Prepare IDP step above into both the ACS URL and the Entity ID fields. Click Continue.

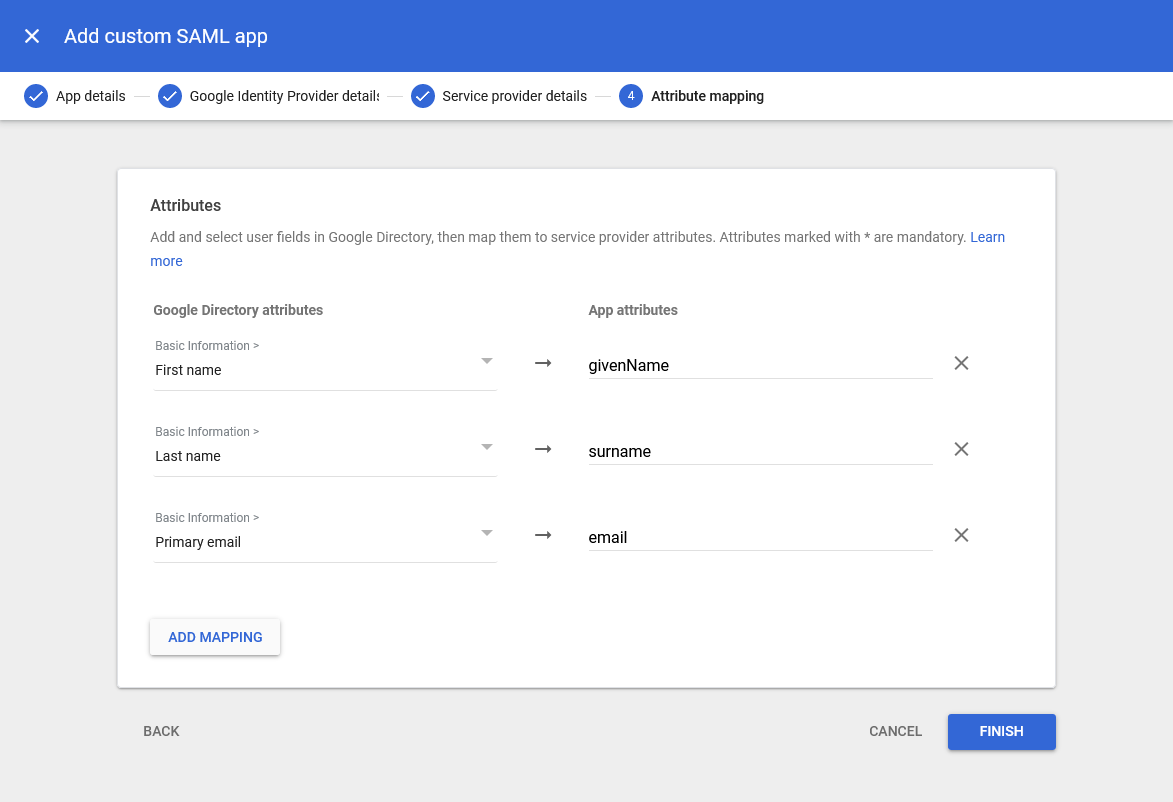
On the next step, add the following mappings:
Basic Information → First Name maps to givenName
Basic Information → Last Name maps to surname
Basic Information → Primary email maps to email
Click Finish.
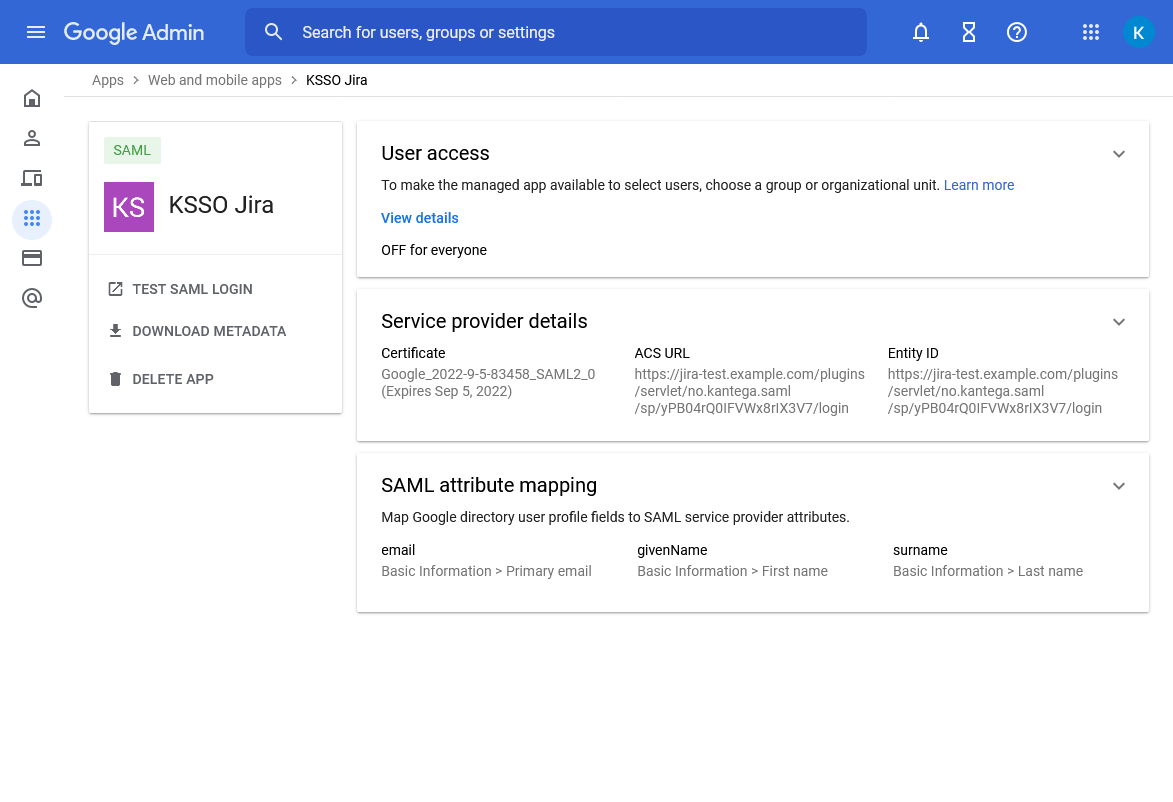
You should now see the SAML app status screen. If you did not download the metadata file earlier you can also do this here.
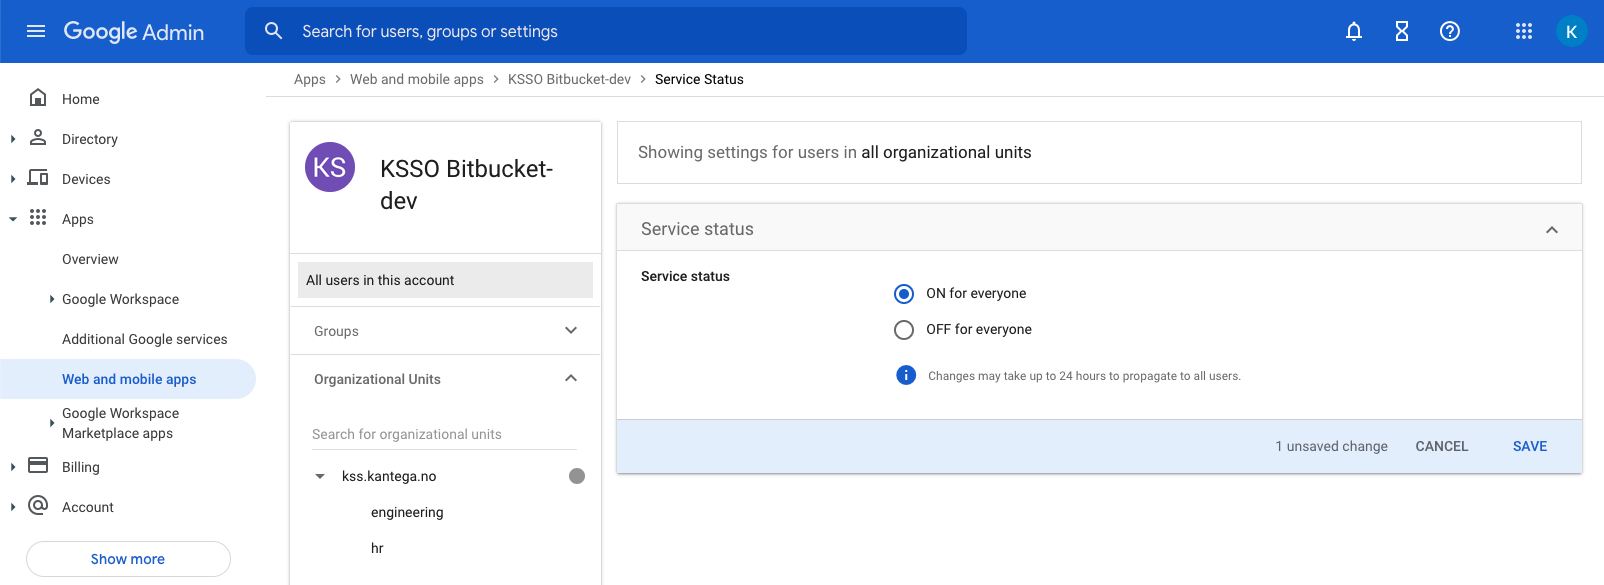
Then expand the “User access” panel:
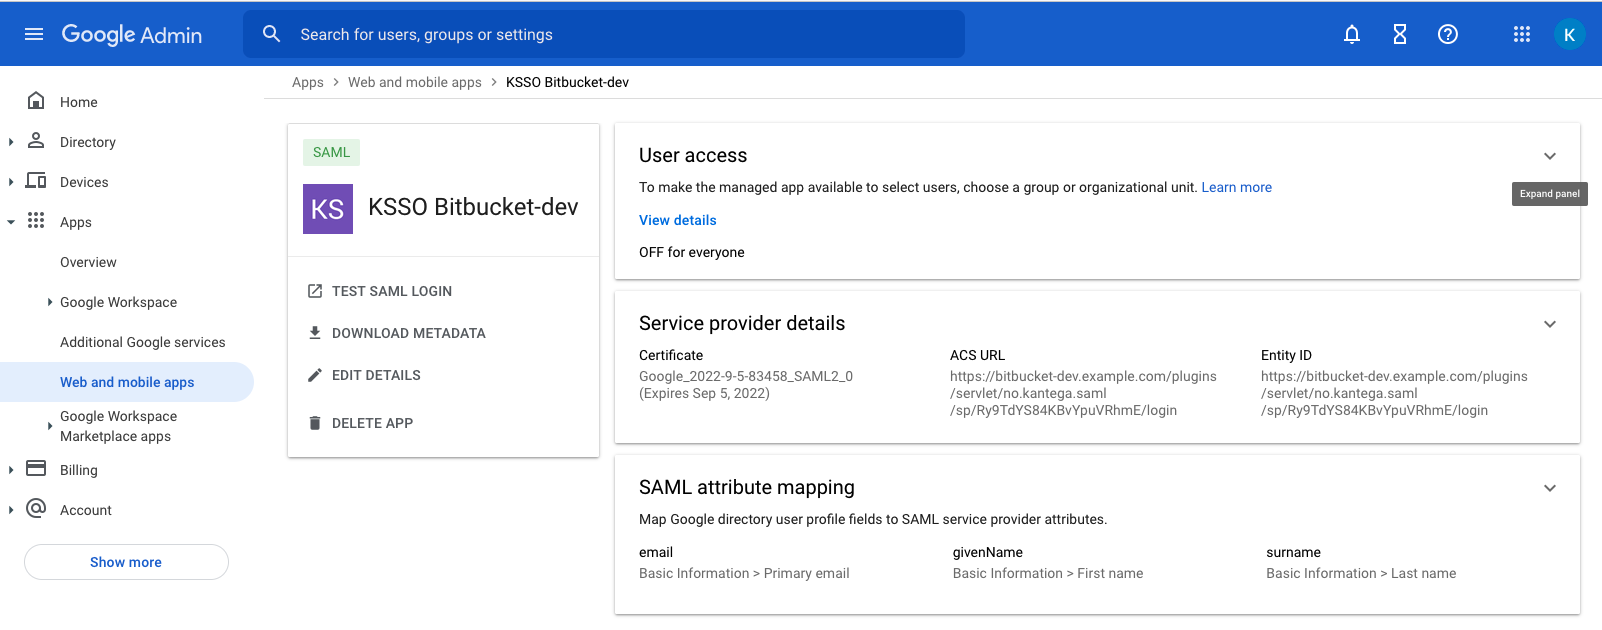
And select “ON for everyone” and press SAVE:
Go back to the Kantega SSO setup wizard.
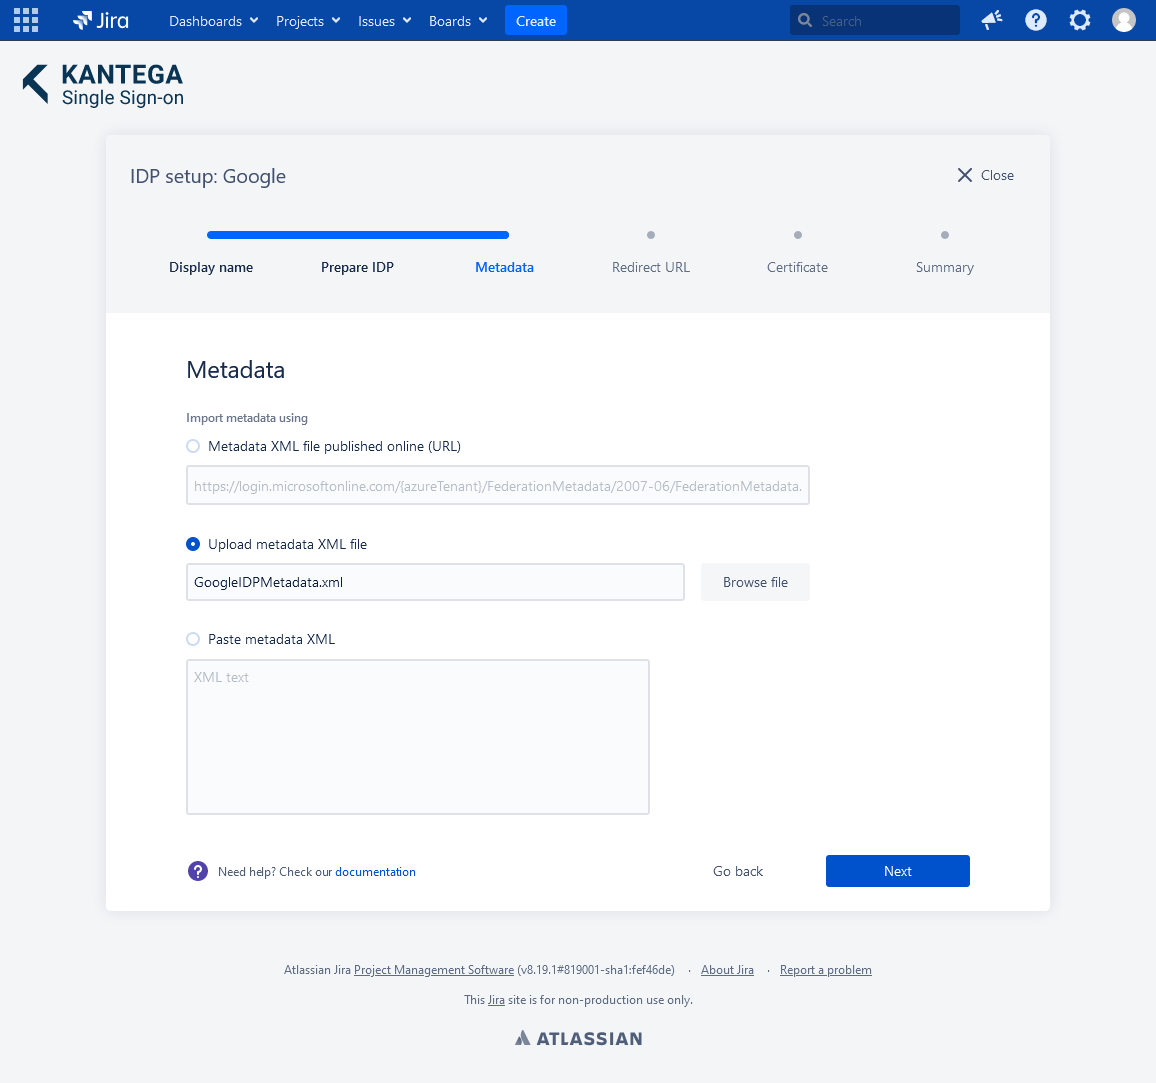
3. Metadata
Choose Upload metadata XML file.
Browse and upload the metadata file you downloaded in the previous step. Click Next.
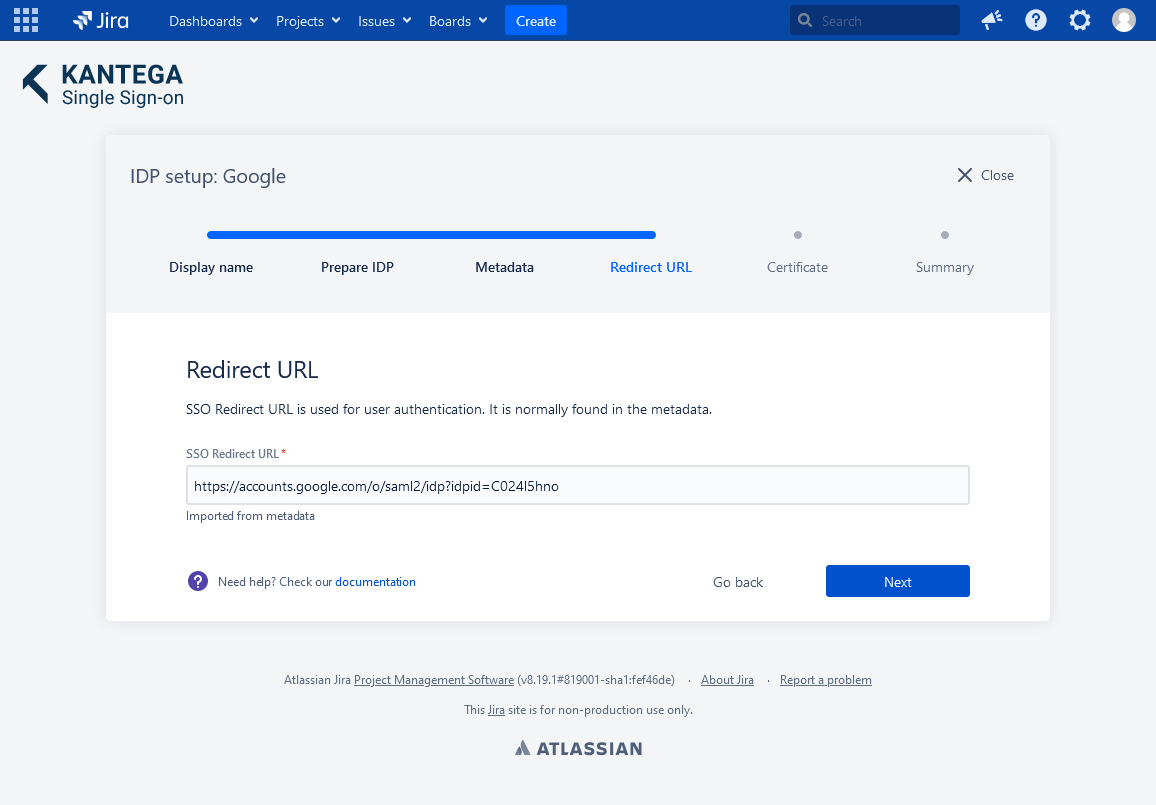
4. Redirect URL
No need to do anything. The Redirect URL is automatically fetched from the metadata you imported in the previous step.
5. Certificate
This step shows the certificate used to validate the SAML messages.

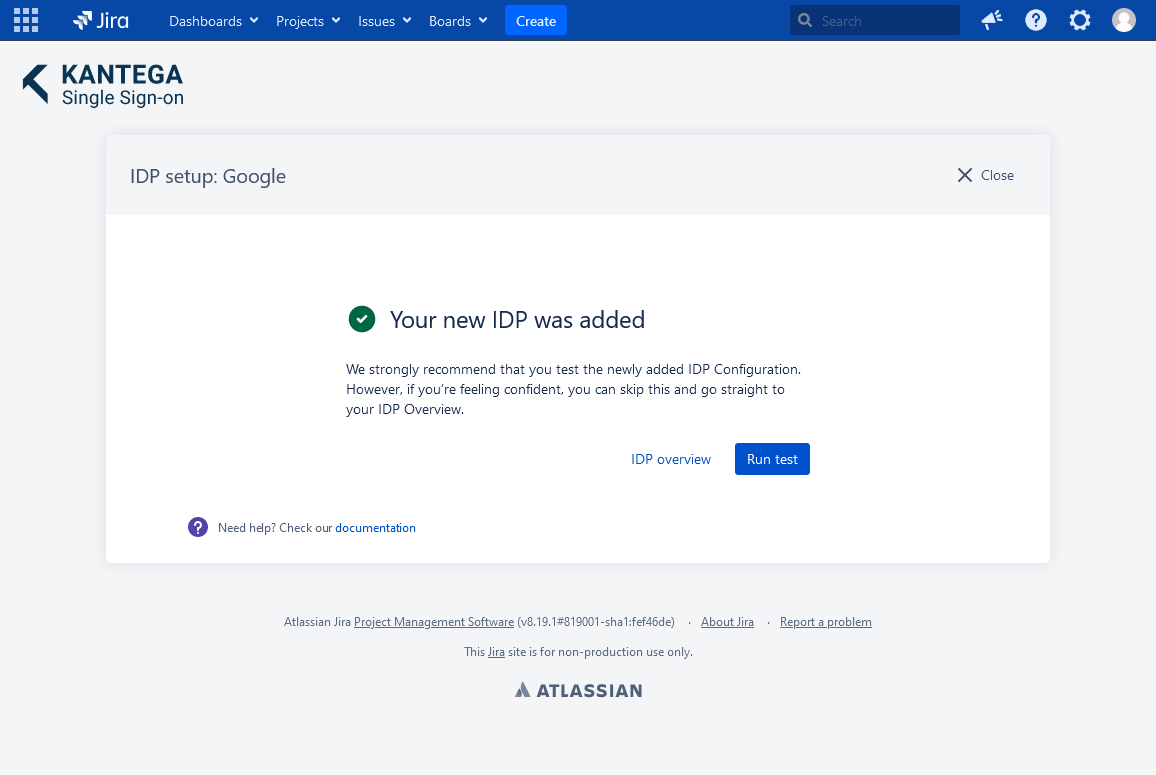
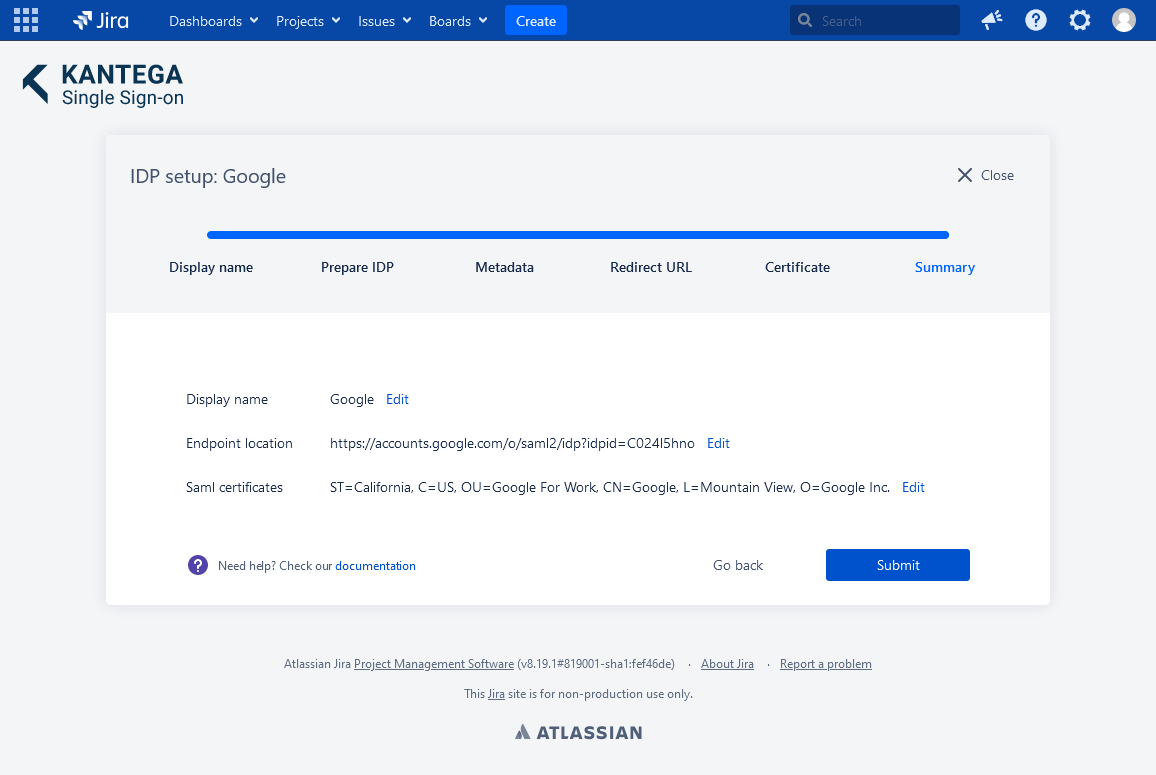
6. Summary
Check that everything looks good and submit your setup ![]()
Test
Test that the log in with Google works as expected. This will help identify if there are any issues with the configuration. Follow the steps to perform the login test.