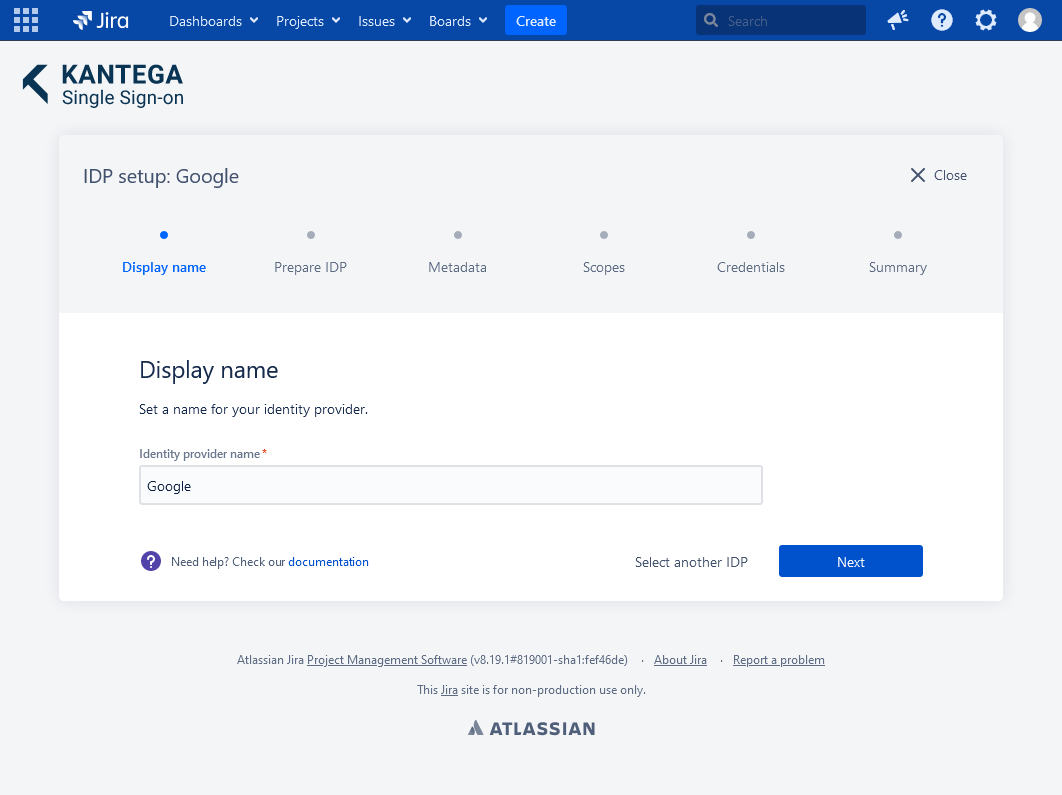
1. Display name
Choose a name for your identity provider. This is the user-facing name, so choose a name your users will recognize. This value can be changed later.
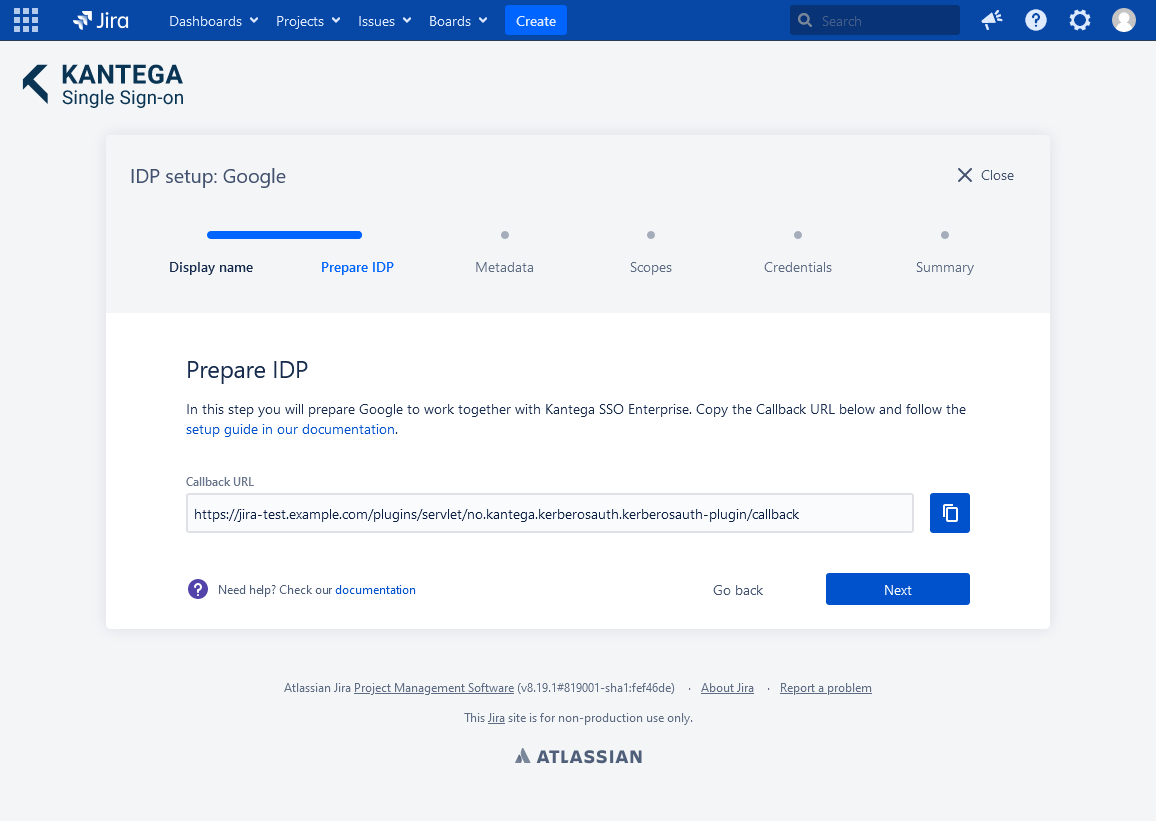
2. Prepare IDP
Copy and save the Callback URL for later. You will need this when configuring Google GSuite.
Configure Google
EXTERNAL
If you are using SCIM with your provider, make sure to check out the documentation for configuring this before proceeding. It might be that you need to configure this first or at the same time as setting up OIDC.
Sign in to https://console.developers.google.com/apis/credentials
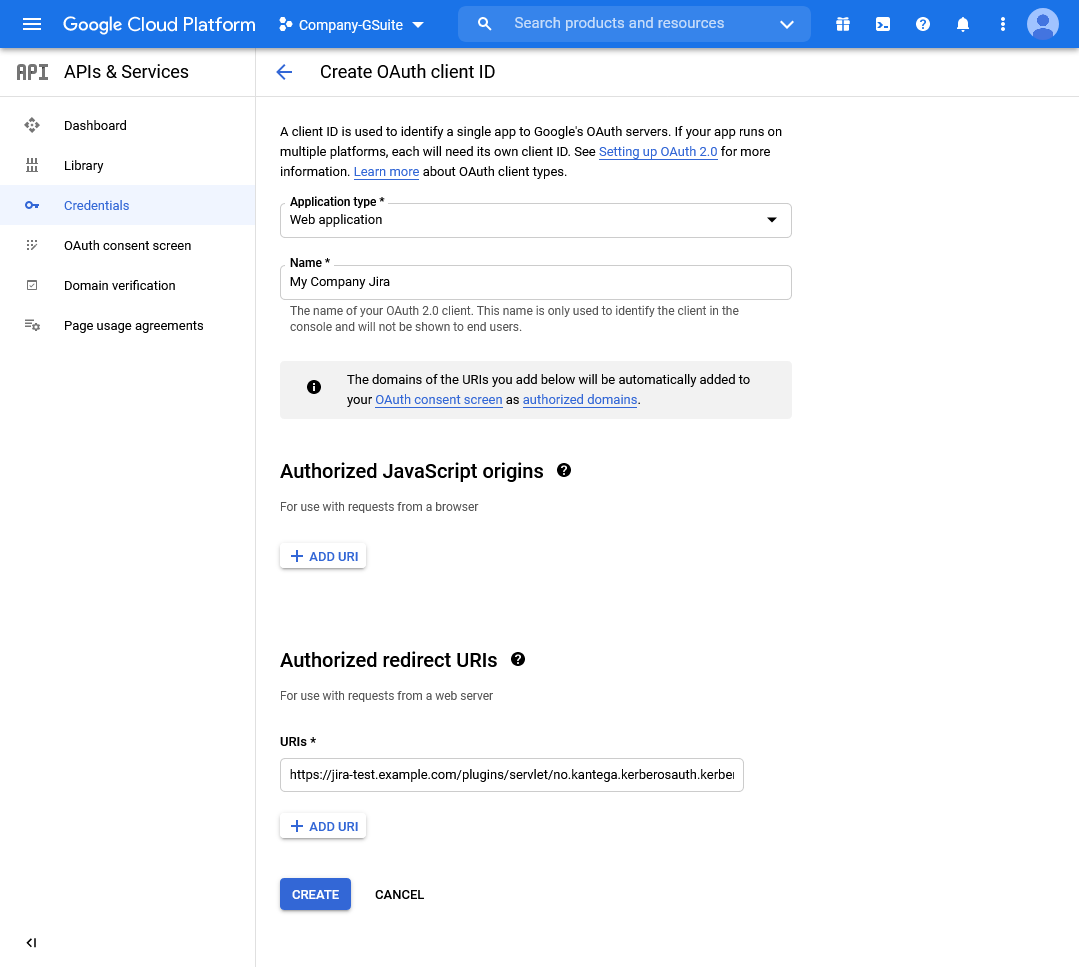
In the Credentials page select “Create Credentials” and then “OAuth client ID”.
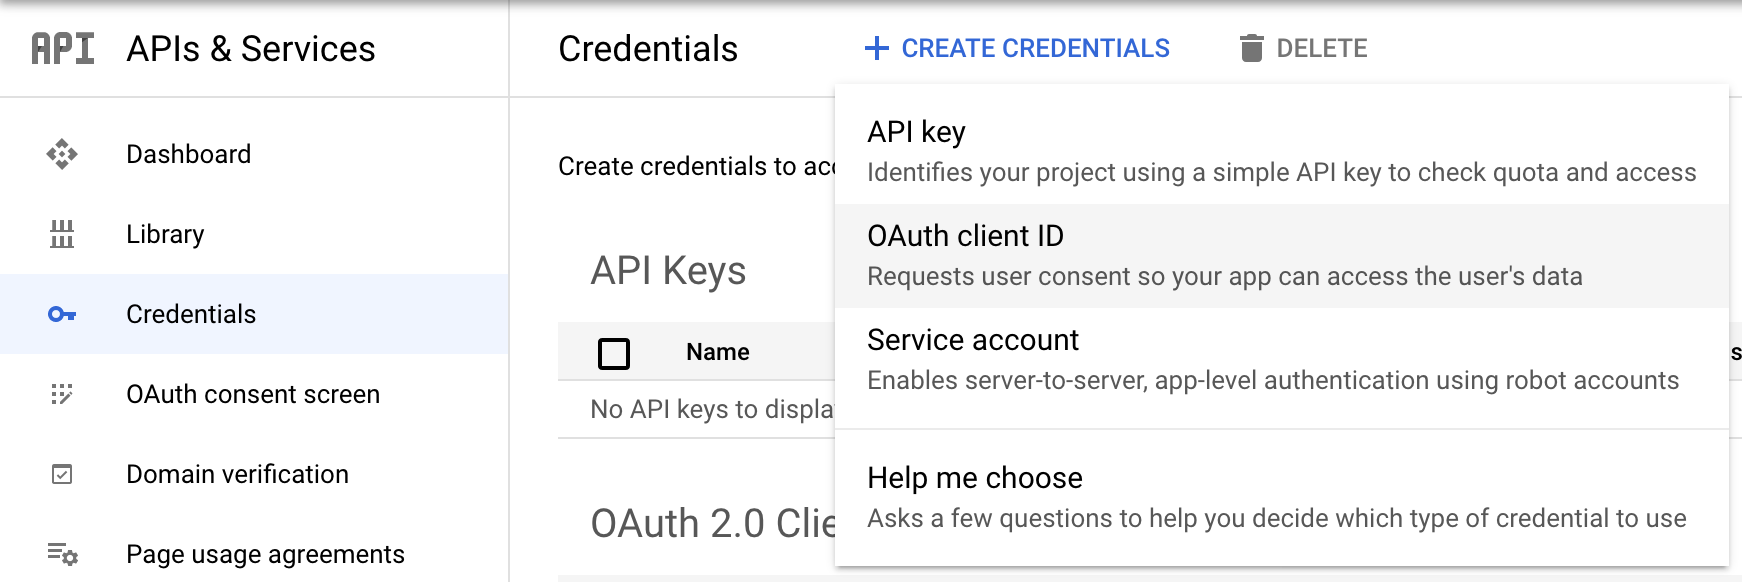
In the Create OAuth client ID page:
Set Application type to Web application
Enter a suitable name in the Name field.
Add one Authorized redirect URIs and paste the Callback URL that you kept from the KSSO setup wizard in the above step.
Then click Create
On OAuth client created page, copy the values of Your Client ID and Your Client Secret and keep these for use in step 5 below.

Go back to the KSSO setup wizard.
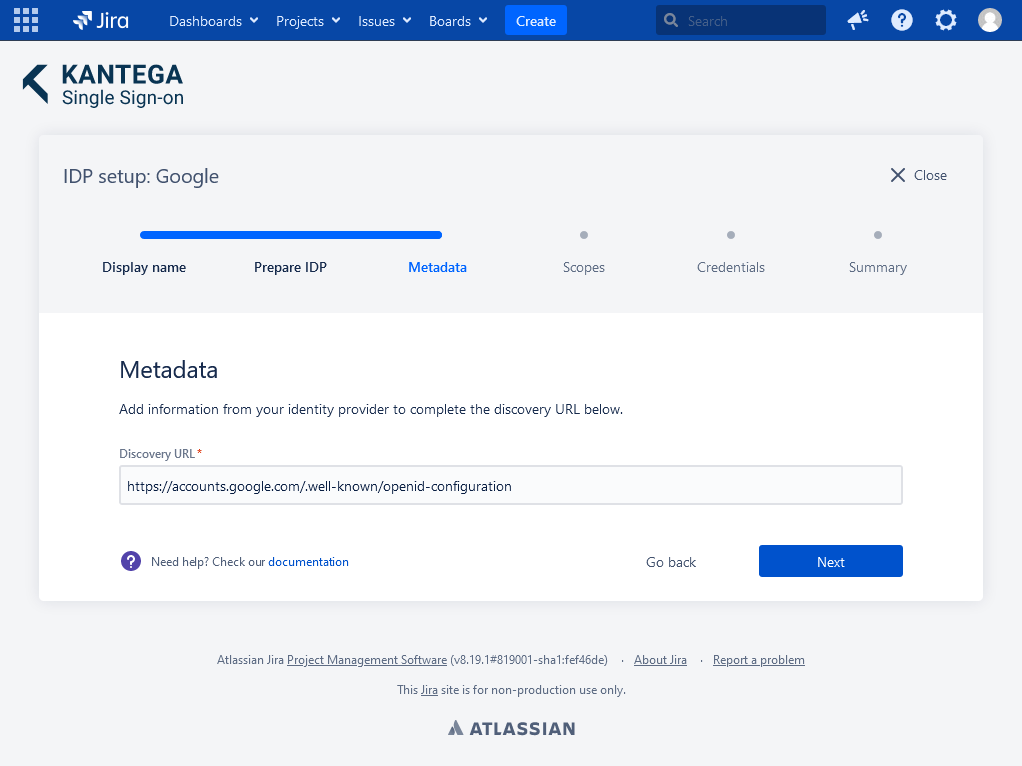
3. Metadata
I the Metadata step the Discovery URL should already be automatically configured. Click Next.
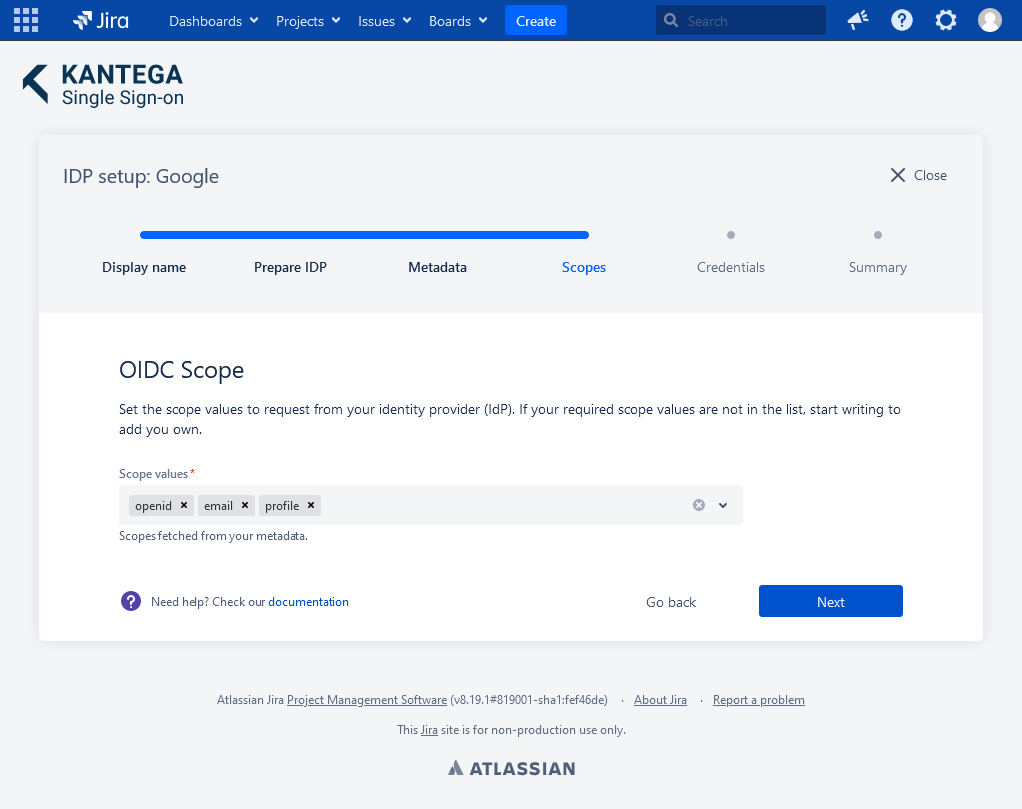
4. Scopes
These are the scopes we were able to fetch from the metadata. You can add scope values from a list, start typing to add your own or unselect them. A minimum of one scope value is required.
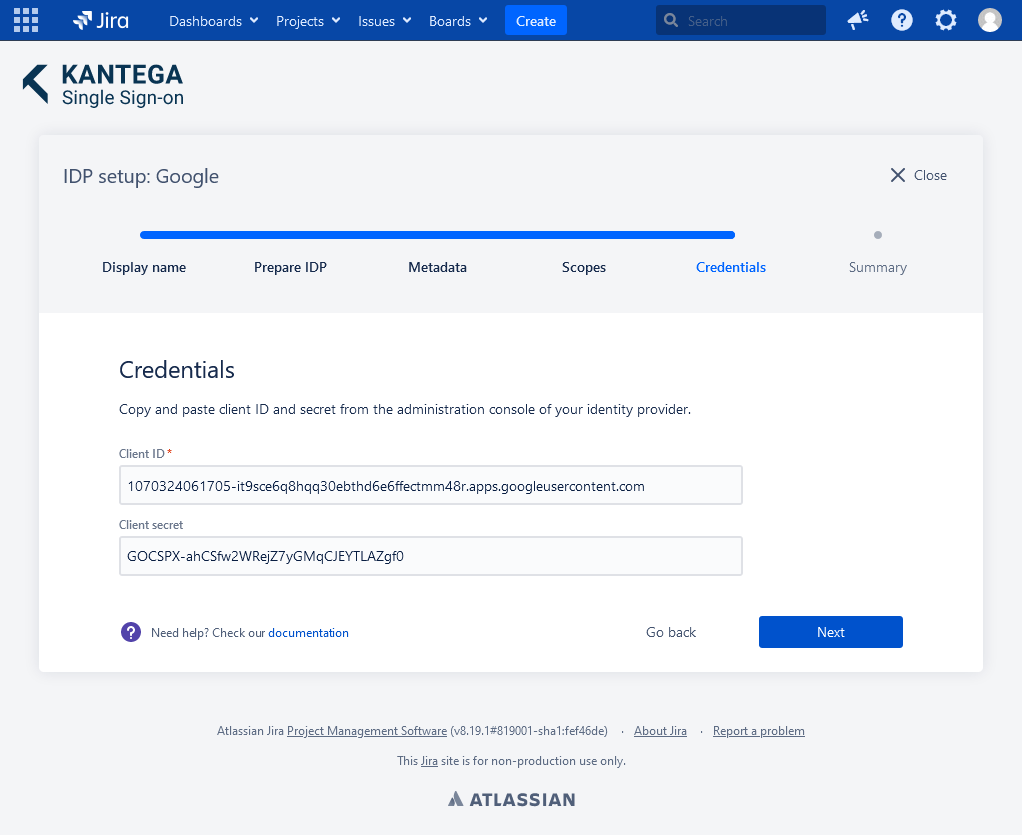
5. Credentials
Paste the Client ID and Client Secret you kept from the OAuth client created page in step 2 and clik Next.
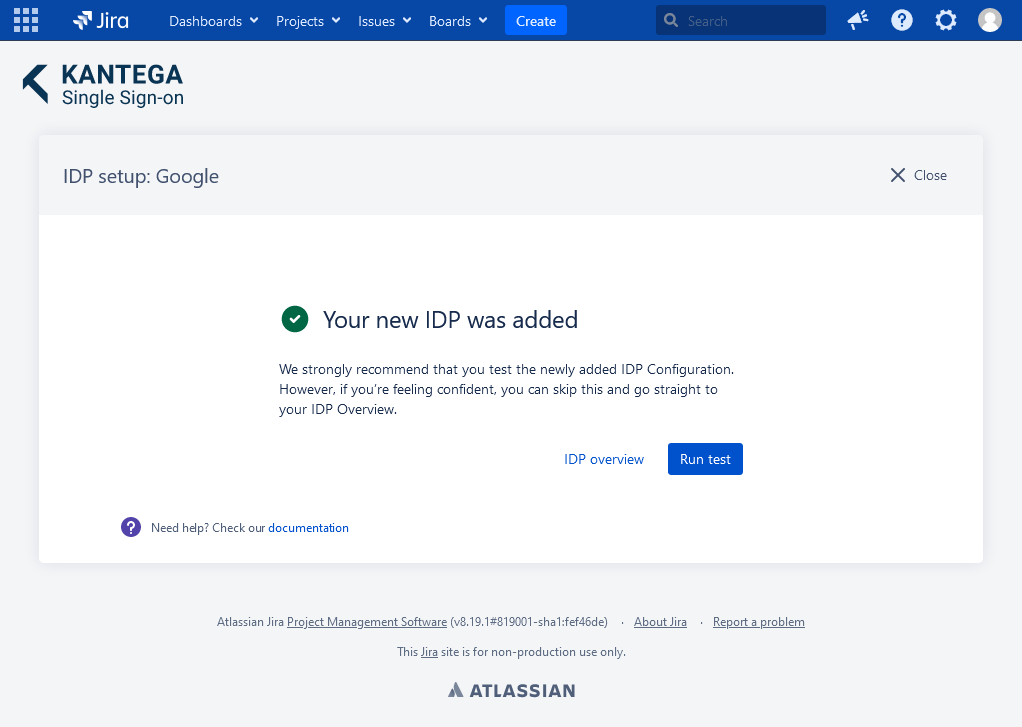
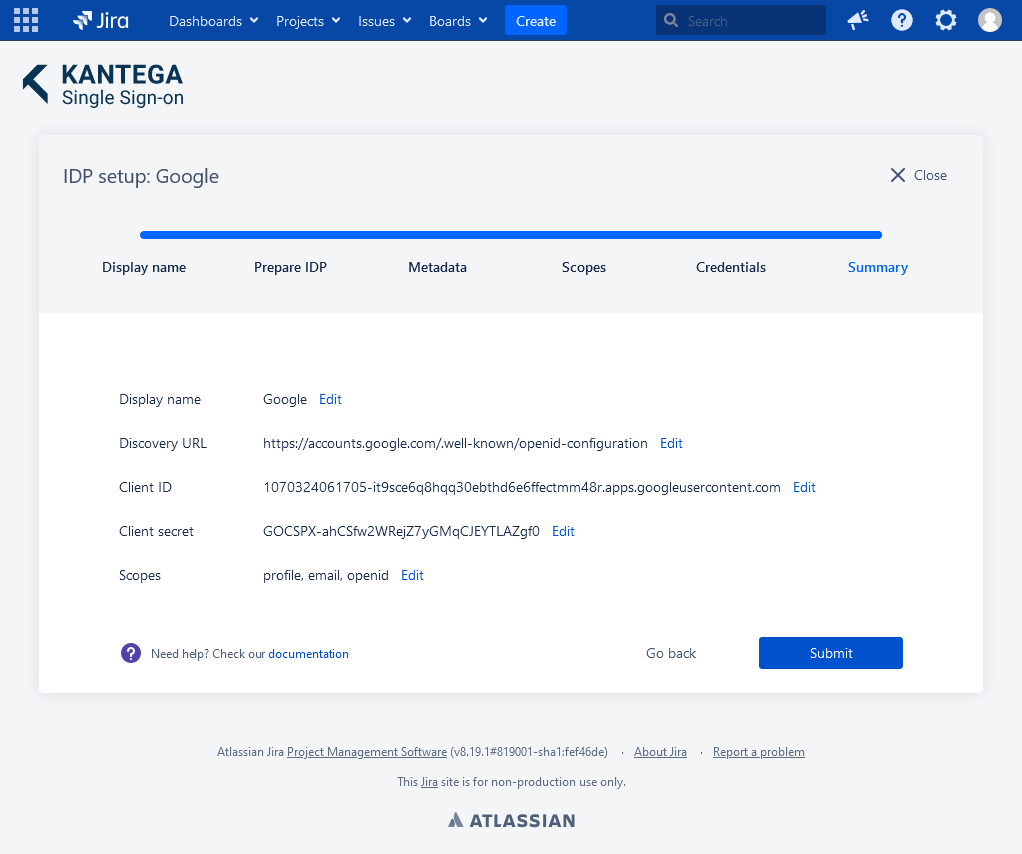
6. Summary
Confirm that everything looks good and submit.
Test
Test that logging in with Google works as expected. This will help identify if there are any issues with the configuration. Follow the steps to perform the login test.