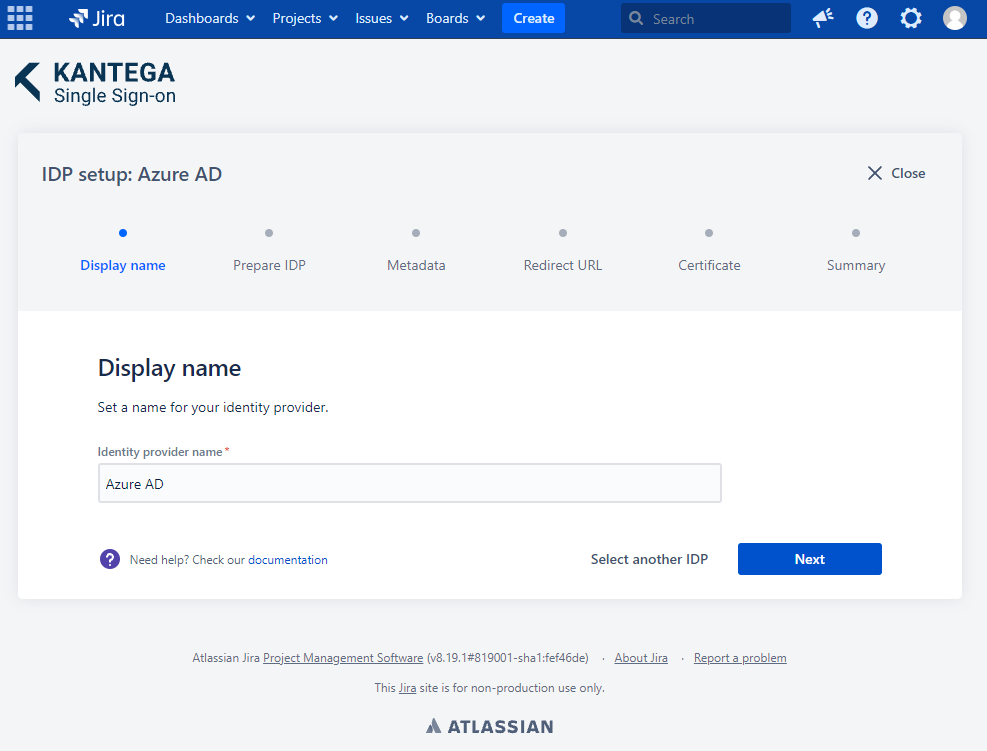
1. Display name
Choose a name for your identity provider. This is the user-facing name, so choose a name your users will recognize. This value can be changed later.
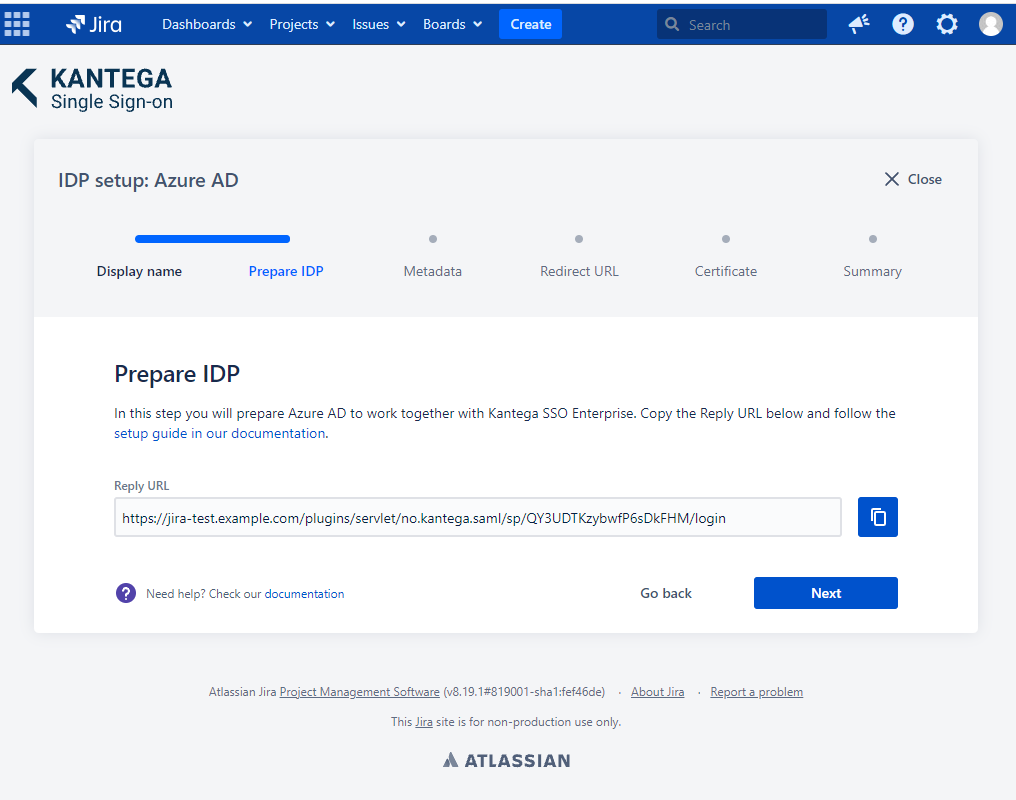
2. Prepare IDP
In this step, you will configure Azure AD to work with Kantega SSO. For this, you will need to copy the Reply URL provided. You will use this when setting up Azure AD.
Configure Azure AD
AZURE AD
If you are using SCIM with your provider, make sure to check out the documentation for configuring this before proceeding. It might be that you need to configure this first or at the same time as setting up SAML.
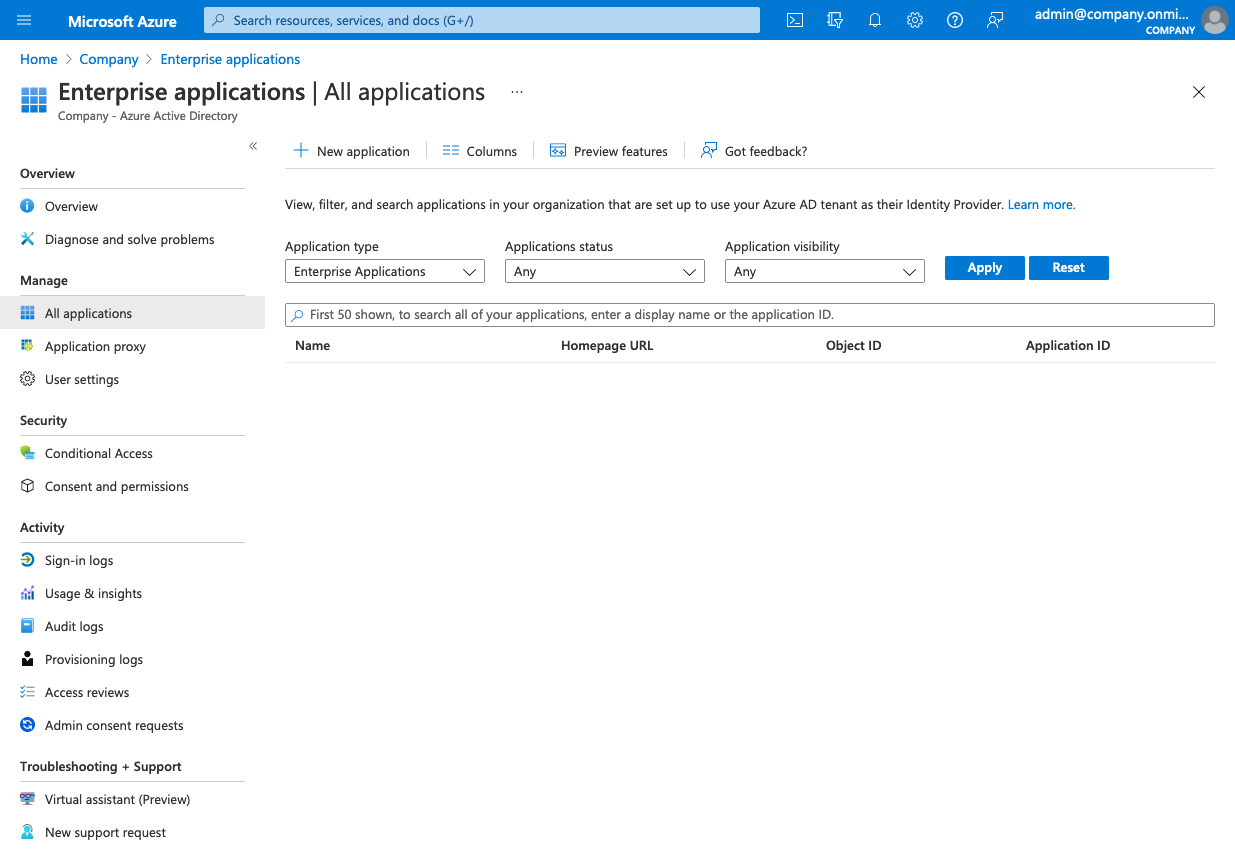
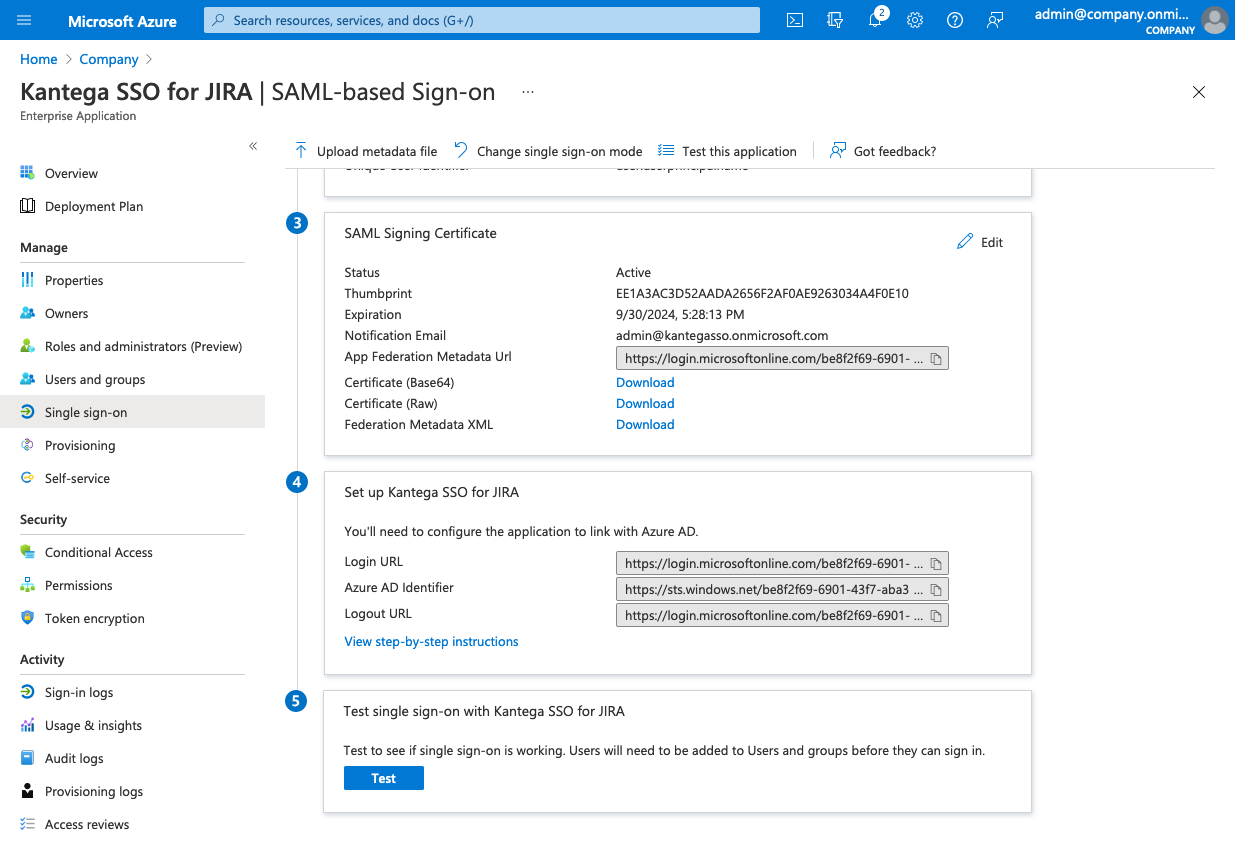
Sign in to the Azure Portal, navigate to Azure Active Directory > Enterprise applications.
If you have already configured SCIM, you should skip creating a new app and use the one you have already configured.
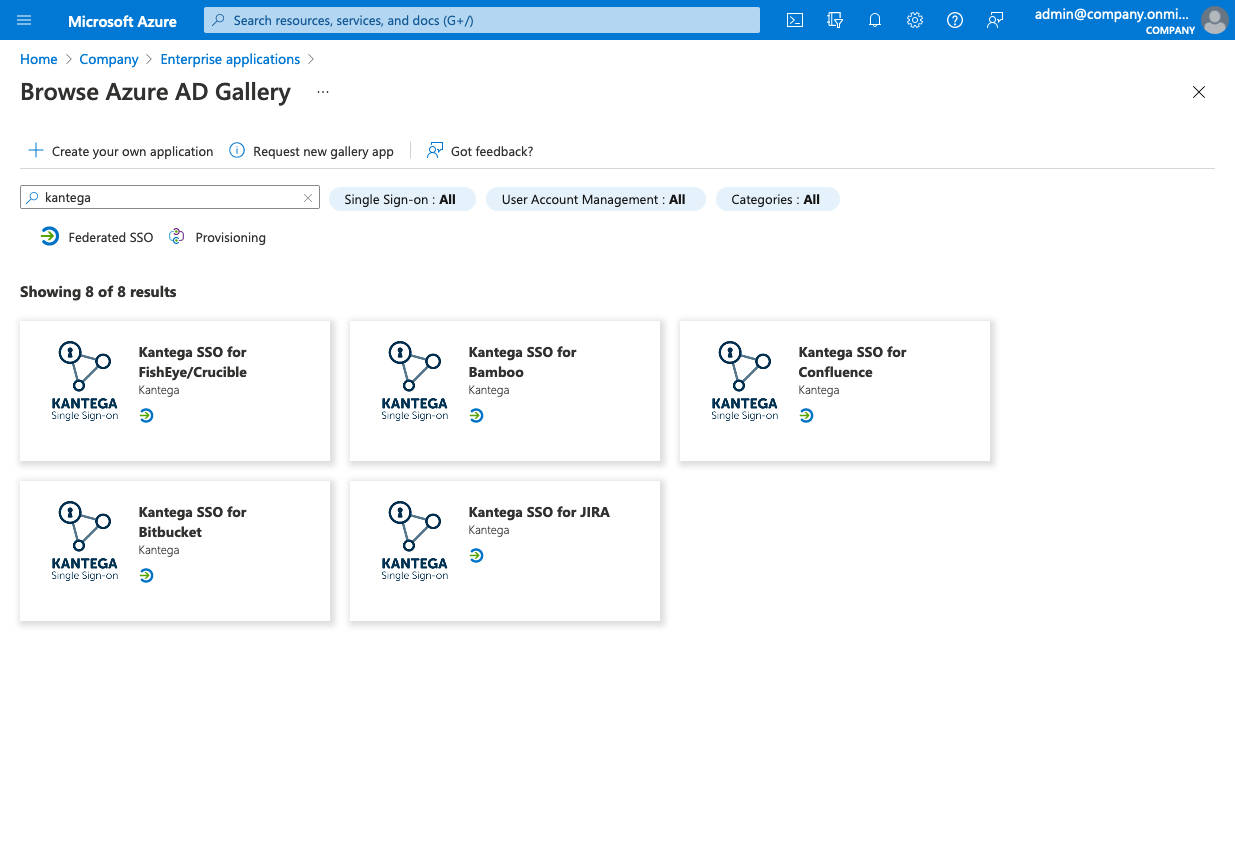
Set up a new application. You can use our templates from the gallery by searching for “kantega” and follow the instructions.
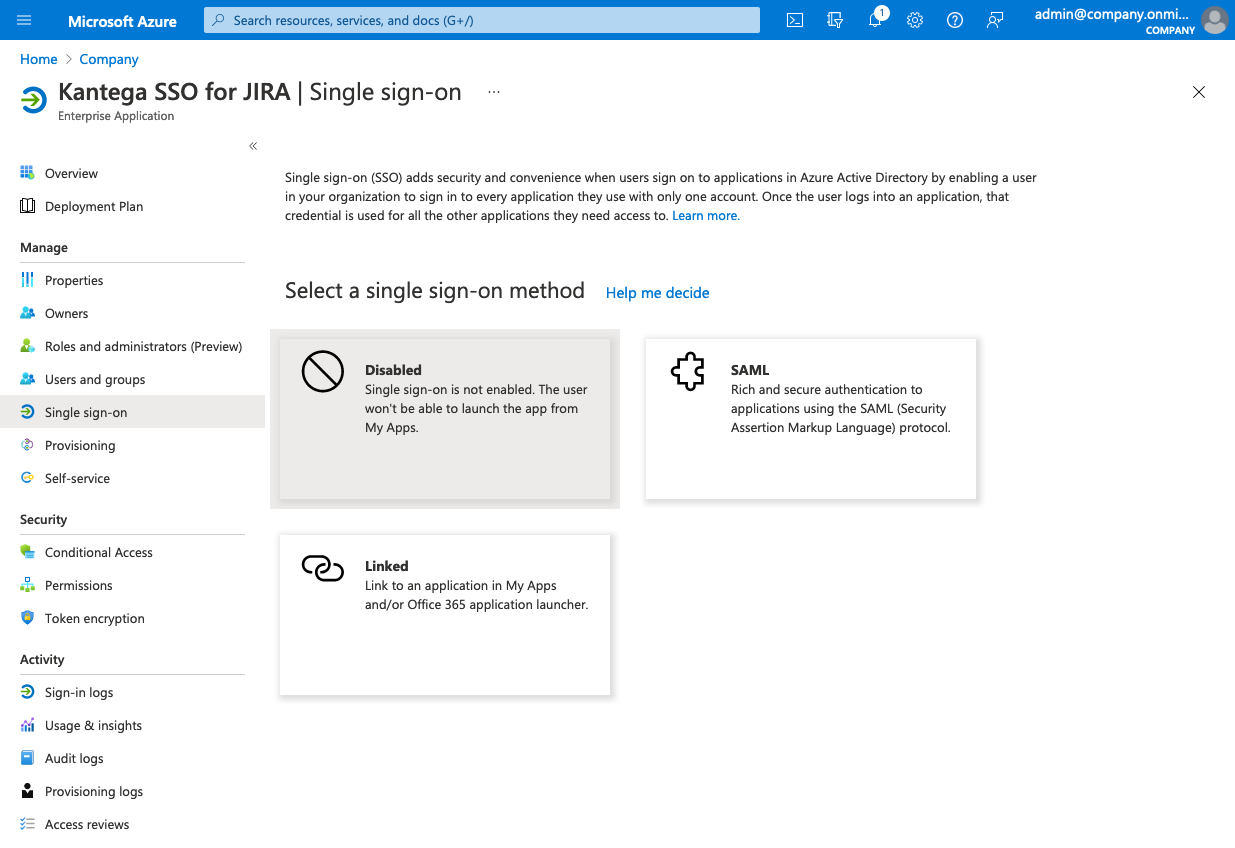
Navigate to Single sign-on and select SAML as the single sign-on method.
Edit the Basic SAML Configuration and insert the ACS URL from Kantega SSO in the required fields Identifier (Entity ID) and Reply URL (Assertion Consumer Service URL).
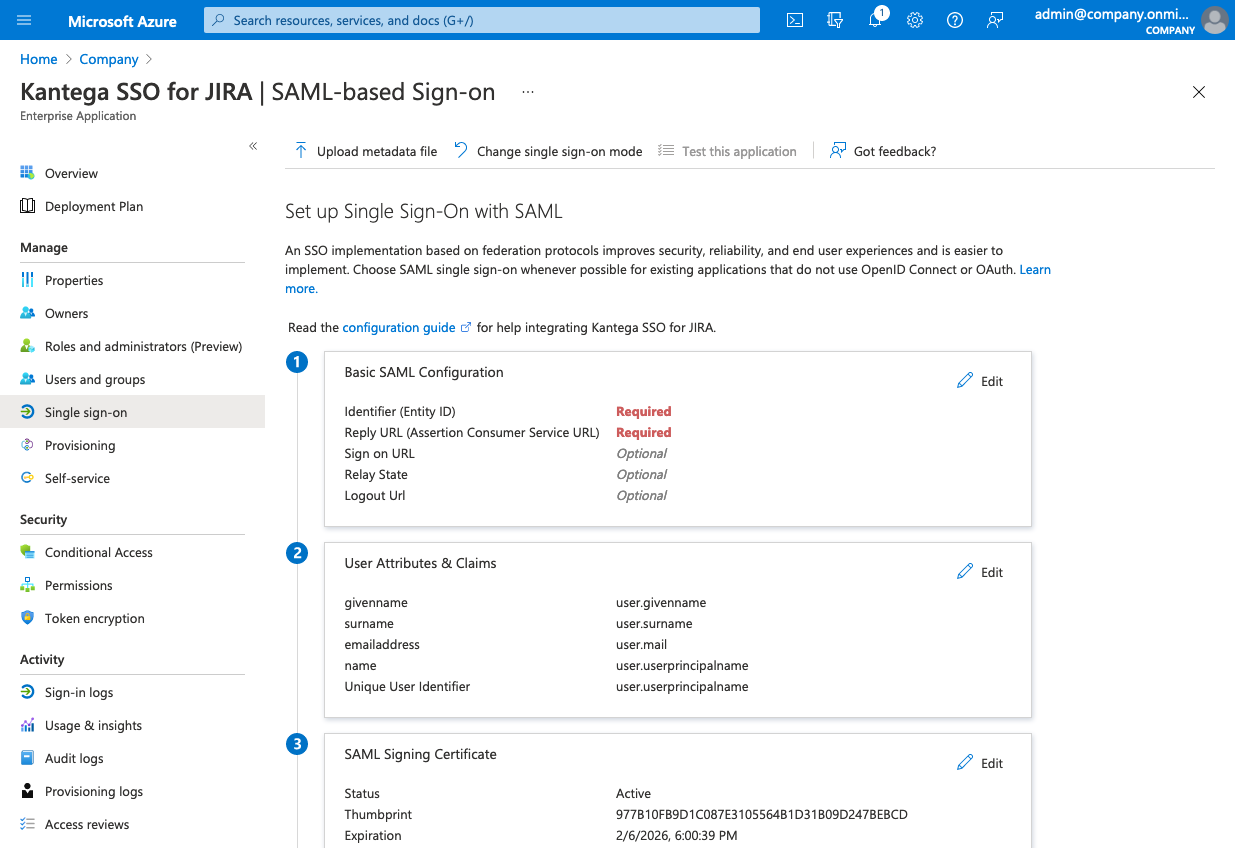
You should then end up with something looking like this.
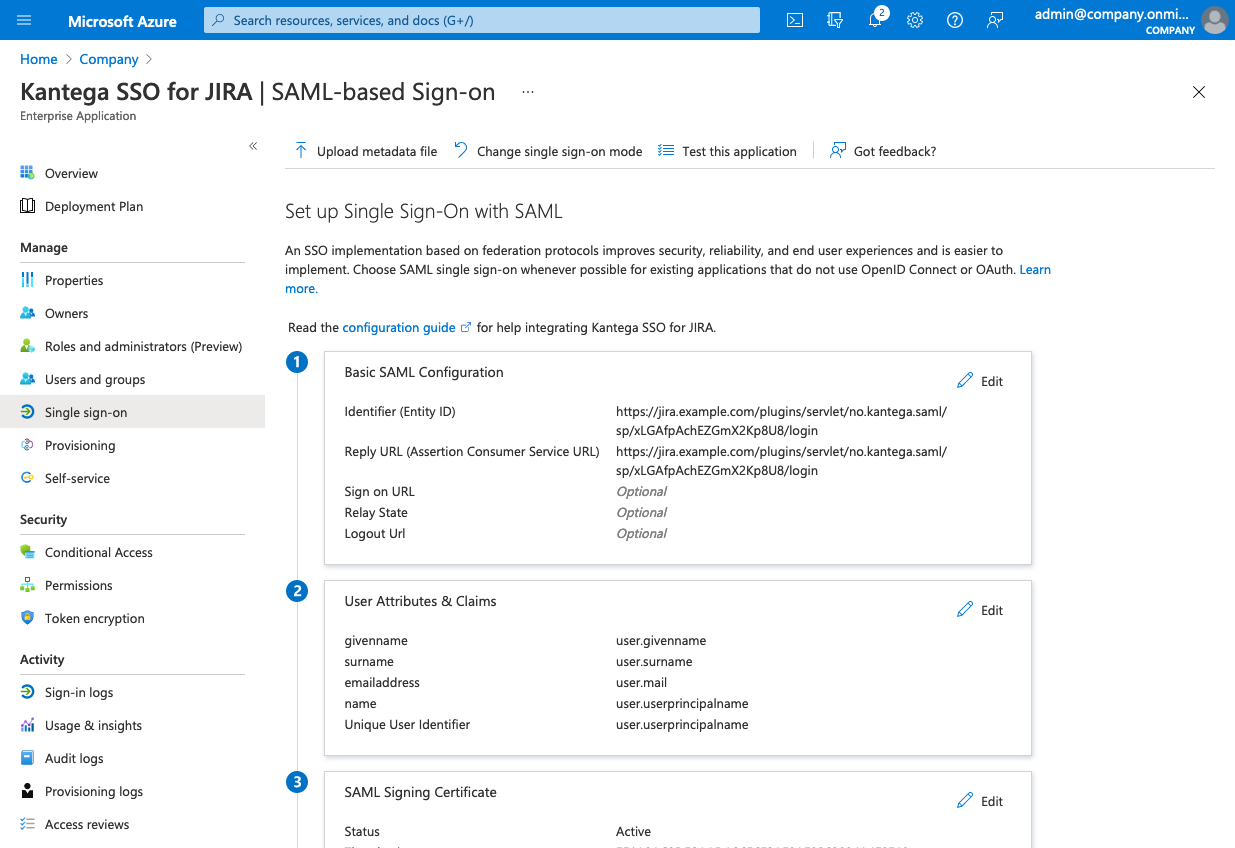
Under the SAML Signing Certificate, copy the App Federation Metadata Url and go back to the Kantega SSO setup wizard.
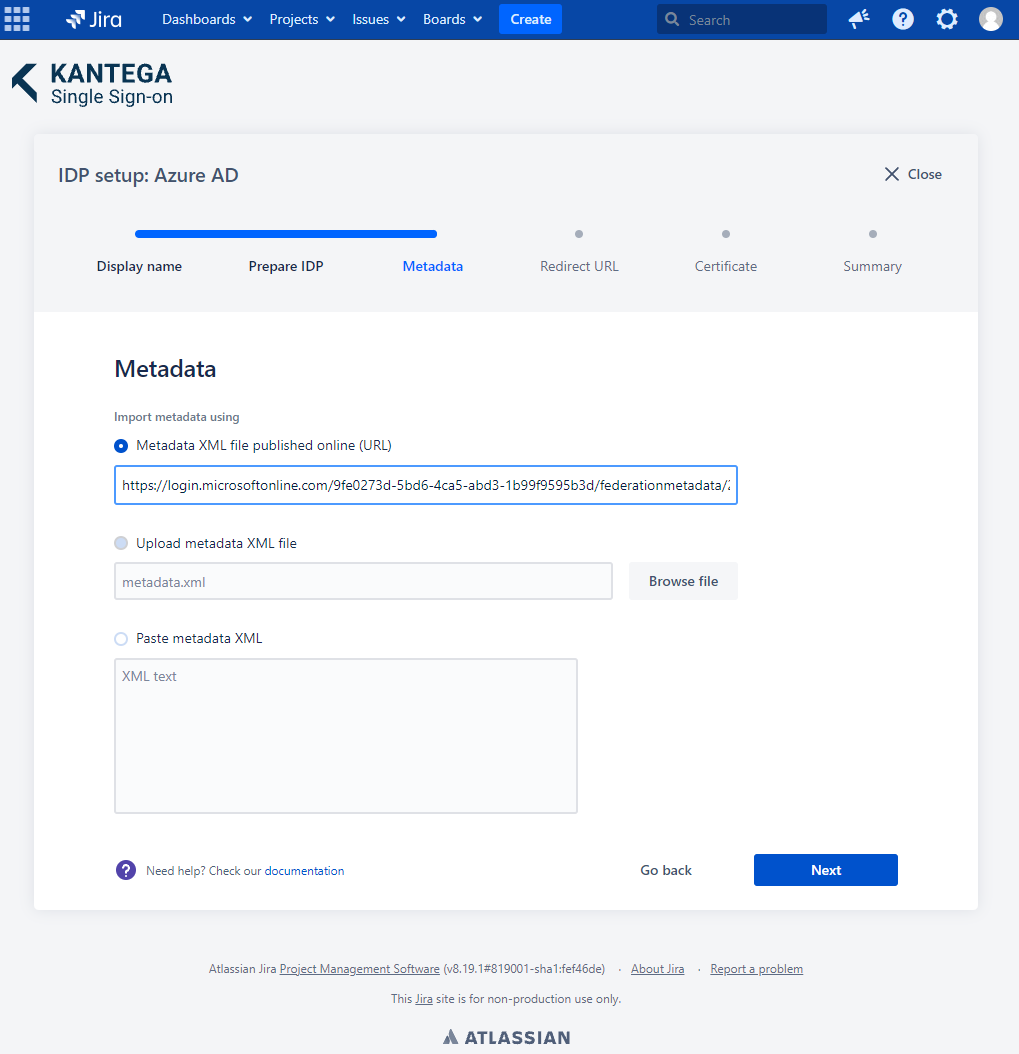
3. Metadata
Paste the App Federation Metadata Url from the previous step into the Metadata XML file published online (URL).
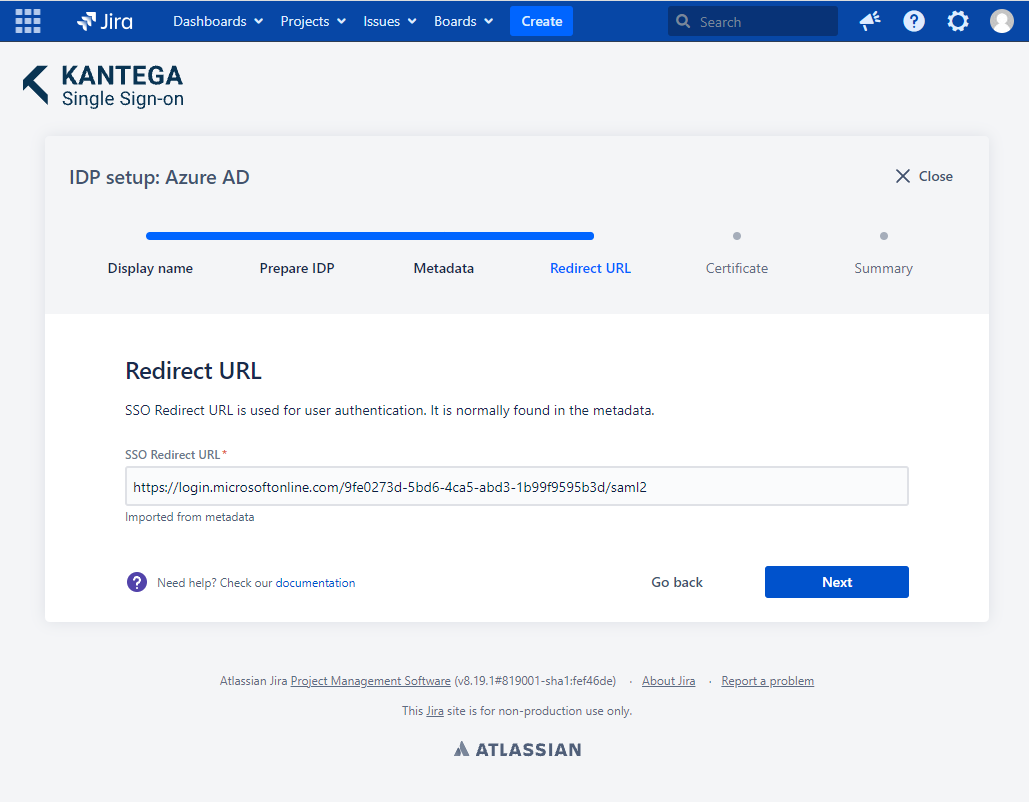
4. Redirect URL
The Redirect URL should be imported automatically from the metadata document. Use the Set up Kantega SSO for JIRA > Login URL from Azure AD if this does not happen.
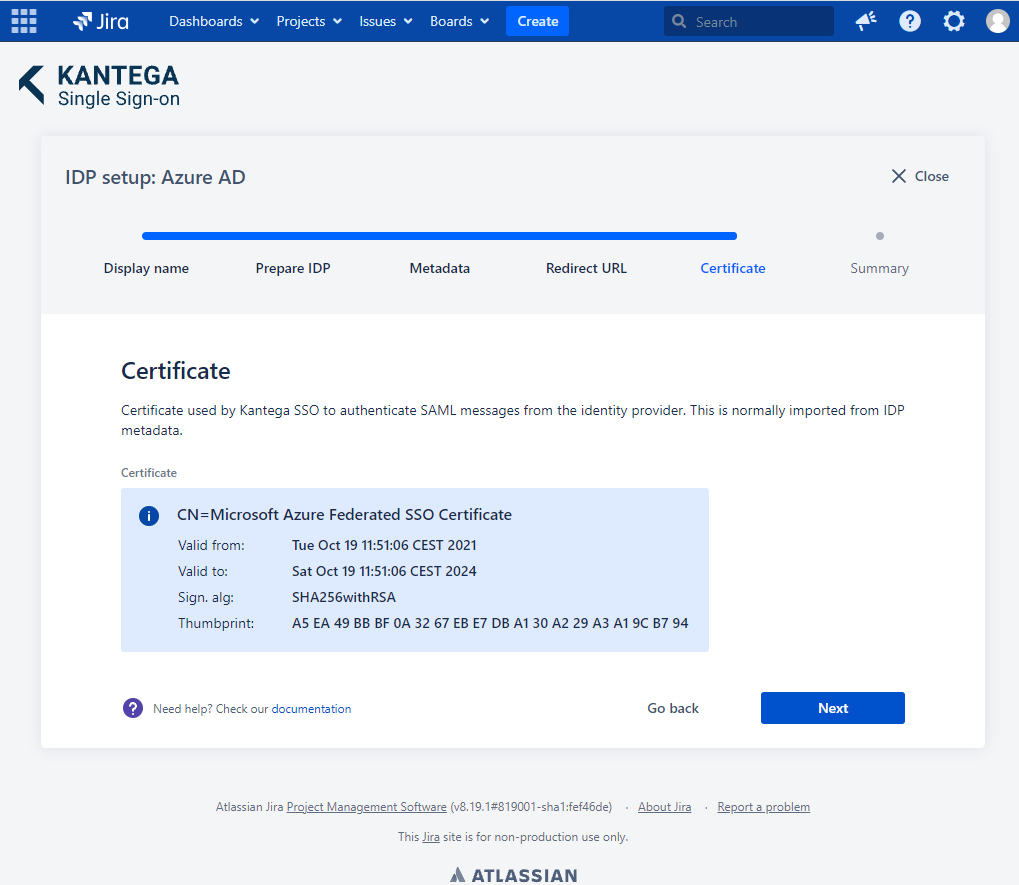
5. Certificate
The Redirect URL should be imported automatically from the metadata document. If this does not happen, you will be prompted to upload a certificate. This can be found under SAML Signing Certificate > Certificate (Base64).
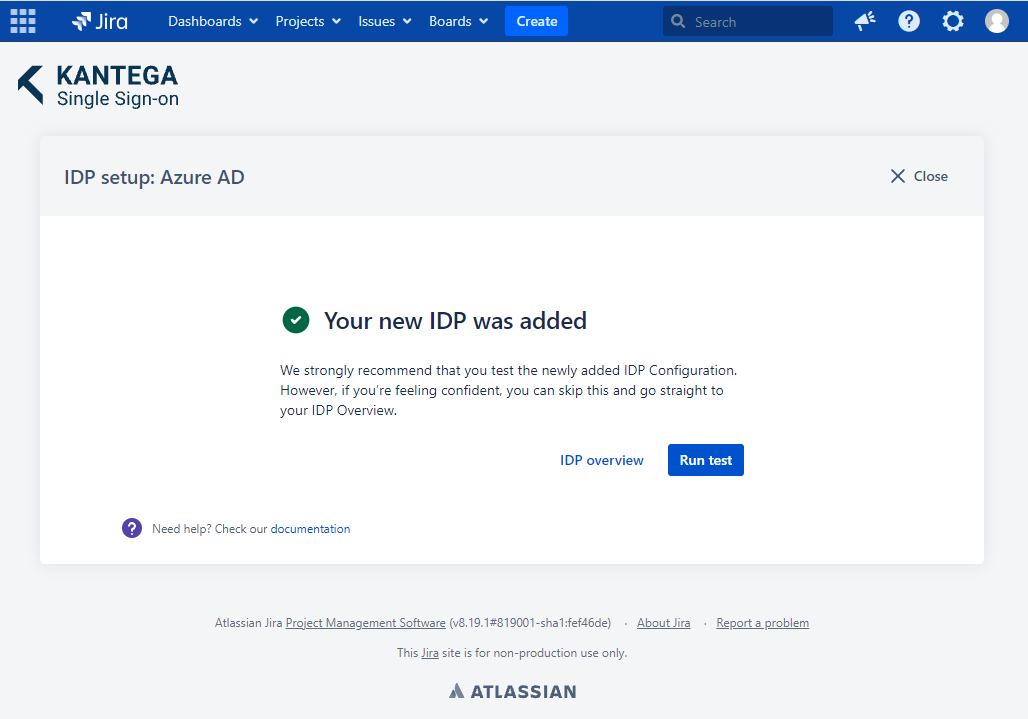
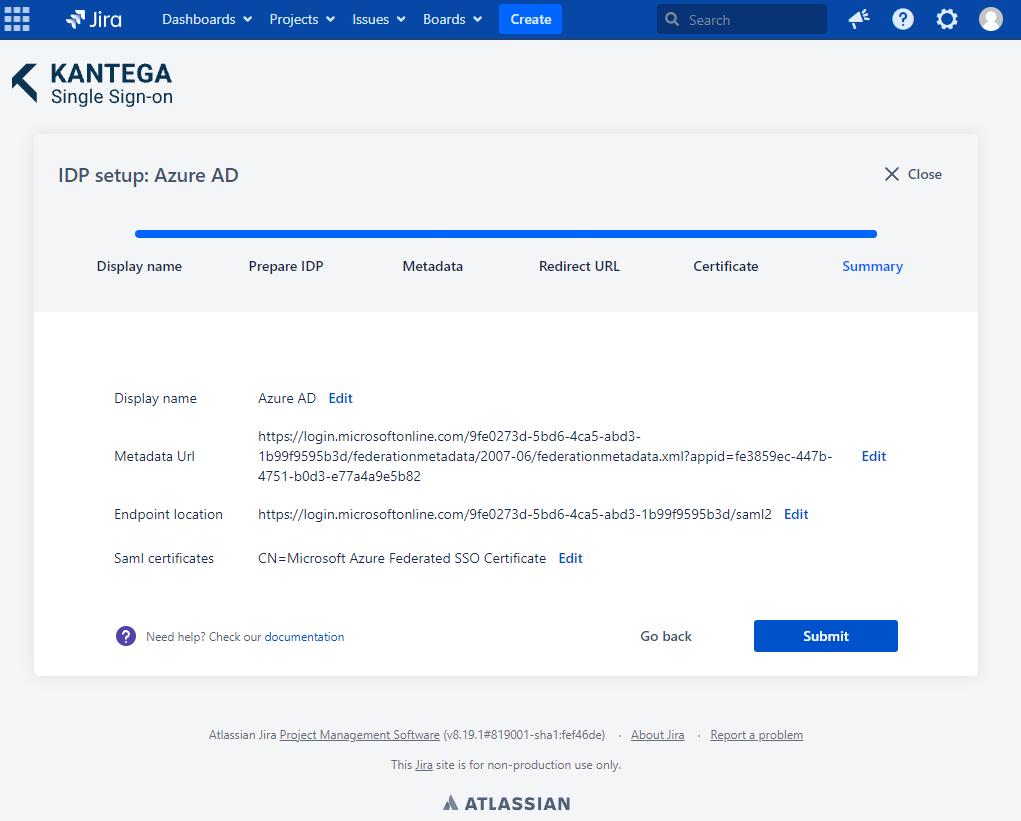
6. Summary
Check that everything looks good and submit your setup ![]()
Test
Test that logging in with Azure AD works as expected. This will help identify if there are any issues with the configuration. Follow the steps to perform the login test.