1. Display name
Choose a name for your identity provider. This is the user-facing name, so choose a name your users will recognize. This can be changed later.

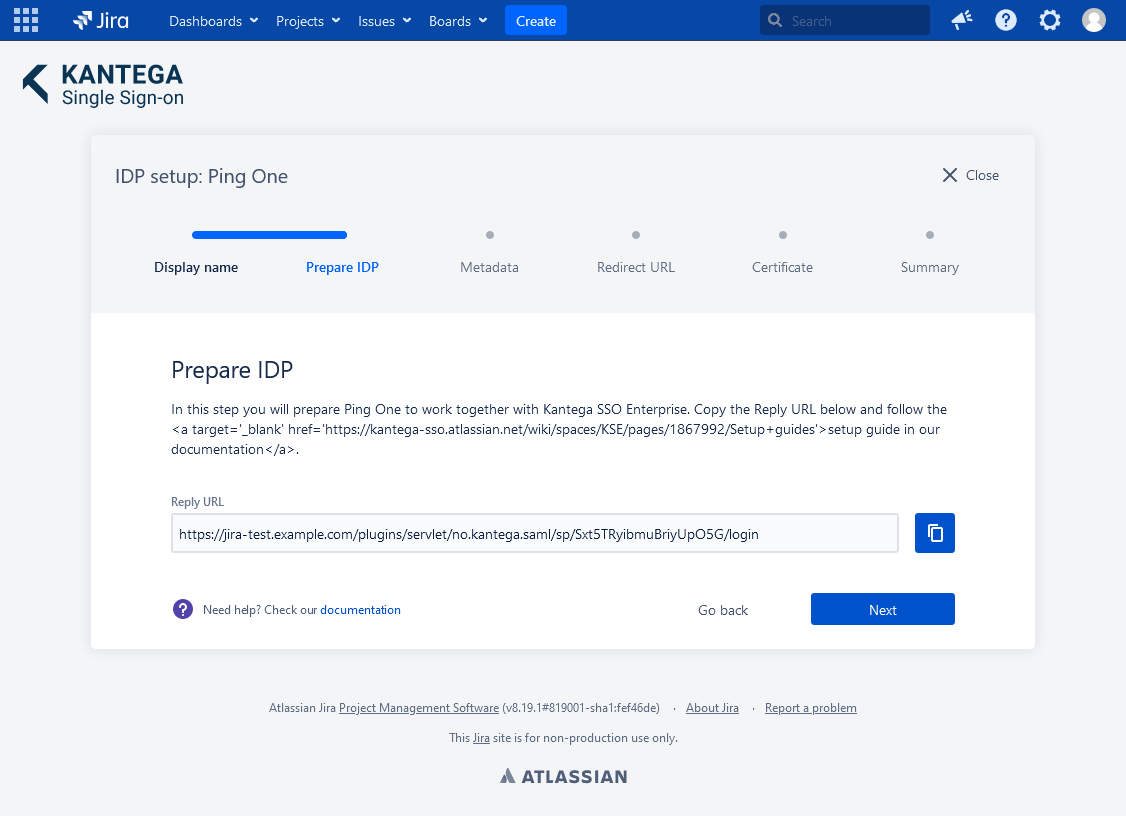
2. Prepare IDP
Copy and save the Callback URL for later. You will need this when configuring Okta
Configure PingOne
EXTERNAL
If you are using SCIM with your provider, make sure to check out the documentation for configuring this before proceeding. It might be that you need to configure this first or at the same time as setting up SAML.
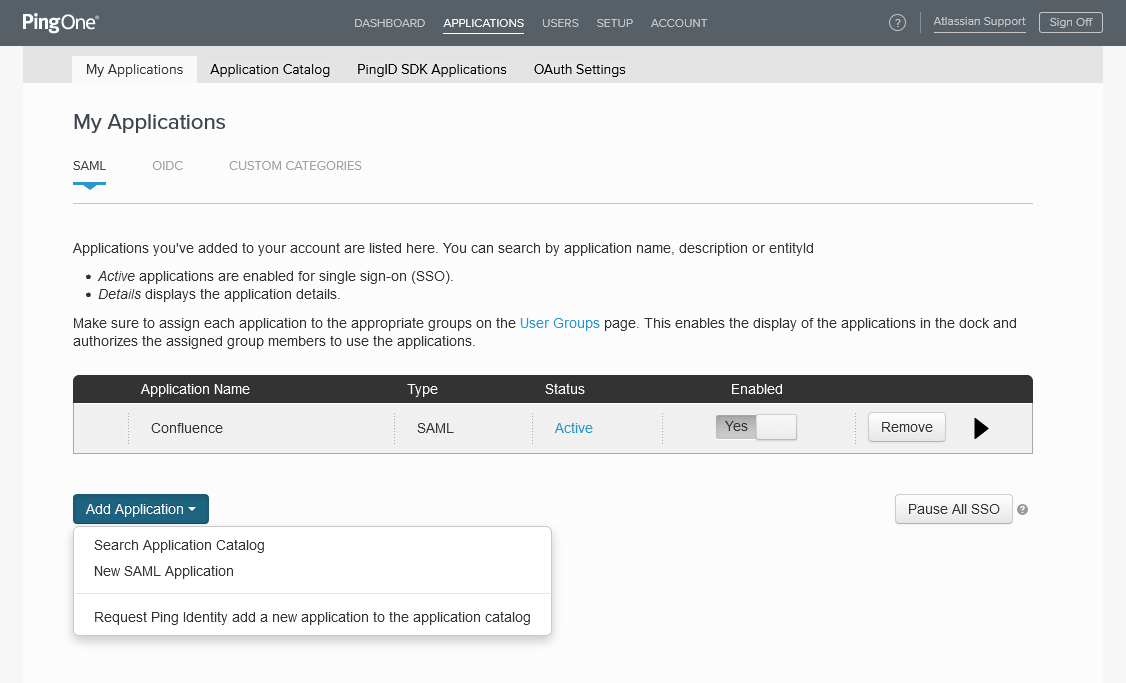
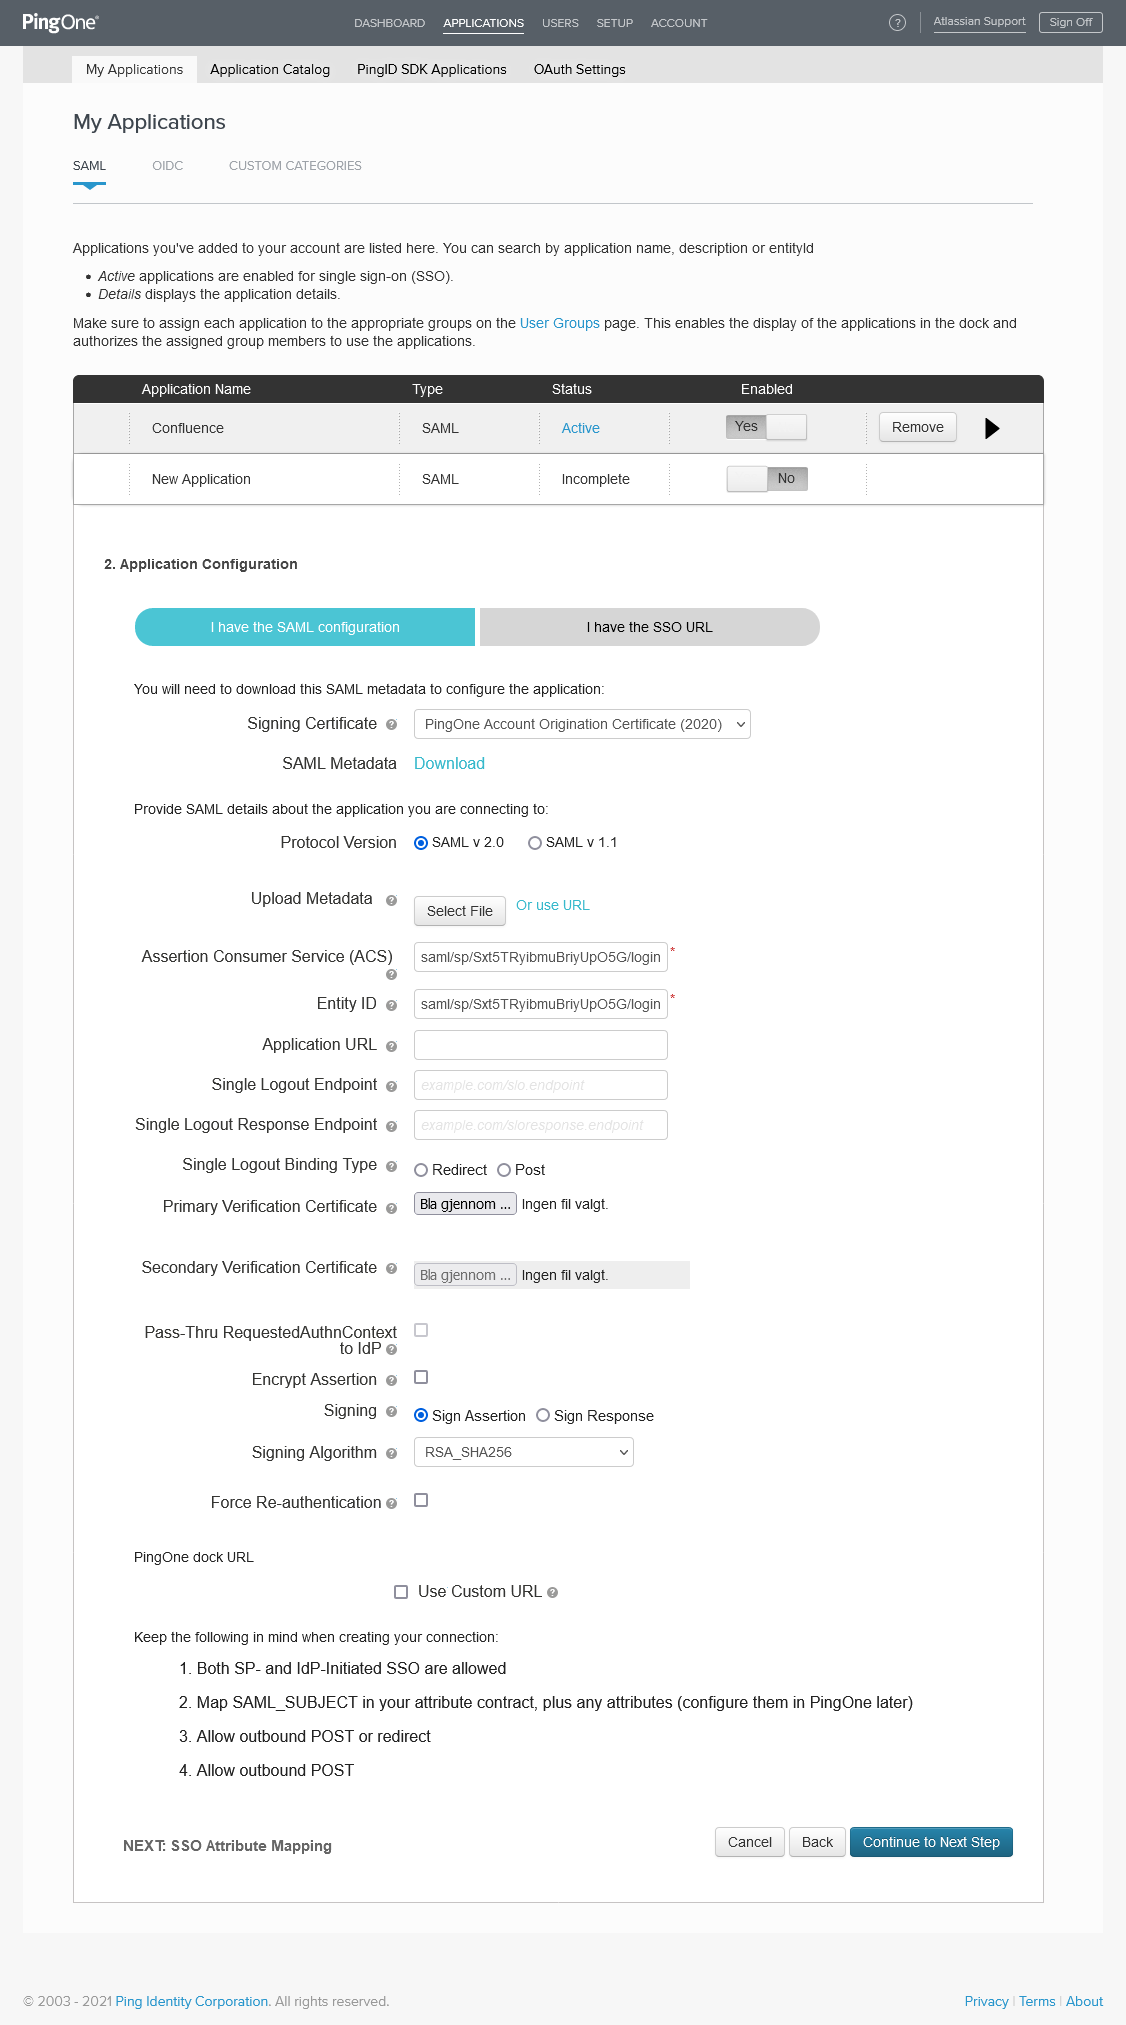
Login to https://admin.pingone.com
Go to Applications in the menu and click Add Application and choose New SAML Application.
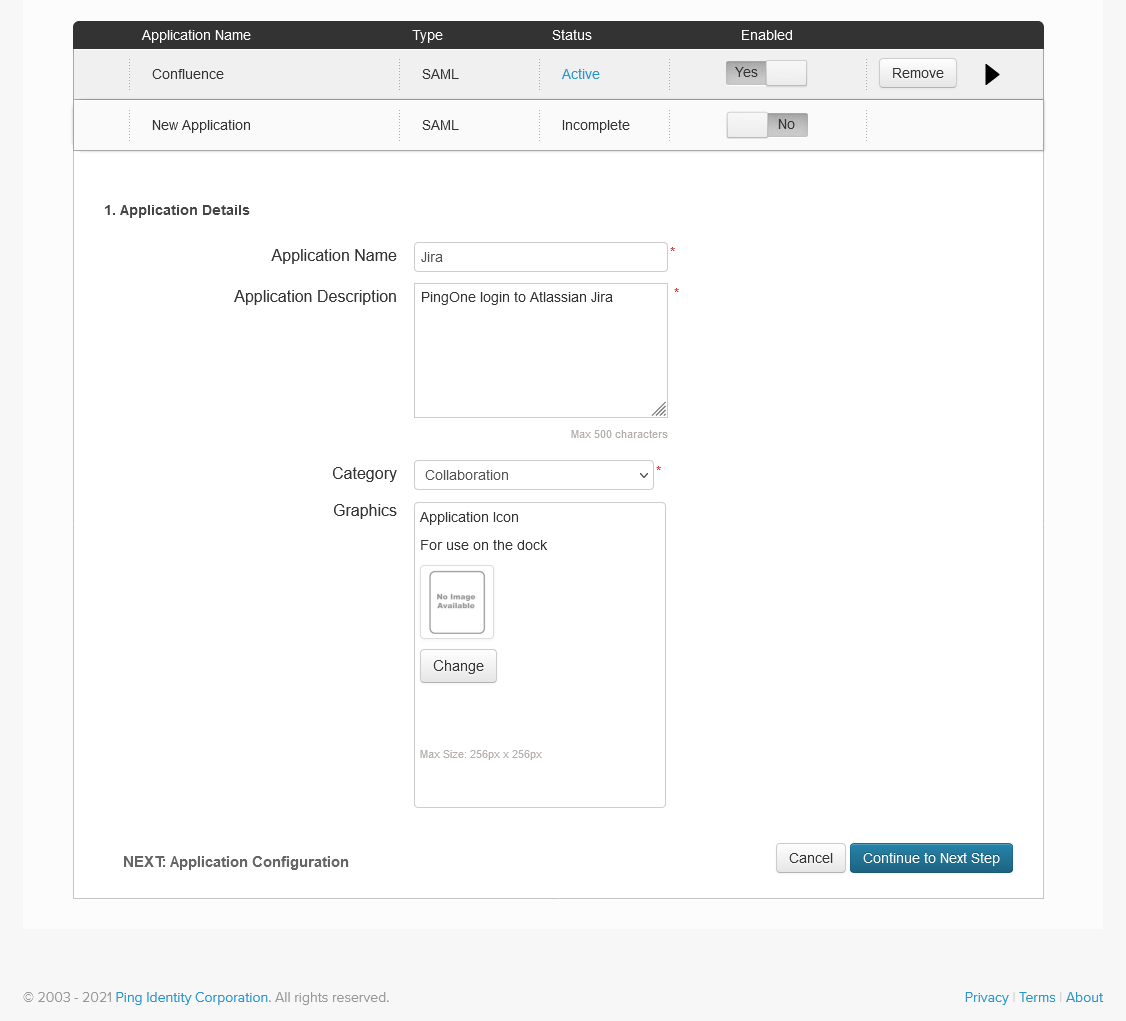
Fill in the required fields with appropriate values and click Continue to Next Step
Paste the Callback URL from the KSSO wizard into the Assertion Consumer Service (ACS) and Entity ID fields, and proceed to next step.
Then add the following attributes to the SSO Attribute Mapping list:
givenName with value fname
surname with value lname
email with value email
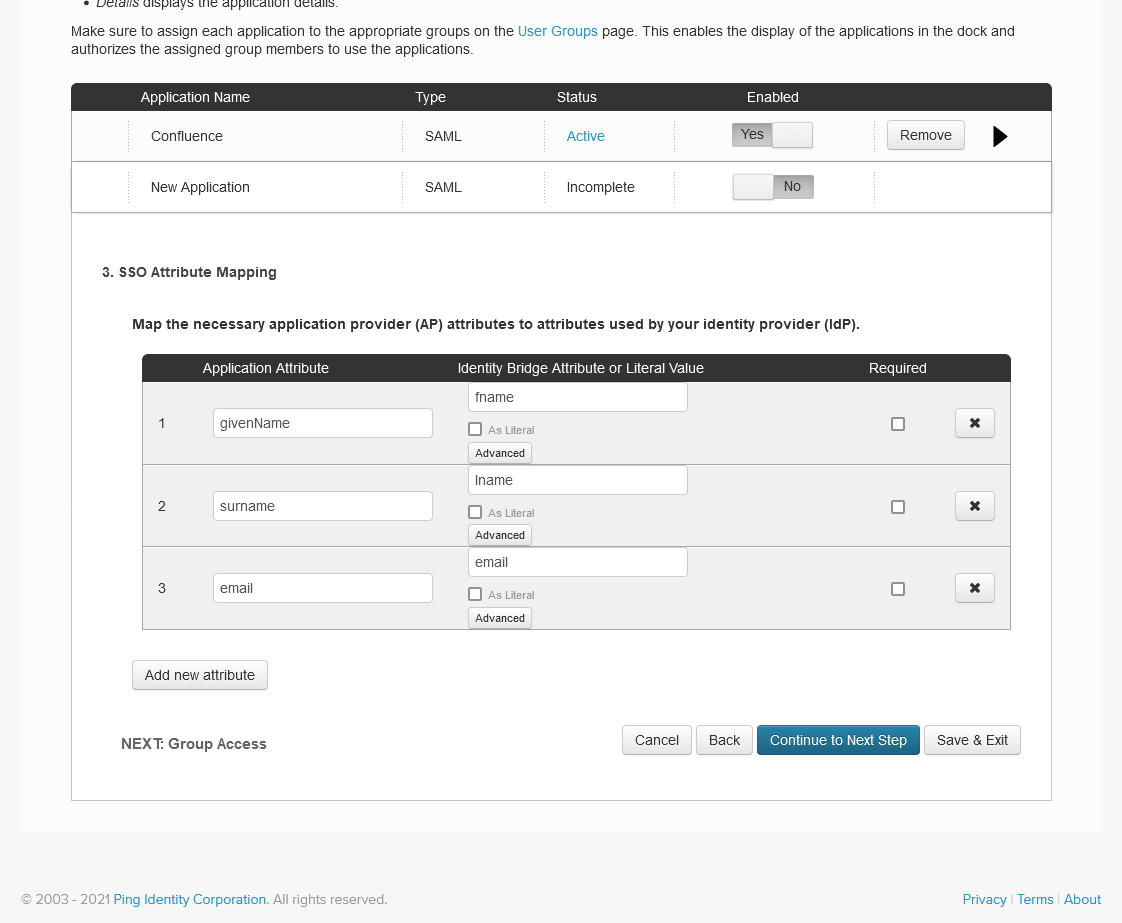
Click Save & Exit.
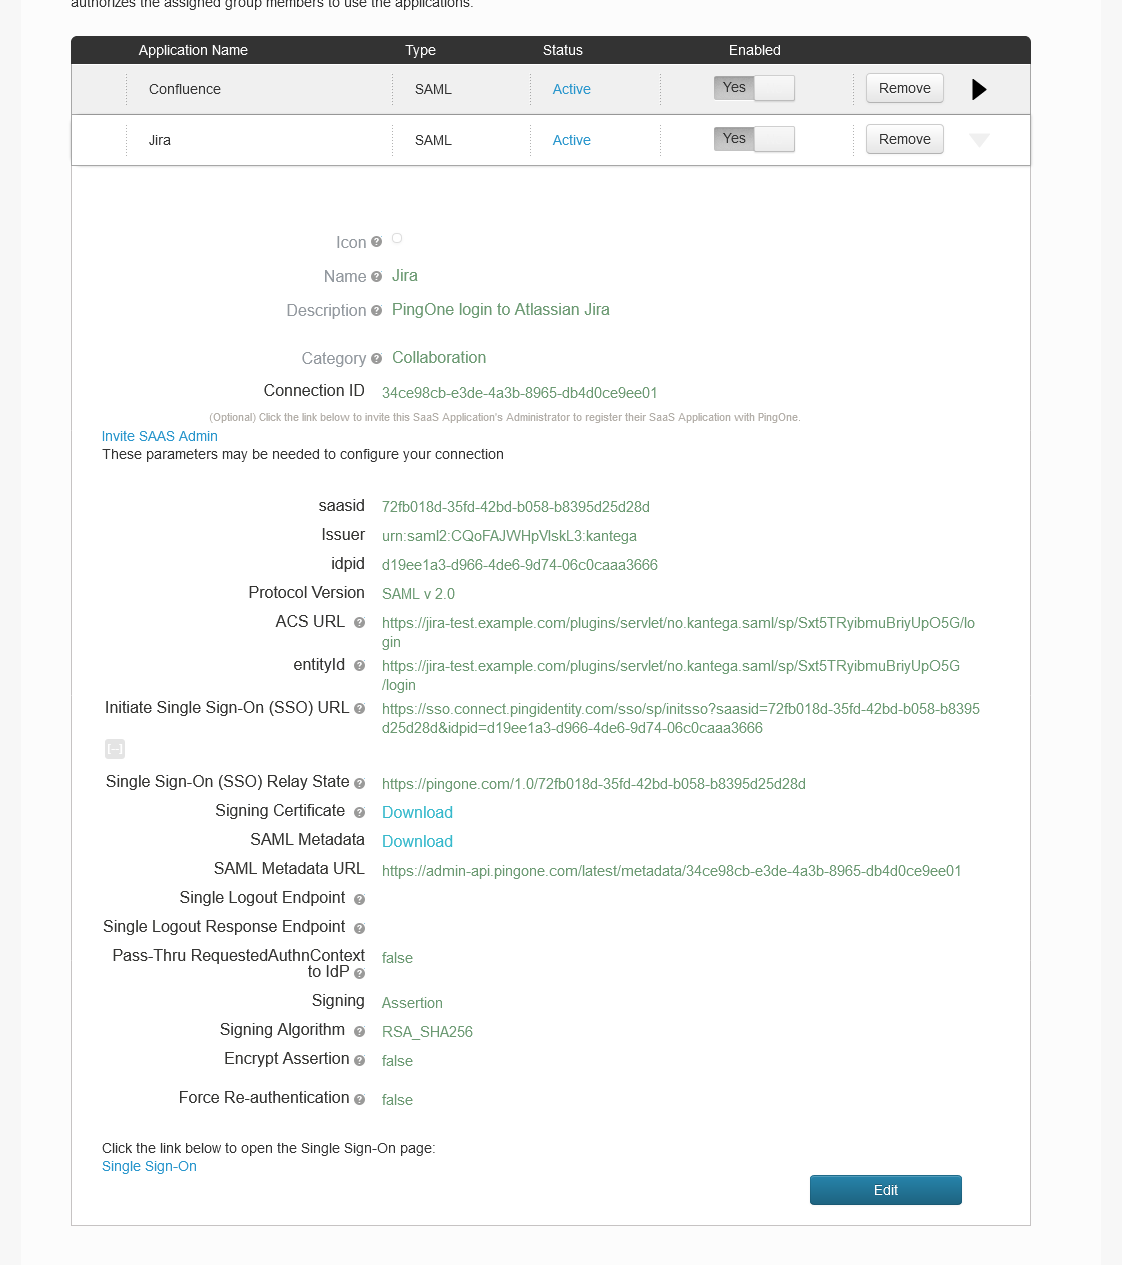
On the Review Setup page, download the SAML metadata file for your application:
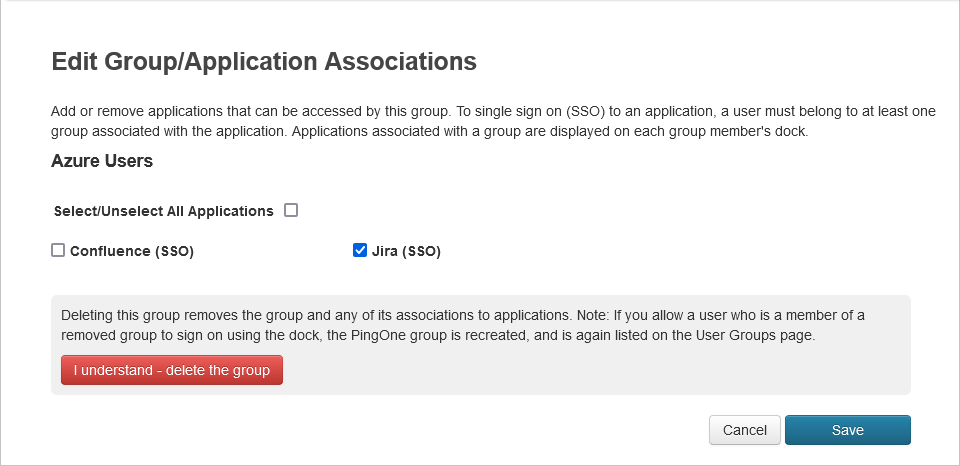
Next, assign your application to User Group(s). Navigate to the Users tab, then User Groups.
Click Edit on the group you want to assign the application to and check the box related to your created application. Save your changes.
Go back to the Kantega SSO setup wizard.
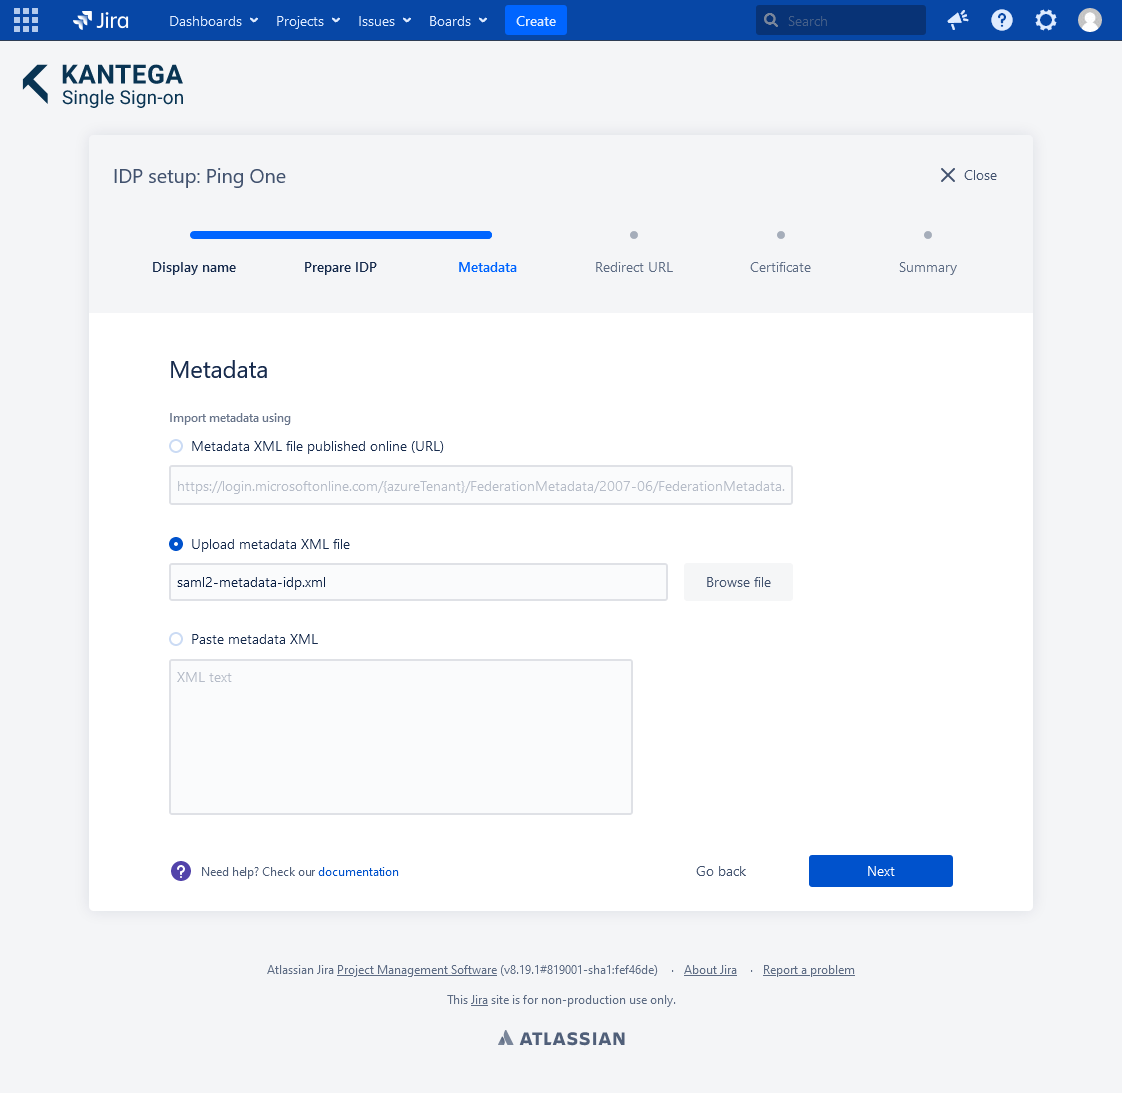
3. Metadata
Choose Upload metadata XML filr.
Browse an upload the SAML metadata file you downloaded from PingOne and click Next.
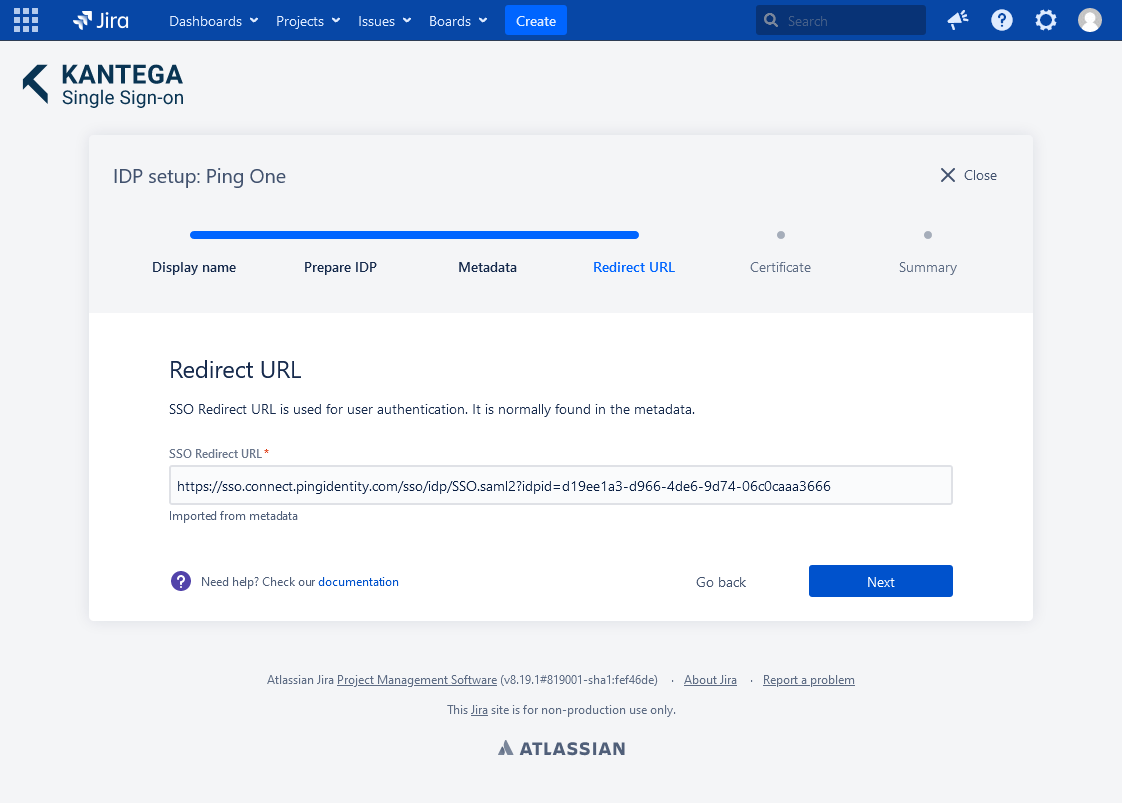
4. Redirect URL
No need to do anything. The Redirect URL is automatically fetched from the metadata you imported in the previous step.
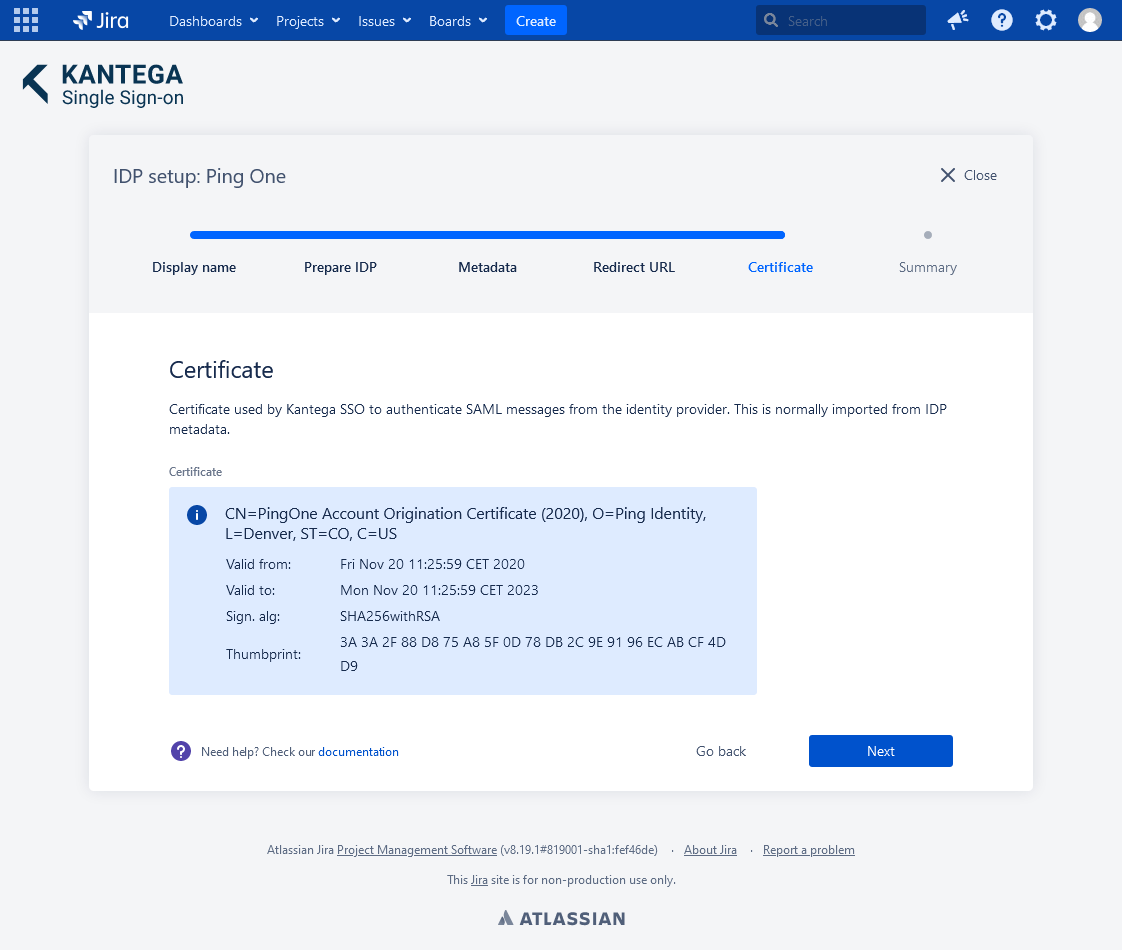
5. Certificate
This step shows the certificate used to validate the SAML messages.
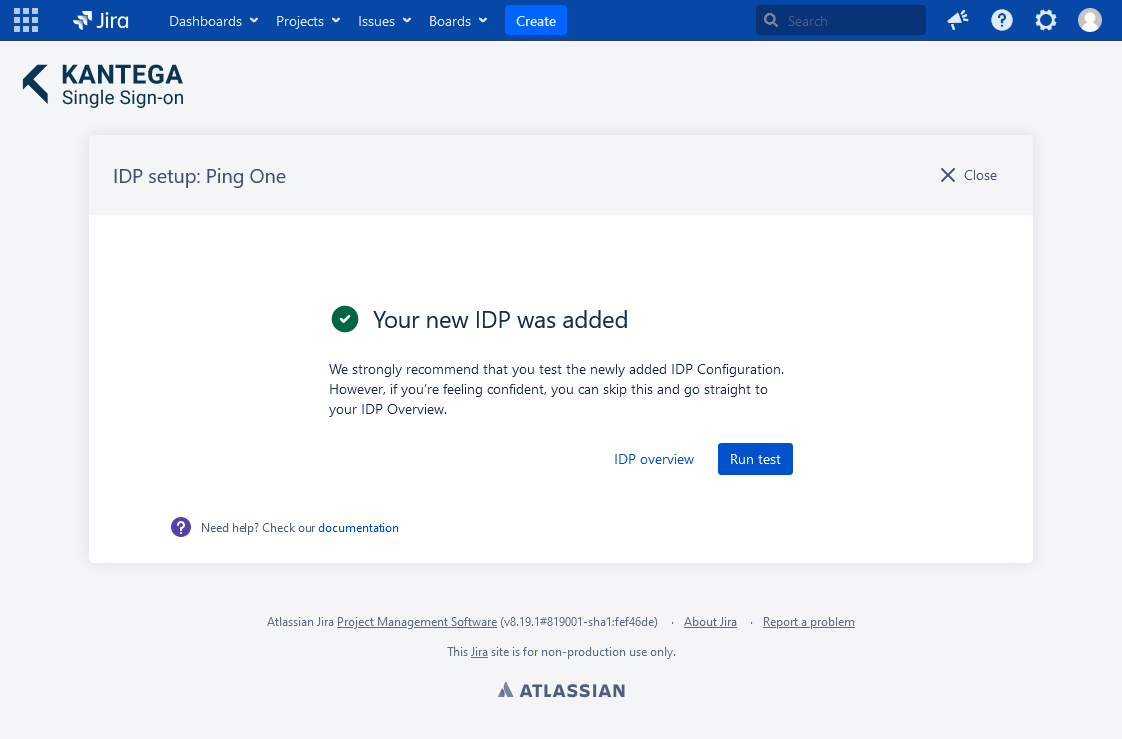
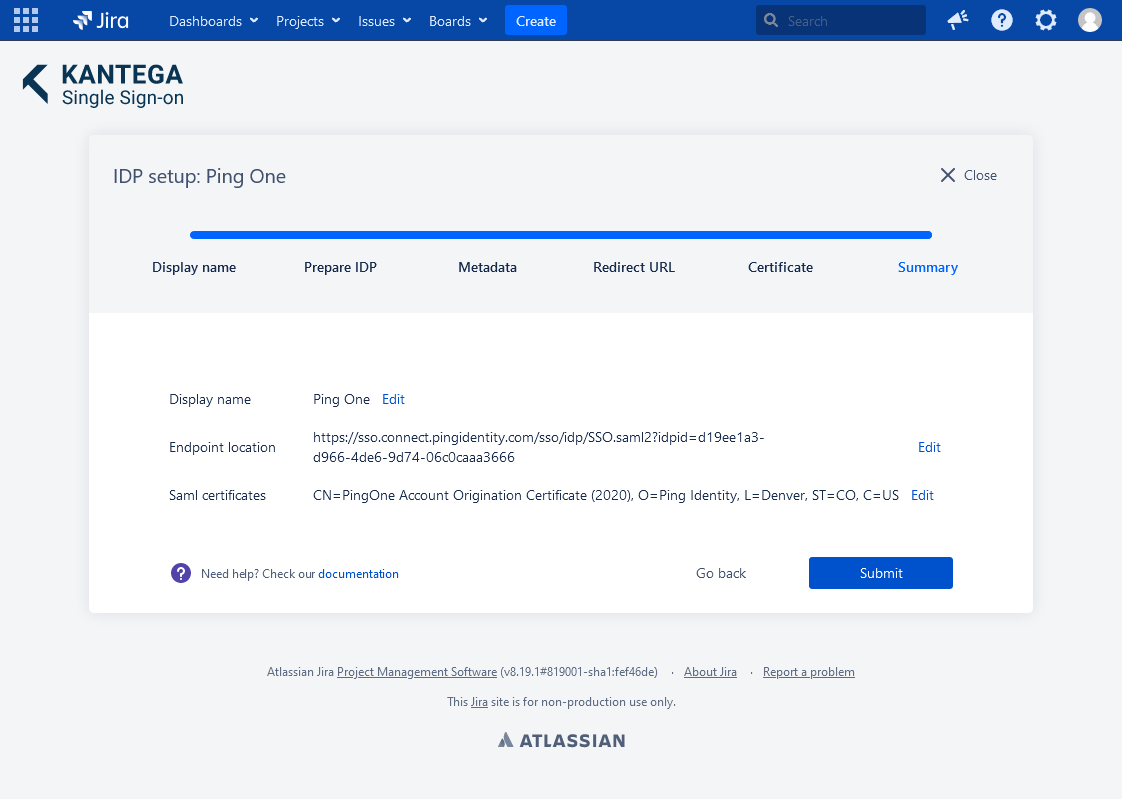
6. Summary
Check that everything looks good and submit your setup ![]()
Test
Test that the log in with Okta works as expected. This will help identify if there are any issues with the configuration. Follow the steps to perform the login test.