This guide takes you through the steps of setting up AD FS login to the following Atlassian applications:
Jira
Status colour Blue title SERVER Status colour Blue title DATA CENTER Confluence
Status colour Blue title SERVER Status colour Blue title DATA CENTER Bitbucket
Status colour Blue title SERVER Status colour Blue title DATA CENTER Bamboo
Status colour Blue title SERVER Fisheye / Crucible
Status colour Blue title SERVER

| Expand | ||
|---|---|---|
| ||
You find a link to the Atlassian Marketplace in the upper right corner of your Atlassian application. Click Manage apps and search for “Kantega.”. Click “Free trial” or “Buy now” to install the app. .gif?version=1&modificationDate=1584558192401&cacheVersion=1&api=v2) |
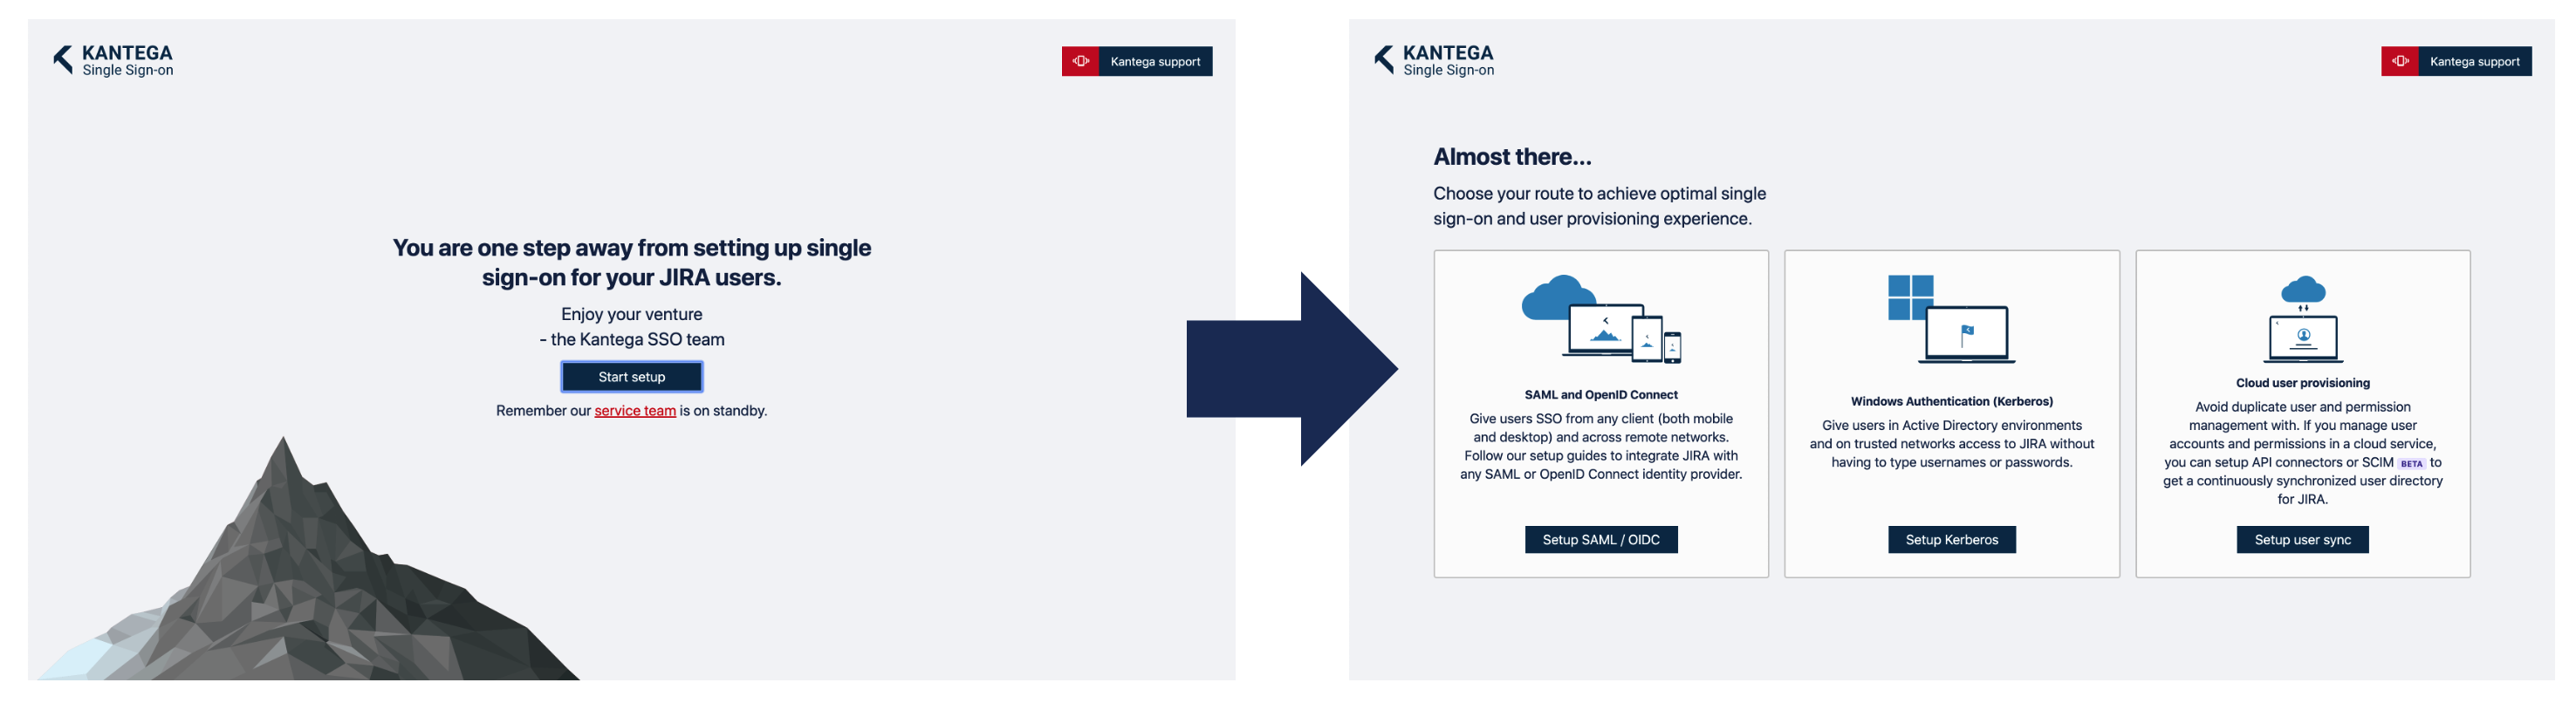
Add identity provider
A welcome message is shown when you select to configure the app for the very first time. Click “Start setup” and then “Setup SAML / OIDC”OIDC.”
Select “Active Directory Federation Services (AD FS)” in the identity provider gallery.
ADFS allows you to setup set up single sign-on over both SAML and the OpenID Connect protocol. This knowledge base article describe describes more about the practical differences of between these two protocols.
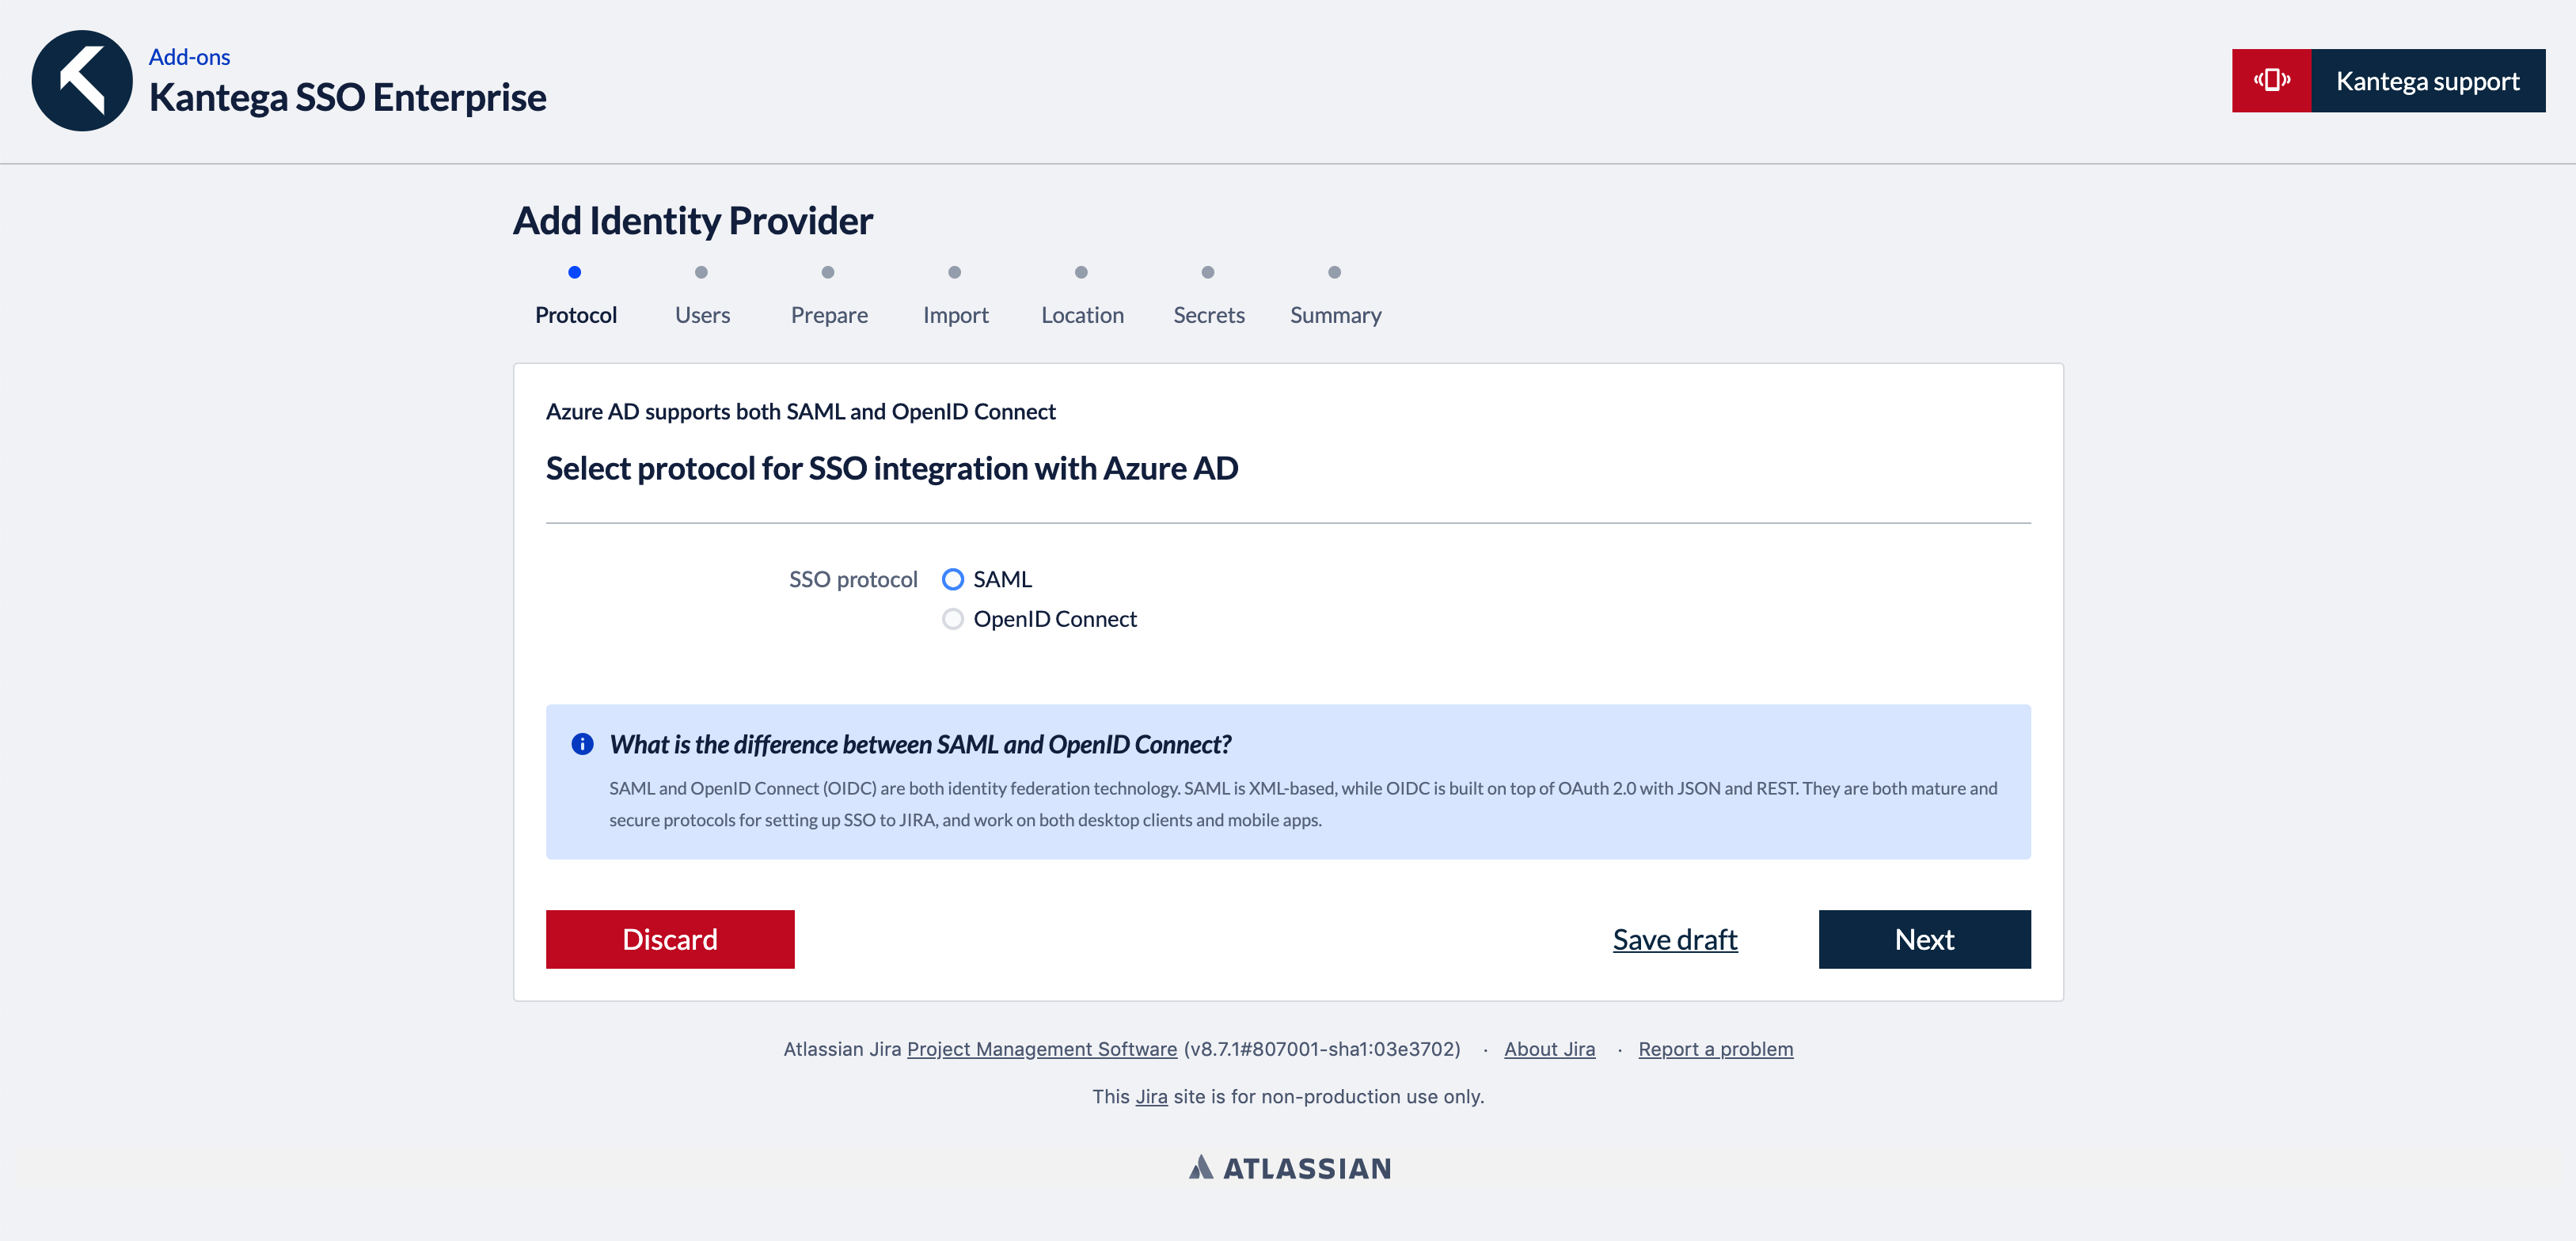
In the first wizard step, you select which SSO protocol to use. Click “Next.”. Follow the protocol-specific setup guides below.
| Expand | ||
|---|---|---|
| ||
1. Select provisioning methodThe Atlassian applications needs need to have information about users logging in and their permissions. At this wizard step, we choose whether the user and permission data already exist in a user directory when users log in with SSO or if user records should be created dynamically (just-in-time provisioning). You can also specify whether users logging in through AD FS should be added as members to a set of default groups automatically. Alternatively, you can also retrieve and assign group memberships individually based on attributes in the SAML response. Such configurations are available after the initial setup. Select provisioning method, default groups, and click “Next.”.  2. Configure identity providerThe easiest way to prepare AD FS is by using powershellPowershell. Simply copy Copy the command and paste it into an elevated powershell Powershell window. Make sure you are accessing the application using https. 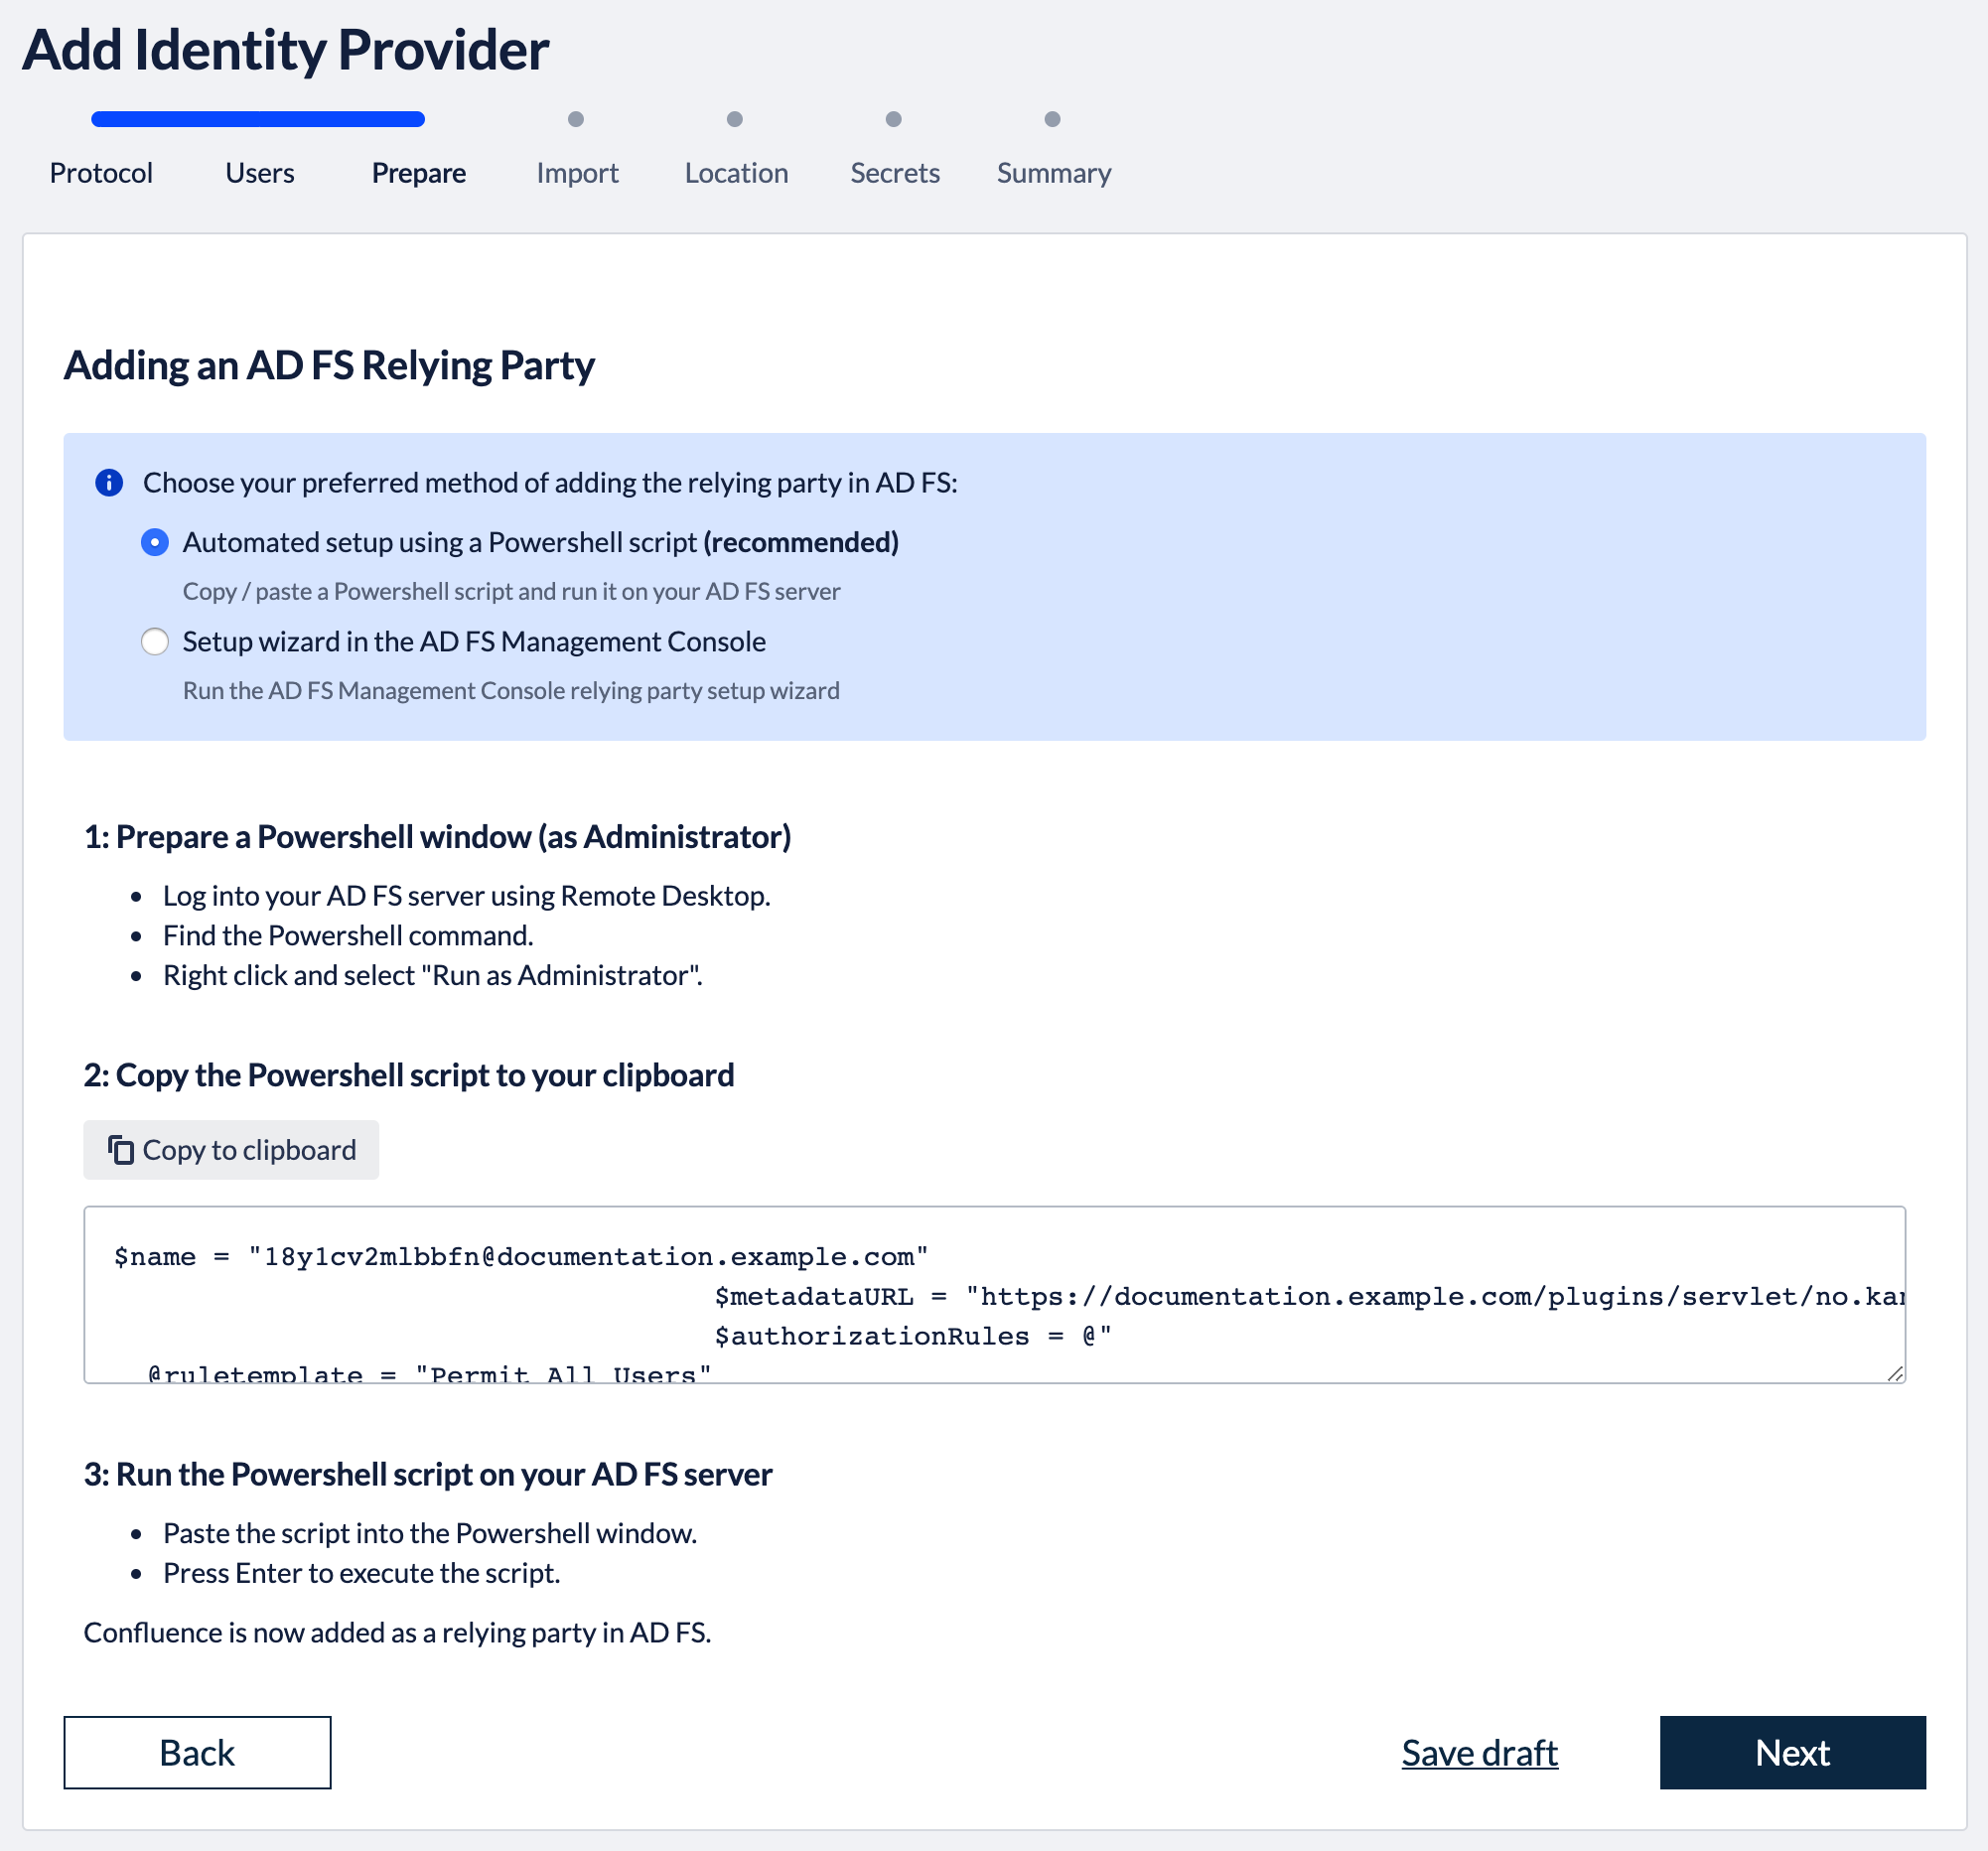 Login to your AD FS server and start a Powershell terminal window as an administrator. Then copy/paste the generated powershell Powershell script into the terminal window and run it. 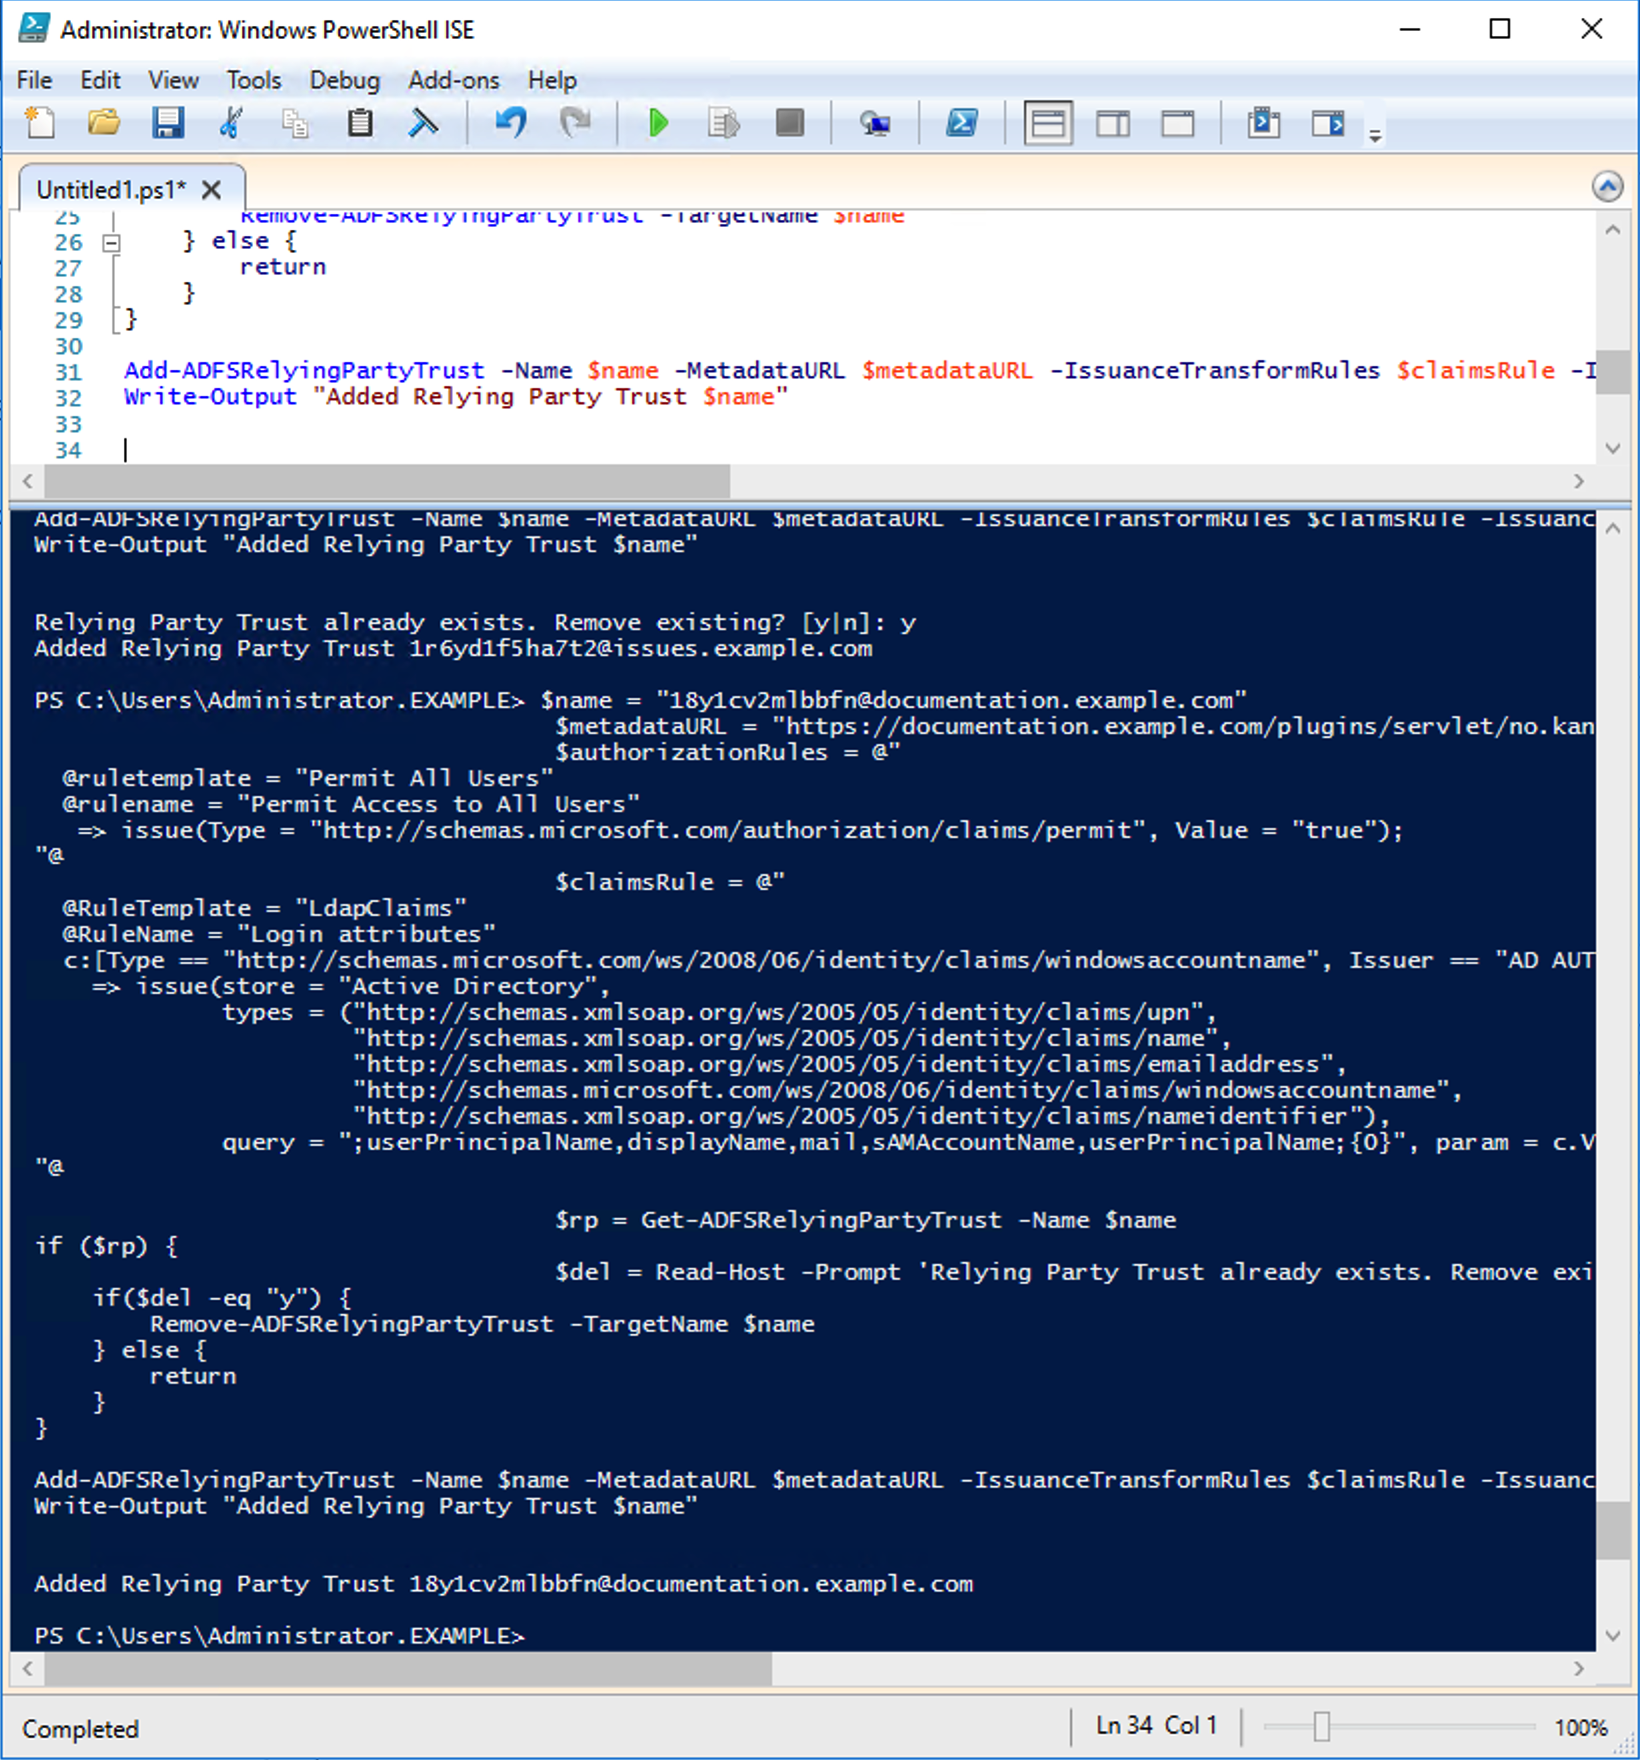 Confluence is now added as a relying party in AD FS. Click “Next.”. 3. Import metadataType the hostname of your AD FS server in the import step of the Kantega SSO wizard. Importing metadata using the AD FS host name hostname is recommended, as it allows for automatically updating certificates. 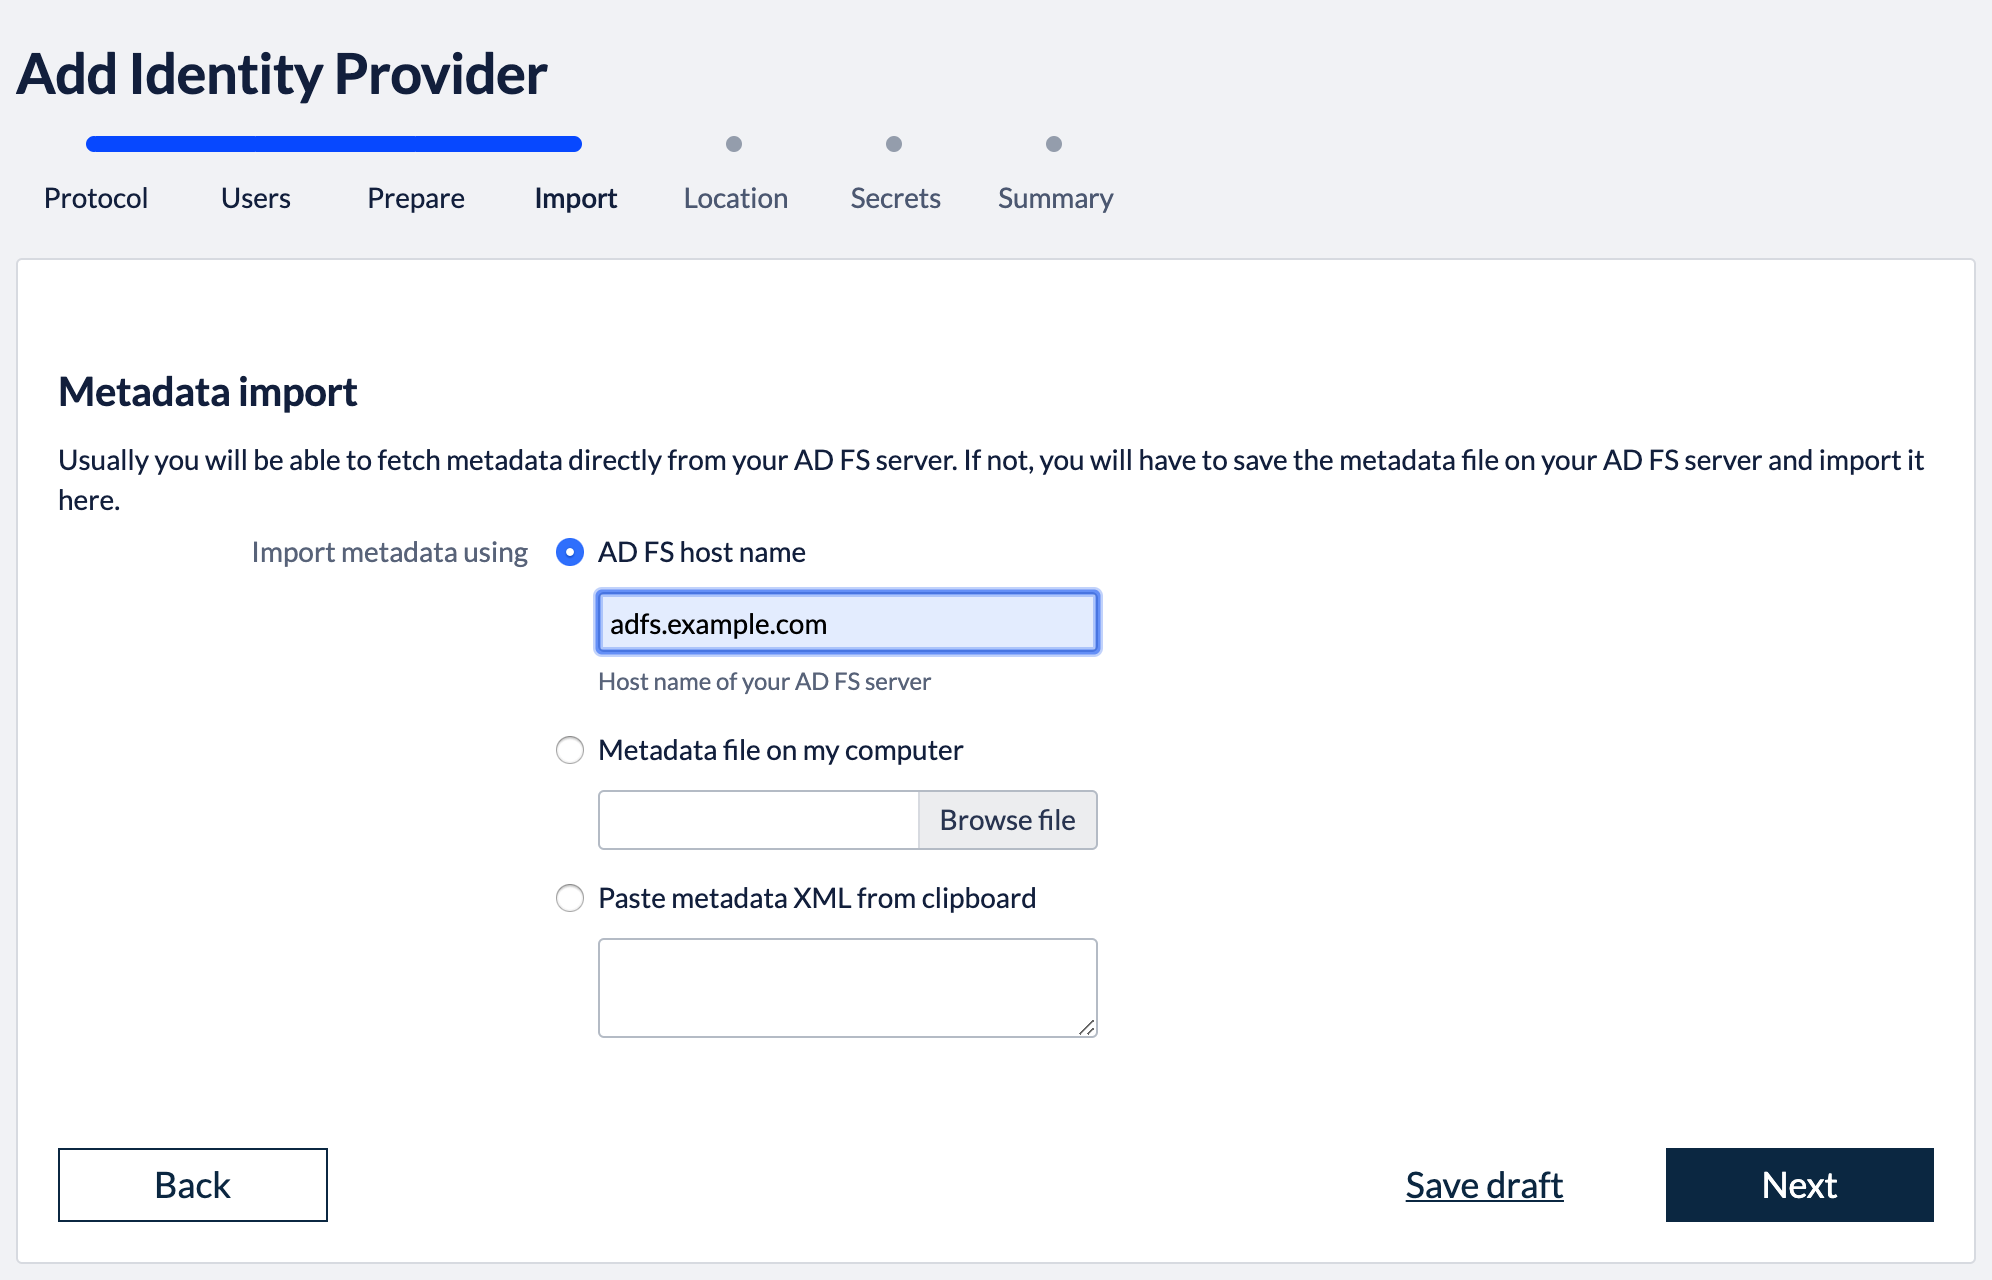 Click “Next.”. 4. Identity provider nameFill in a name for your configuration. By default, by default this is “AD FS”FS.” Click “Next”  5. Verify signatureThis step shows the certificate used to validate the SAML messages. 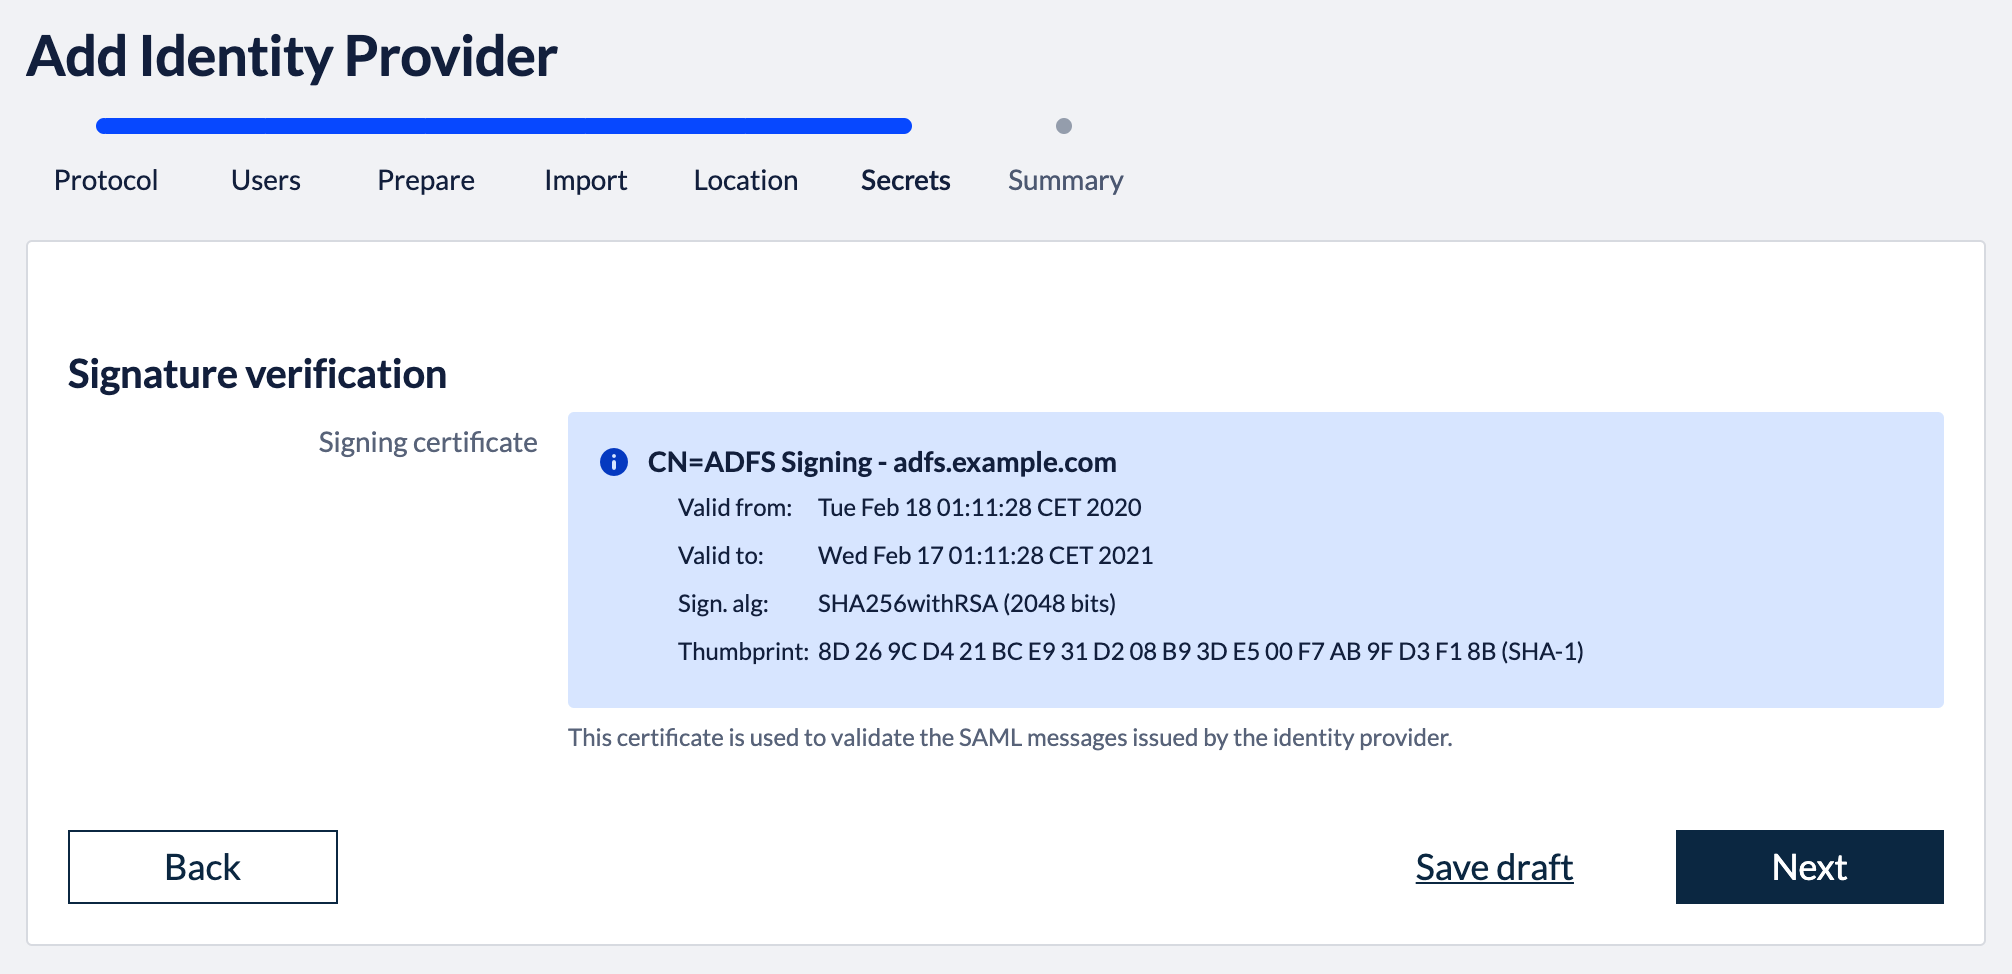 Click “Next.”. 7. SummaryValidate your setup and click “Finish.”. 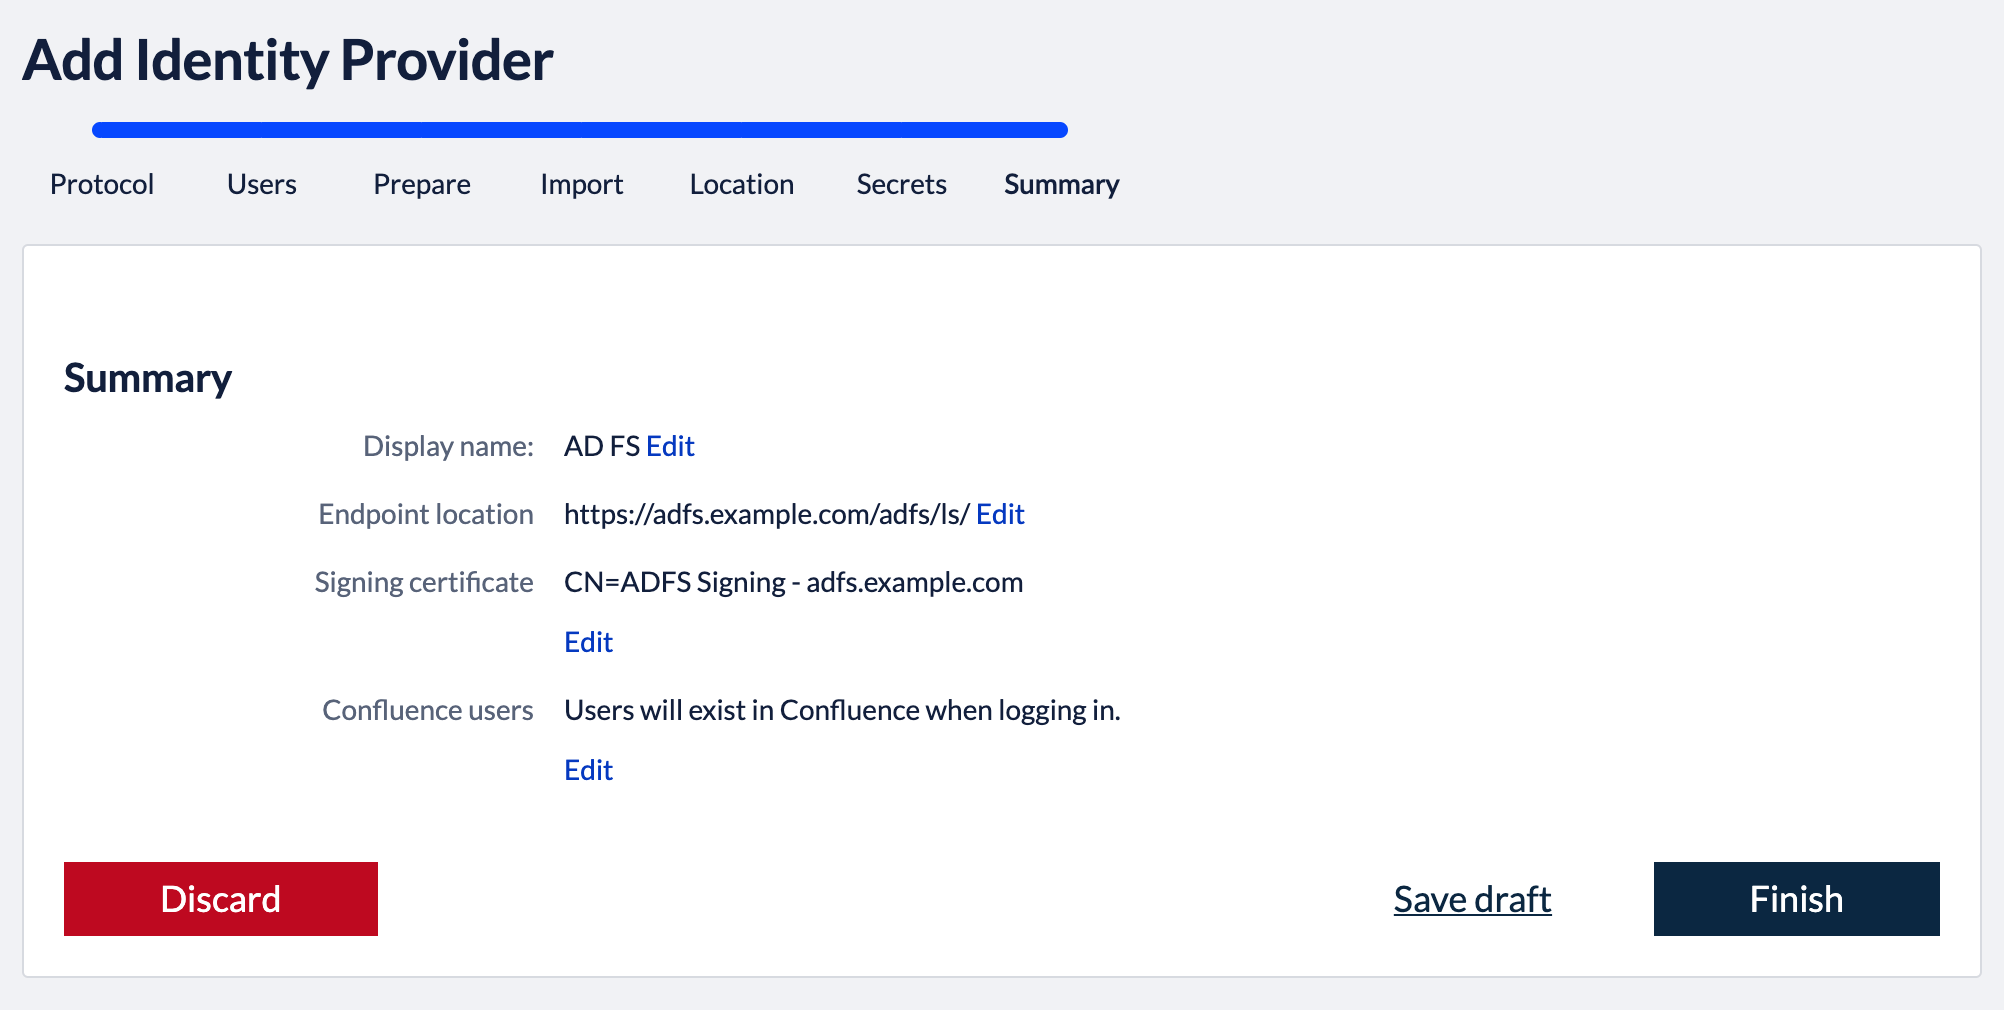 8. Test and verify setupOn the next page, you will be given a link to perform a test of your setup. 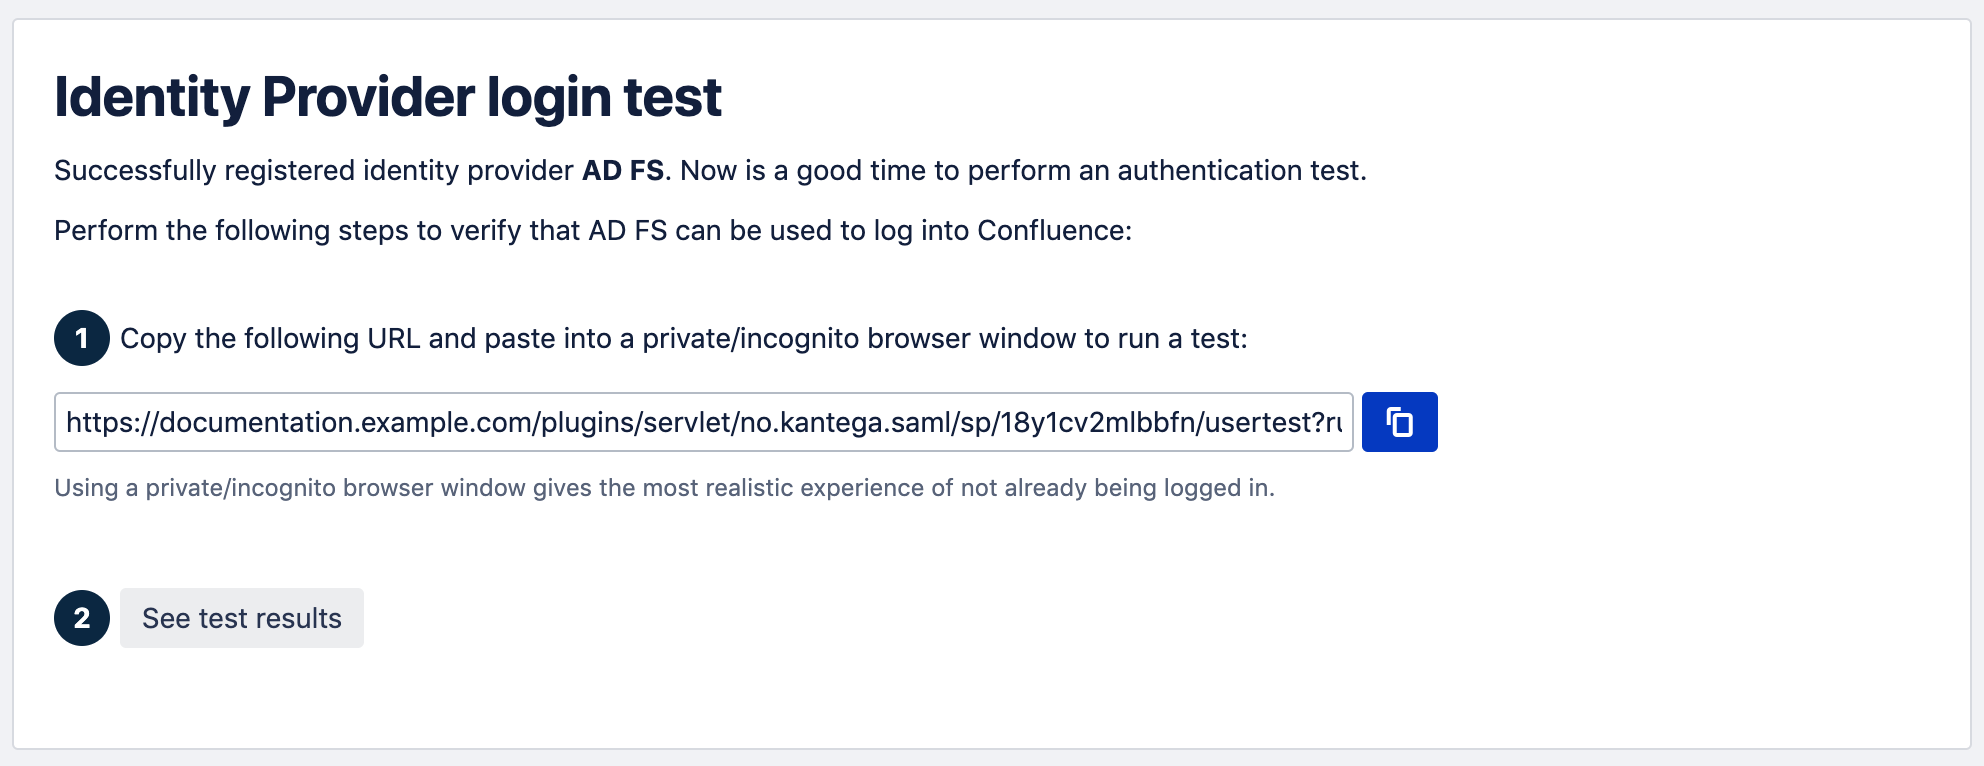 The test verifies that users are allowed to authenticate with the current configuration, and you get feedback on whether the current user is found in the Atlassian application. You are also able to fix user lookup issues (selecting the right username attribute and express username transformation rules), and select data attributes for just-in-time provisioning here. More info about testing av verifying identity provider configurations. 6. Redirection modeBy default, Kantega SSO Enterprise will forward all users to the configured identity provider. However, you can configure both a subset of users who should be login through this identity provider and how they are redirected. More about the configuration of redirection rules. |
| Expand | ||
|---|---|---|
| ||
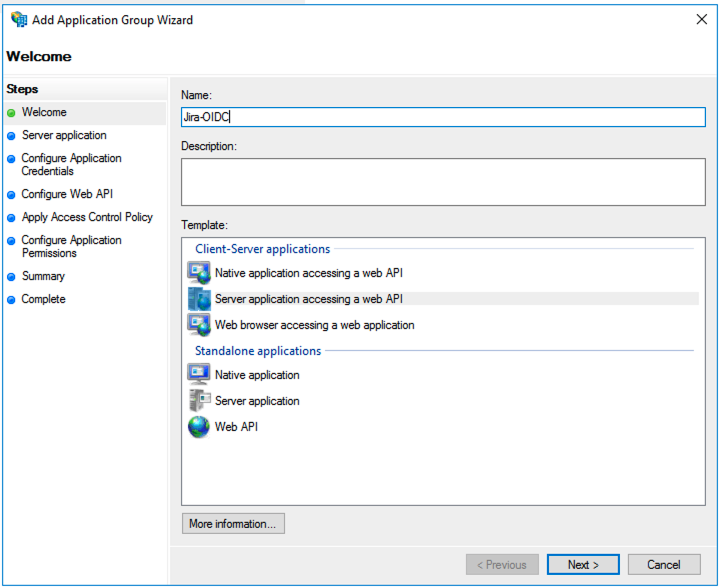
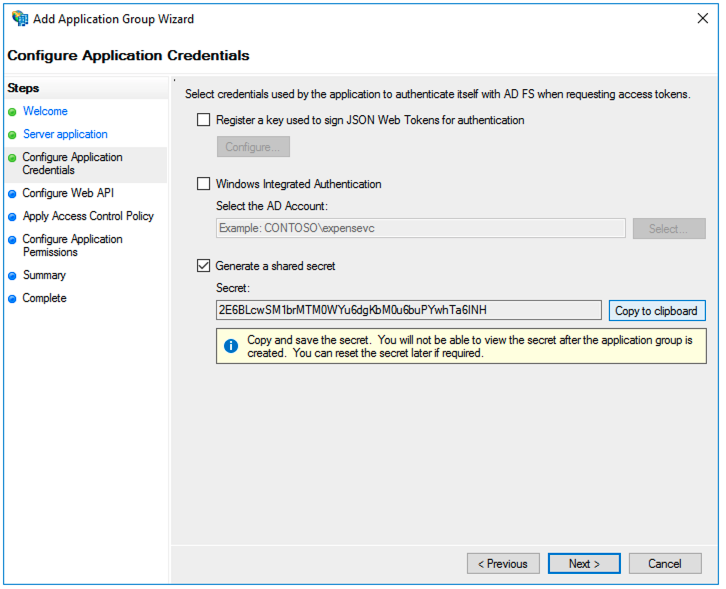
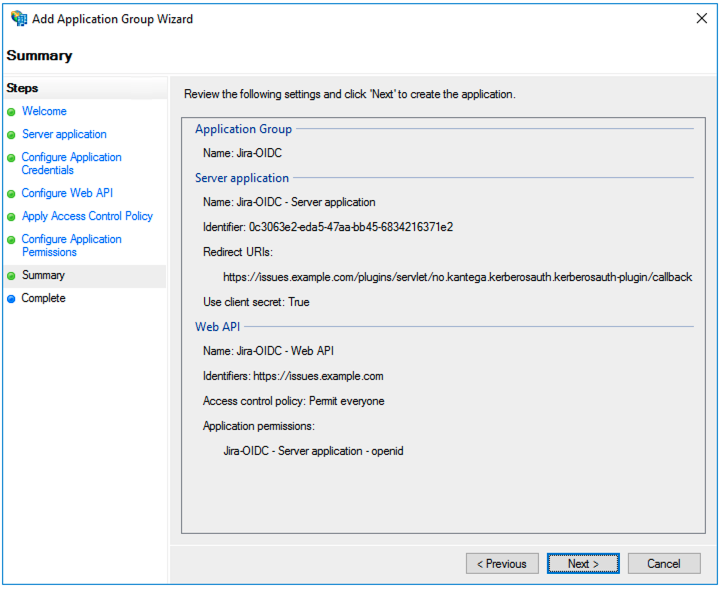
1. Verify version of Windows ServerVerify that AD FS is running on Windows Server 2016 TP4 or later where . Please use SAML for older versions that do not support OIDC. 2. Select provisioning methodThe Atlassian applications needs need to have information about users logging in and their permissions. At this wizard step, we choose whether the user and permission data already exist in a user directory when users log in with SSO or if user records should be created dynamically (just-in-time provisioning). You can also specify whether users logging in through AD FS should be added as members to a set of default groups automatically. Alternatively, you can also retrieve and assign group memberships individually based on attributes in the SAML response. Such configurations are available after the initial setup. Select provisioning method, default groups, and click “Next.”. 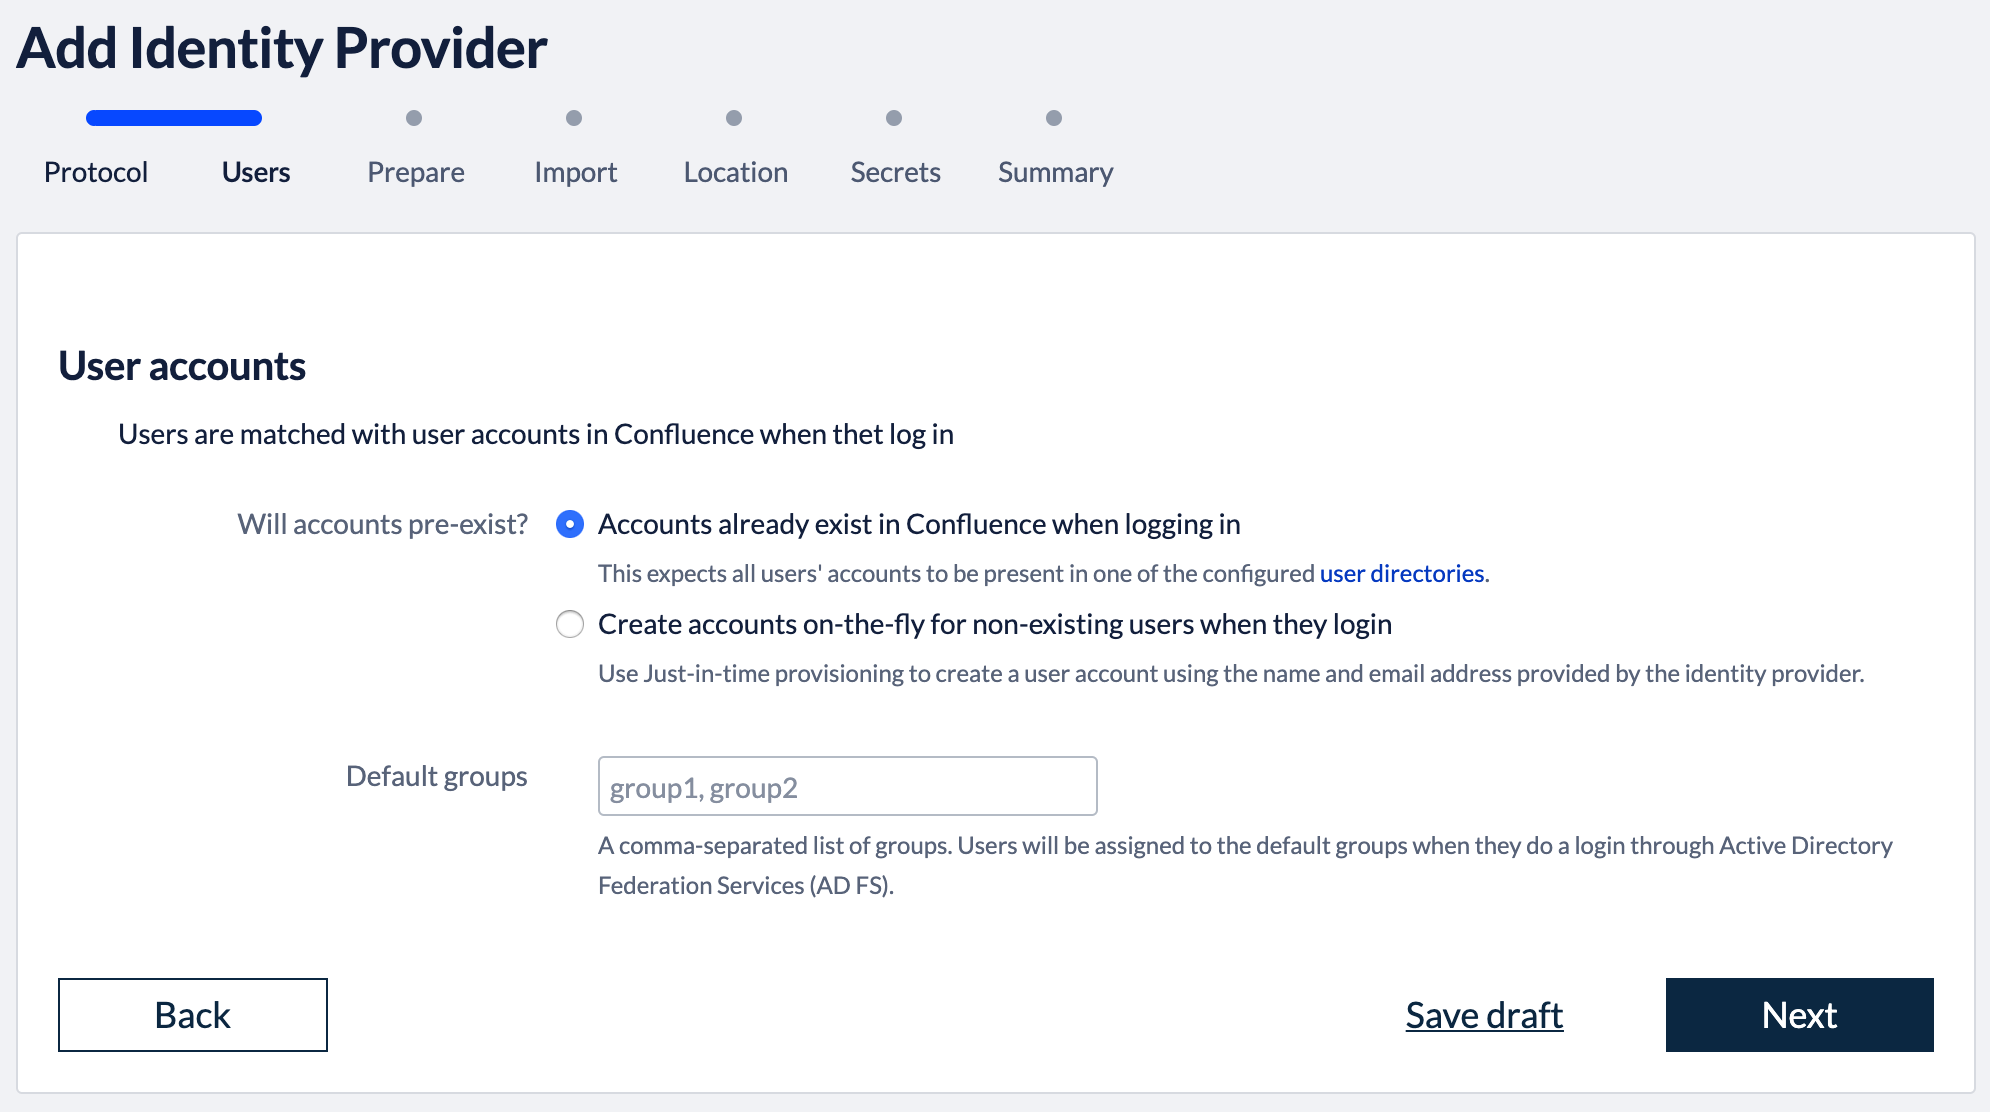 3. Callback URLThe field “Callback URL” will be needed when configuring your identity provider. Copy this URL value (We will make use of this in the next step) 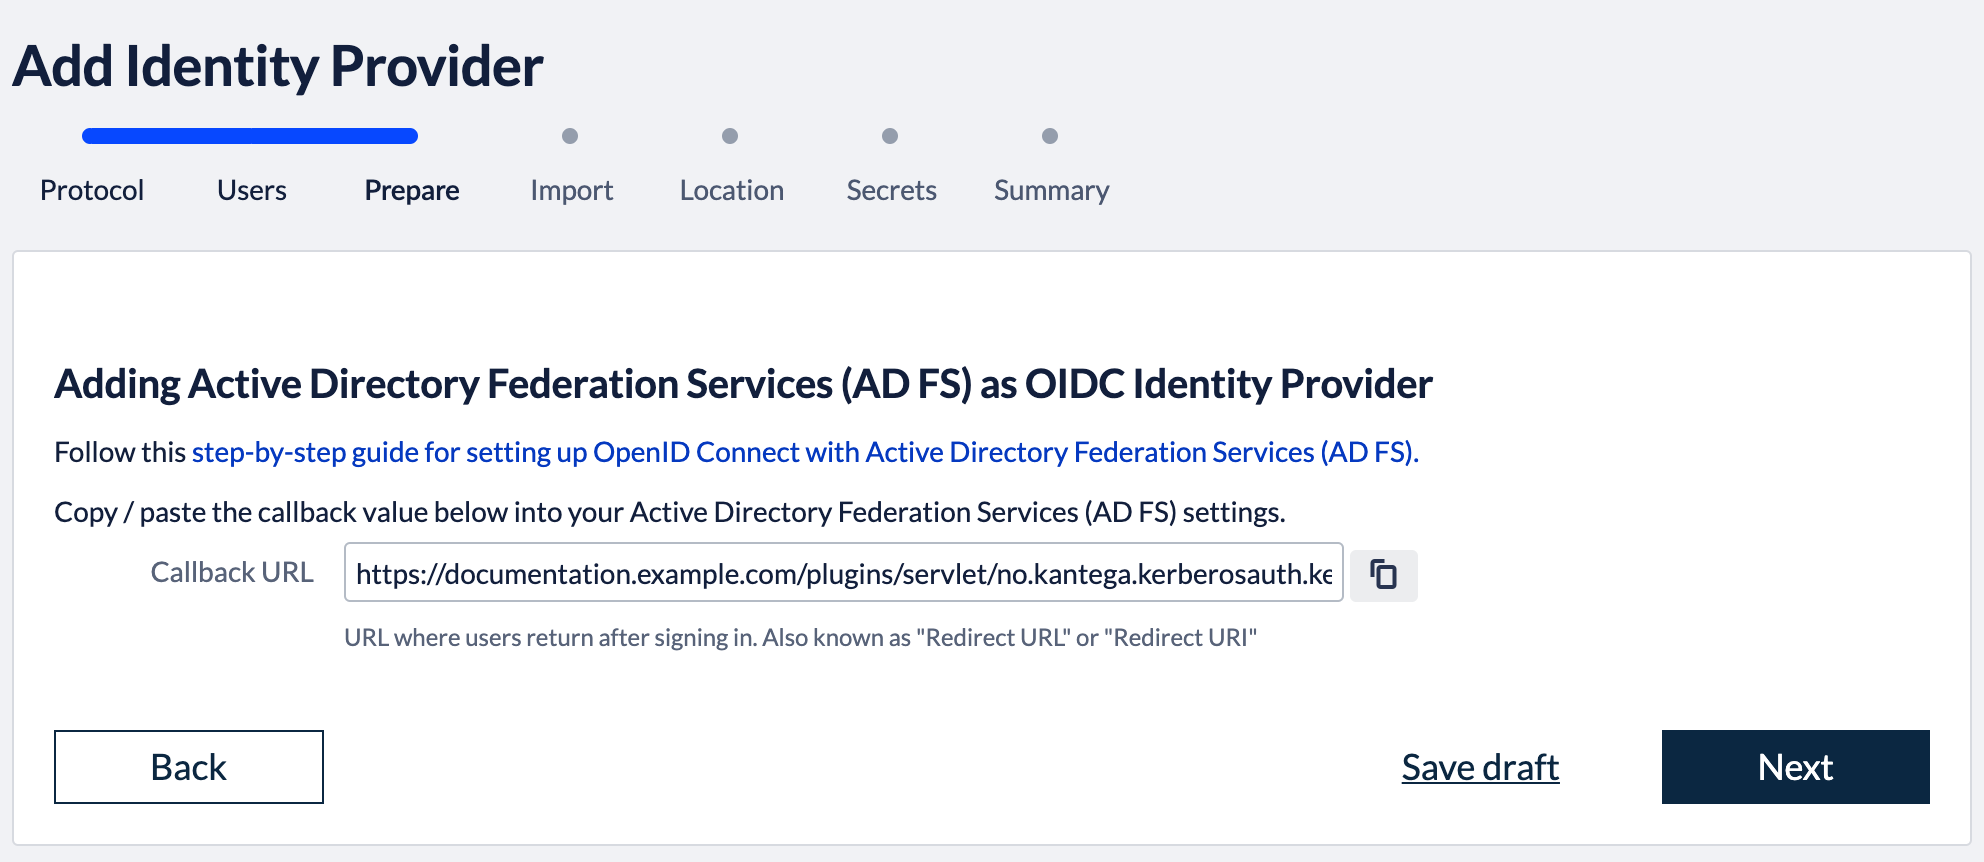 4. Configure AD FS identity providerOpen the AD FS Management console on the AD FS server. Right-click on Application Groups and select Add Application Group.
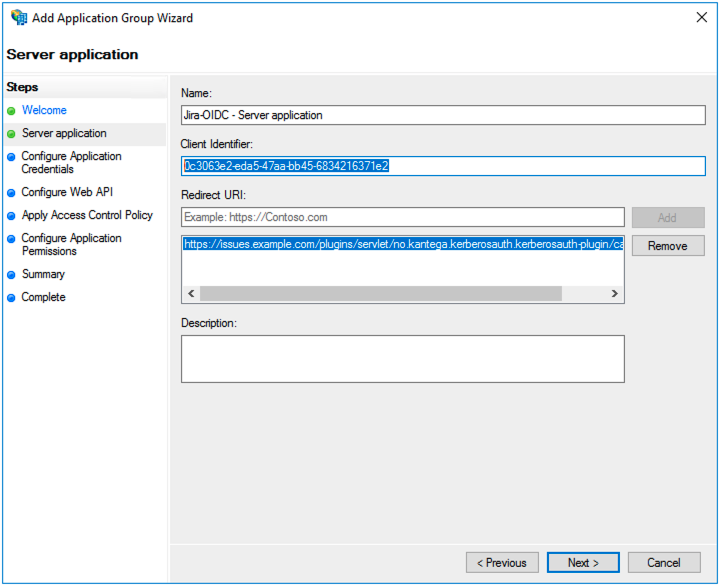
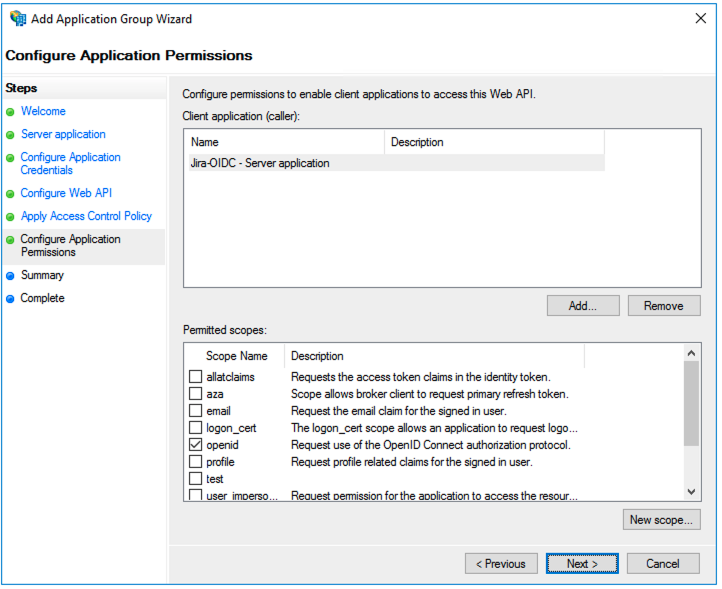
 Add your site’s URL in the Identifier list (in our example https://issues.example.com). Press Next. 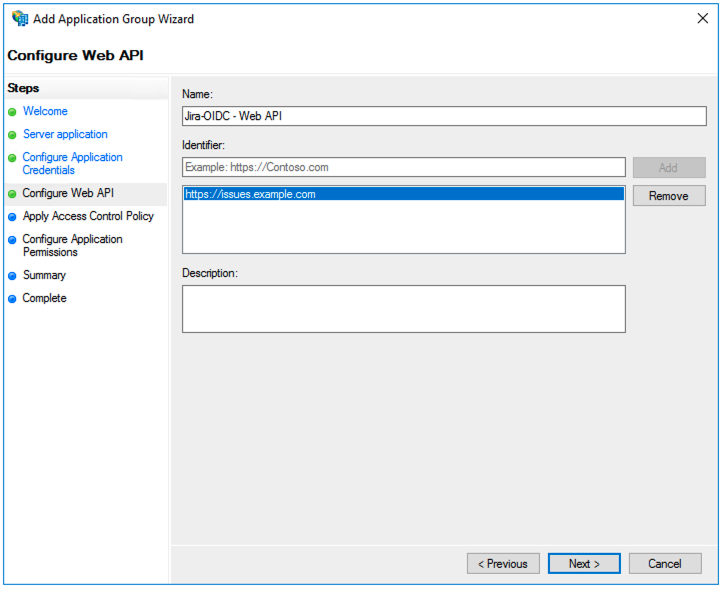
 5. Import metadataPress Next in Kantega SSO to get the Metadata import step. Write in the ADFS host and click “Next.”. 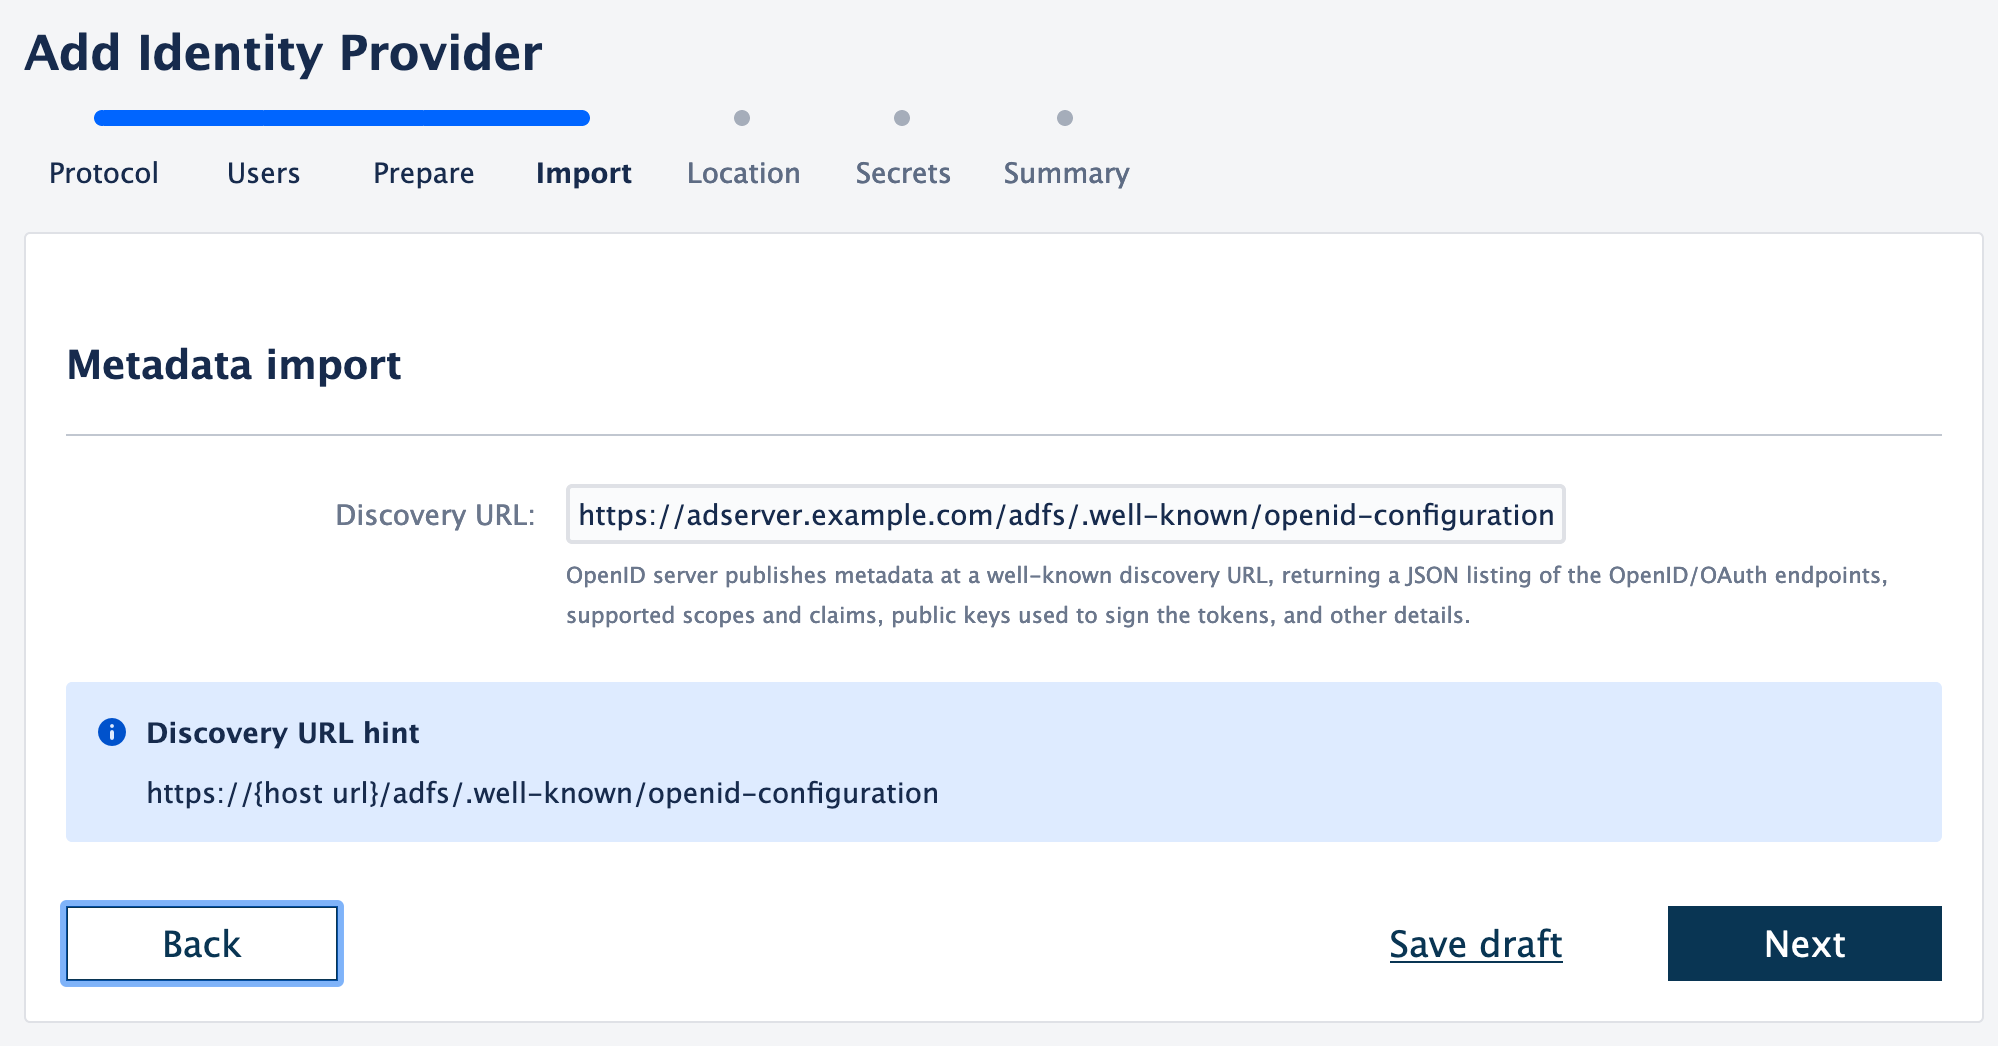 6. Identity provider nameFill in a name for your configuration. By default, by default this is “AD”“AD.” Click “Next” 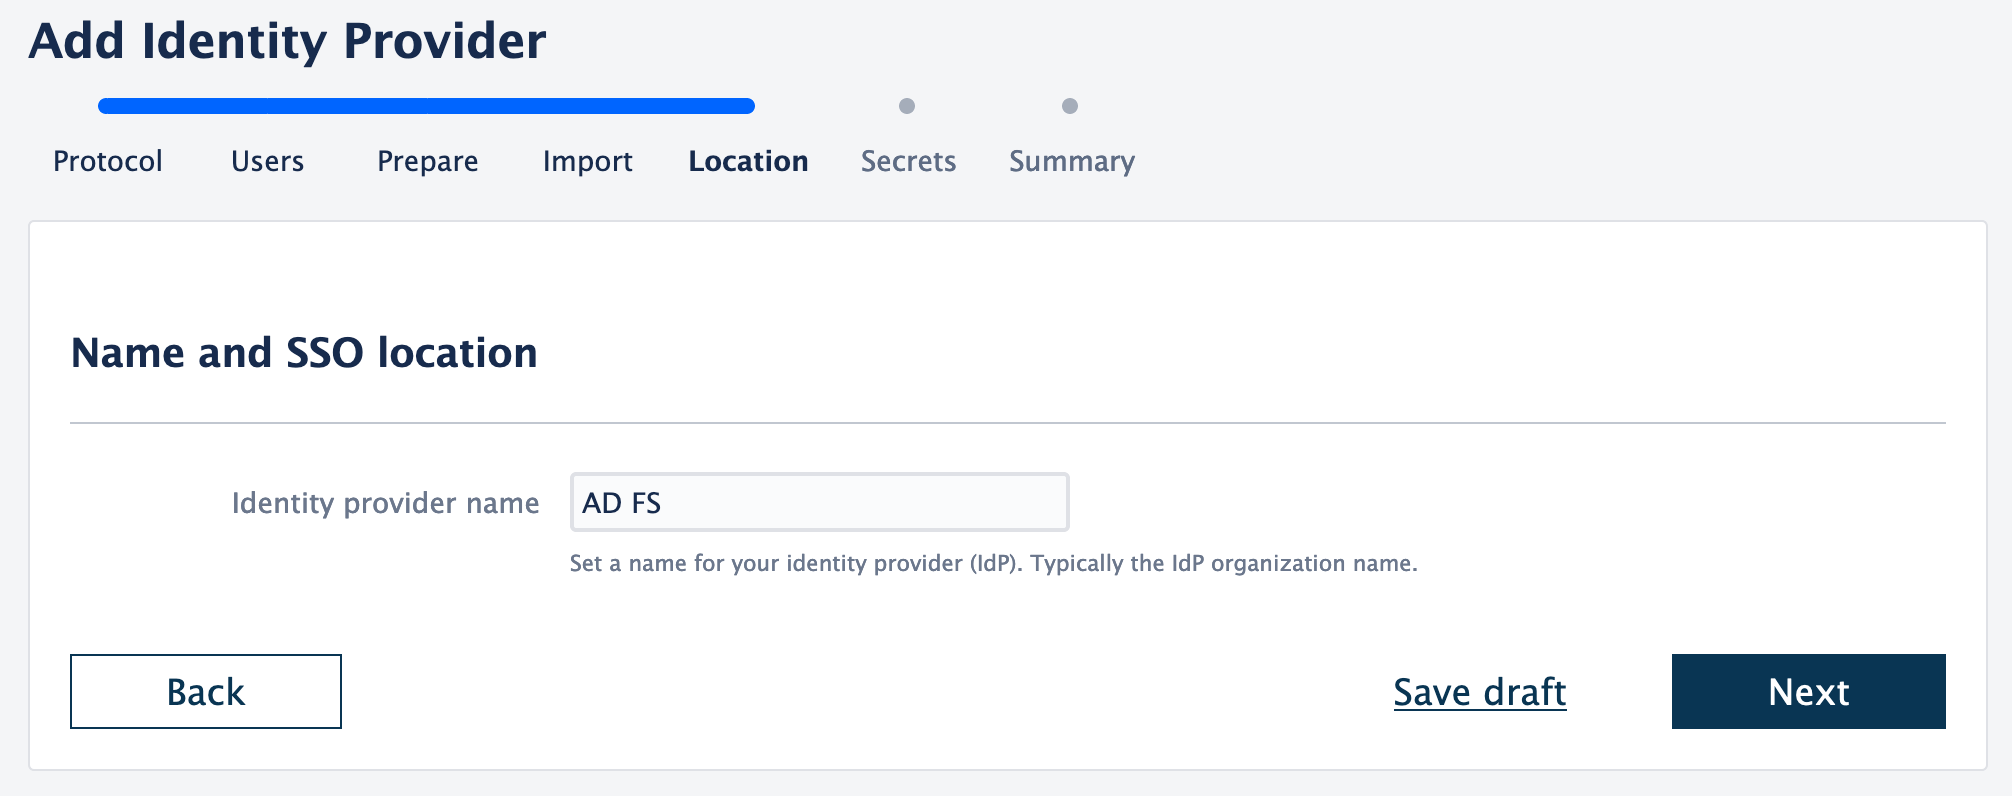 7. Client id and secretInsert the client credentials in the Client Identifier and shared secret retreived retrieved during step “4. Configure AD FS identity provider” above. Click “Next”“Next.”  8. SummaryValidate your setup and click “Finish.”. 9. Test and verify setupOn the next page, you will be given a link to perform a test of your setup. 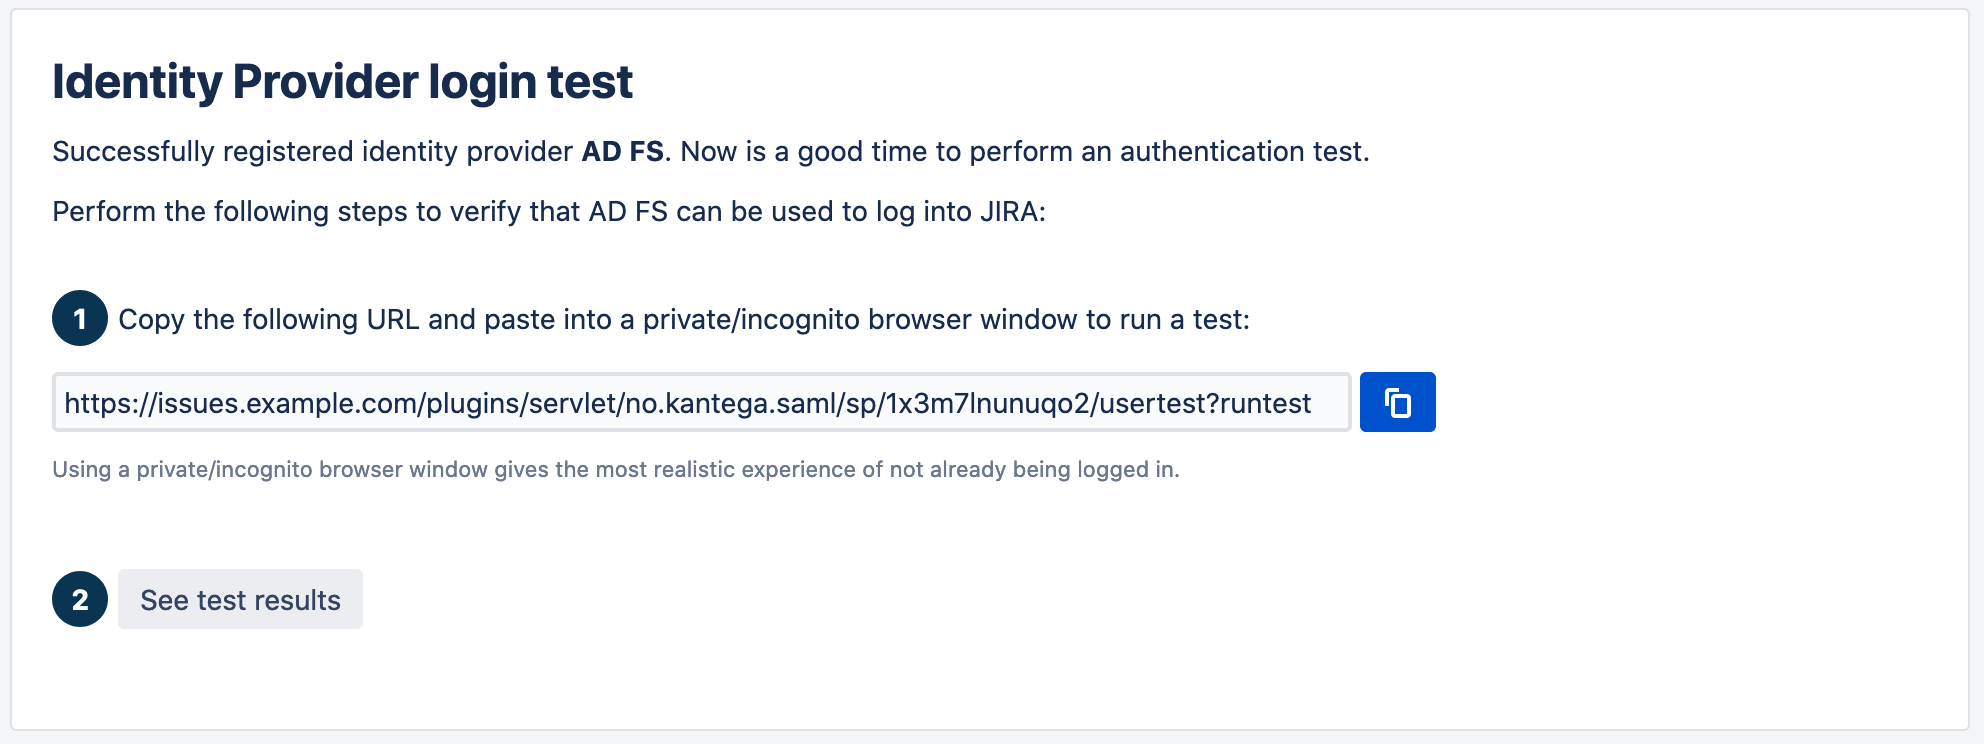 The test verifies that users are allowed to authenticate with the current configuration, and you get feedback on whether the current user is found in the Atlassian application. You are also able to fix user lookup issues (selecting the right username attribute and express username transformation rules), and select data attributes for just-in-time provisioning here. More info about testing av verifying identity provider configurations. 10. Redirection modeBy default, Kantega SSO Enterprise will forward all users to the configured identity provider. However, you can configure both a subset of users who should be login through this identity provider and how they are redirected. More about the configuration of redirection rules. |